ADC-V622 Indoor Video Camera Guide
Summary: The Alarm.com ADC-V622 Pan/Tilt Camera is a 1080p, day/night indoor camera with digital pan/tilt/zoom and two-way audio that still works with your Brinks Home account. This guide covers specs, features, factory reset, Wi-Fi setup (WPS & AP), hardwired setup, adding to your Brinks Home account (desktop & Brinks Home App), signal strength guidance, troubleshooting, common terms, and LED reference.
Table of Contents
- Common Terms
- Signal Strength Guidance
- Specifications
- Features
- Factory Default
- Wi-Fi Setup via WPS
- Wi-Fi Setup via AP Mode
- Hardwired Connection
- Add via Desktop App
- Add via Brinks Home App
- Troubleshooting
- LED Reference Guide
Common Terms
- PoE (Power over Ethernet)
- Delivers both power and network data over the Ethernet cable.
- WPS (Wi-Fi Protected Setup)
- One-touch method to connect to your router’s Wi-Fi network.
- AP Mode (Access Point Mode)
- Camera creates its own Wi-Fi network for manual setup.
- Digital PTZ (Pan-Tilt-Zoom)
- Electronically moves the image to simulate pan, tilt, and zoom.
- IR (Infrared)
- Infrared LEDs enable night vision in low-light conditions.
- FOV (Field of View)
- Horizontal and vertical viewing angle of the camera lens.
Signal Strength Guidance
Navigation Steps
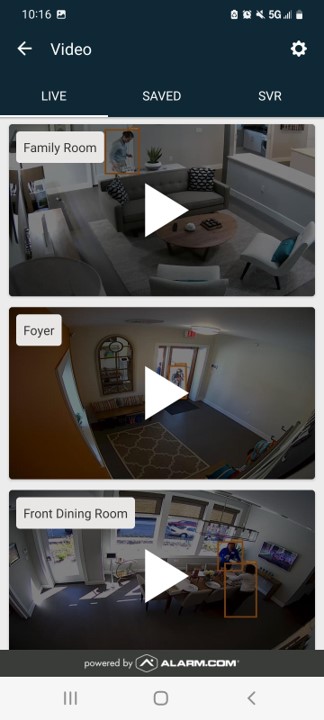
- Open the Brinks Home™ App on your smartphone.
- Tap the bottom-bar icon labeled Video.
- Tap the ⚙️ Settings gear in the top-right corner of the Video screen.
- From the list of devices, select your ADC-V622 camera.
- Scroll down to find the Signal Strength percentage.
Signal Level Table
| Signal Range | Status | Action |
|---|---|---|
| 80–100% | Excellent | No action needed. |
| 60–79% | Good | Monitor performance; slight repositioning may help. |
| 40–59% | Fair | Move camera closer to router or remove obstructions. |
| 0–39% | Poor | Reposition camera, add a Wi-Fi extender, or contact us for help. |
Specifications
- Digital pan/tilt—lens pans across a large sensor area
- 1920 × 1080 video resolution
- 15 ft night-vision range
- 180° horizontal & vertical FOV
- 2-way talk/listen
- Bluetooth audio streaming
- Wi-Fi 802.11 b/g/n
- Ethernet connection (PoE supported)
- Operating temperature: 32 °F to 104 °F
Features
- Power-over-Ethernet or external adapter
- Tap-to-call two-way audio
- Digital pan/tilt/zoom (PTZ)
- 180° field of view
- Infrared night vision
- Bluetooth music streaming
- Works with the Brinks Home™ App
Factory Default
Warning: This erases all settings and you’ll need to contact us to re-add it to your Brinks Home account.
- Press Menu until you hear “Menu, use volume buttons to scroll through options.”

- Press + until “Factory reset, press Menu to activate” plays; press Menu.
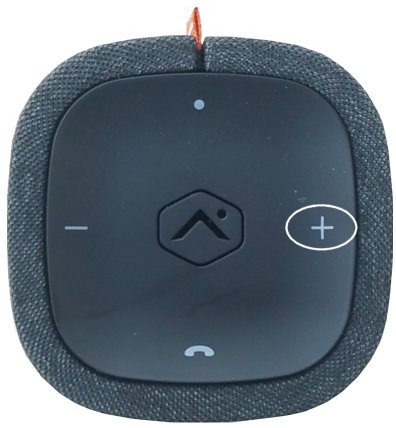
- Press Menu again to confirm; you’ll hear “Resetting.”
Disclaimer: After factory reset, contact us to update your Brinks Home account. Text 469-513-8685 or call 469-391-4024.
Wi-Fi Setup via WPS Enrollment
- Press Menu until “Menu, use volume buttons...” plays.
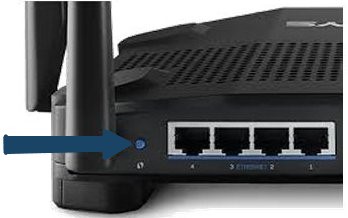
- Press + until “WPS, press Menu to activate” plays; press Menu.
- LED flashes blue. Press your router’s WPS button or enable WPS mode in your router.
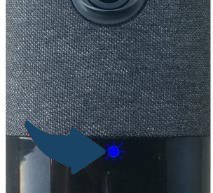
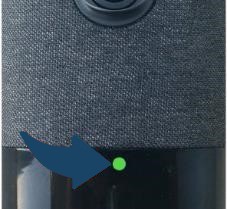
- After ~1 min, LED turns solid green on success.
Wi-Fi Setup via Access Point (AP) Mode
- Press Menu until “Menu, use volume buttons...” plays.
- Press + until “Access point, press Menu to activate” plays; press Menu.
- LED flashes blue. On your mobile device, connect to “ALARM xx:xx:xx.”
- Open a browser to 192.168.1.1, tap Scan, select your network, enter password, then tap Submit & OK. LED turns solid green.
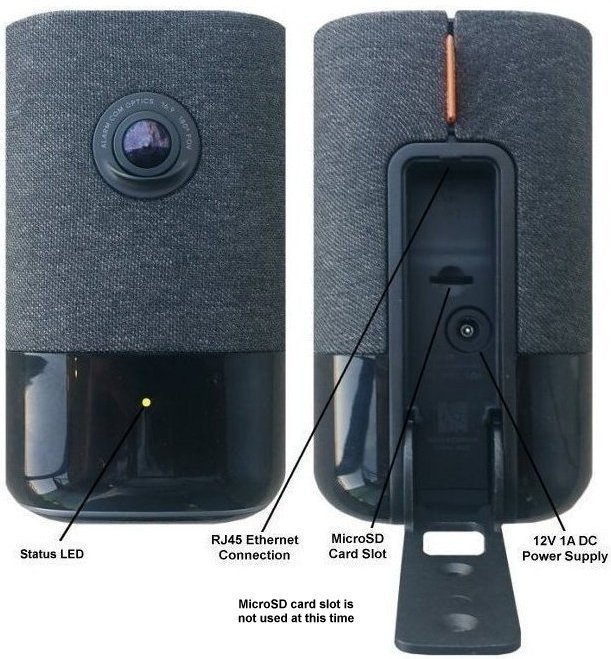
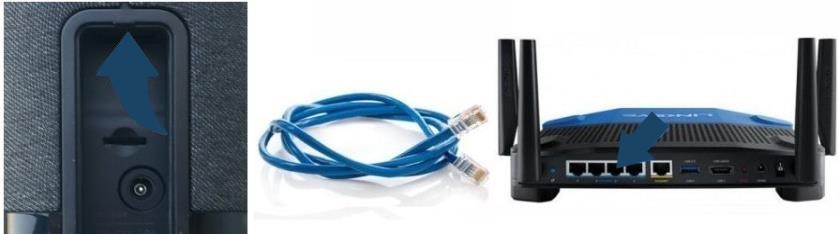
Hardwired Connection
Use a standard Ethernet cable to connect the camera’s LAN port to your router or switch.
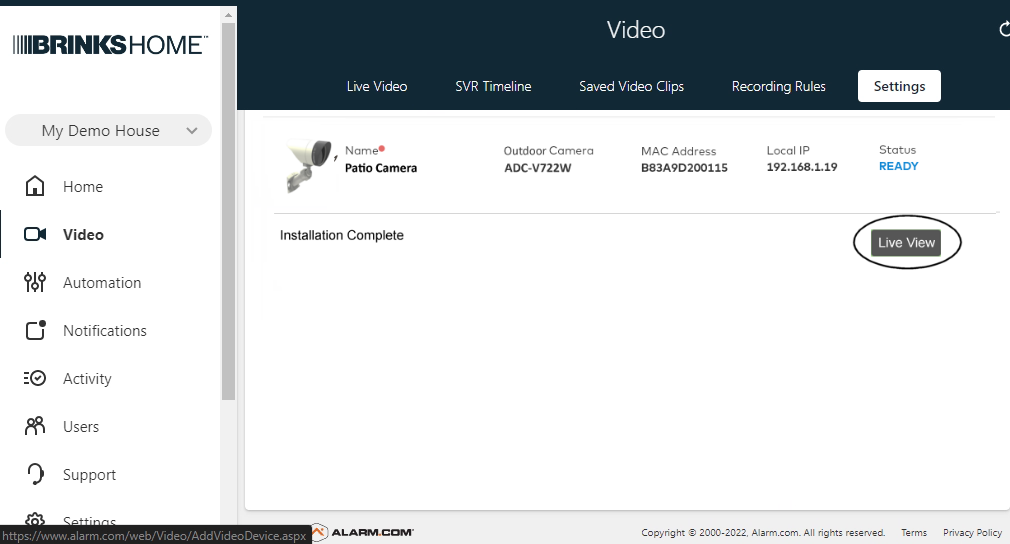
Add via Desktop App
Note: Ensure camera is online.
- Log in to your Brinks Home account at alarm.com → tap Video.
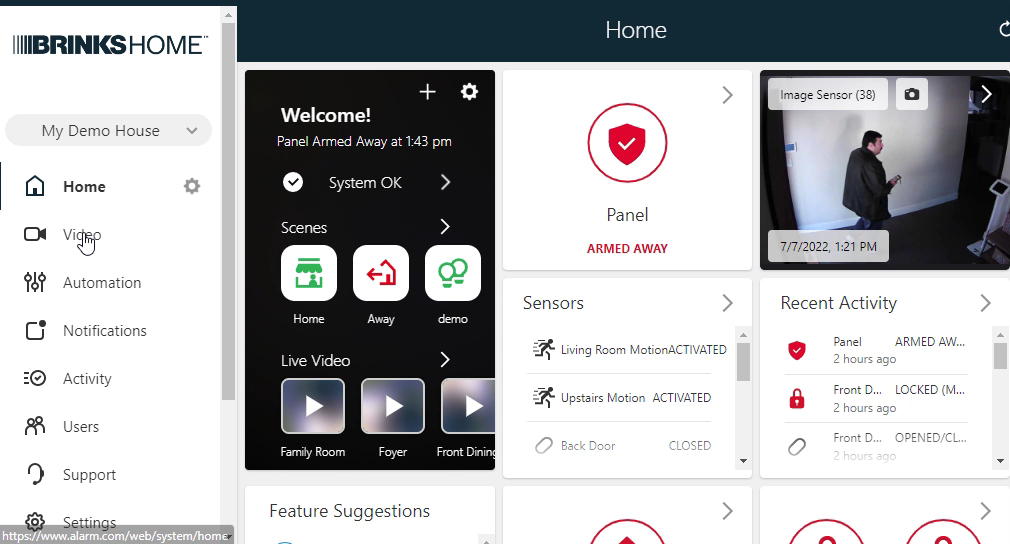
- Click Settings → scroll down → Add Video Device.

- Select ADC-V622, enter a name, then click Install.
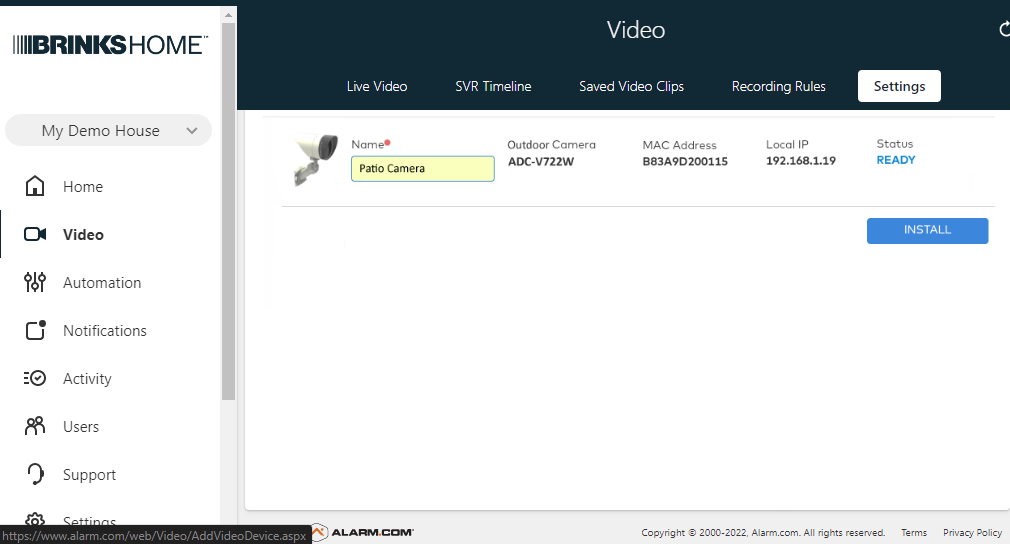
- Wait—then click Live View to confirm.
Add via Brinks Home App
Note: Ensure camera is online.
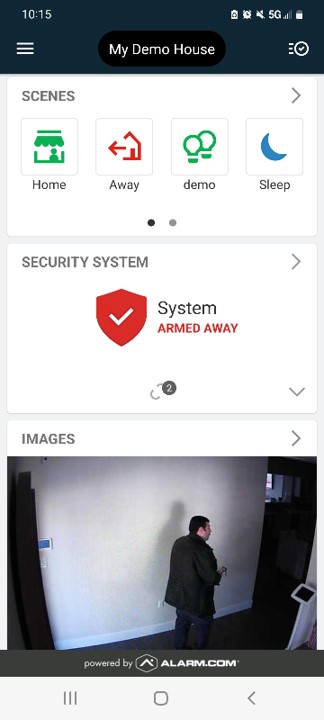
- Open the Brinks Home App → tap Video.
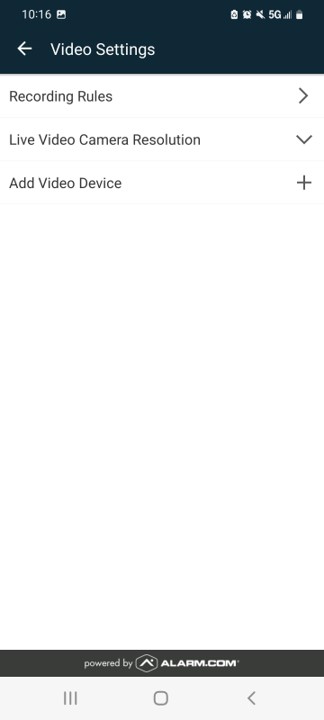
- Tap ⚙️ → Add Video Device.
- Select ADC-V622, enter a name → tap Next.
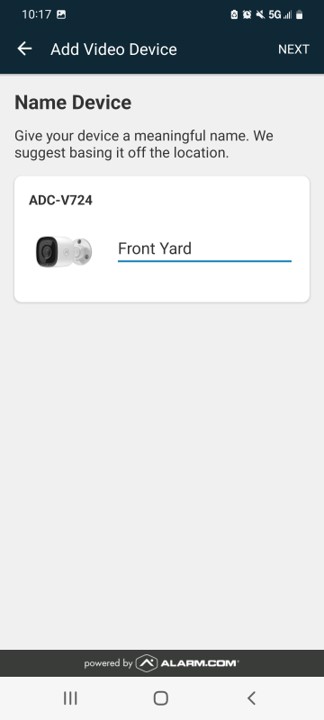
- Wait—then tap Live View.
Troubleshooting
No Power or LED Off
- Check power source:
- If using PoE, ensure injector/switch port has PoE enabled—no power means no boot.
- If using adapter, confirm it’s plugged in and functional—replace adapter if needed.
- Inspect cables: Reseat or replace the Ethernet cable—wear or damage can cut power & data link.
Network Connection Issues
- Verify LED status:
- Solid green = link up. Blinking green = activity. If off or red, follow next steps.
- Wired connection:
- Test a different LAN port on your switch/router—faulty ports block data.
- Restart network equipment (router/switch) to clear glitches.
- Wireless connection:
- If in AP/WPS mode (blue LED), confirm setup completion.
- Move camera closer to router (10–20 ft) to boost signal and reduce dropouts—Wi-Fi strength falls sharply with distance.
- Avoid metal obstructions or thick walls between camera and router, which absorb or reflect Wi-Fi.
Video/Audio Performance Issues
- Check bandwidth:
- High resolution streams need more upload capacity—reduce simultaneous streams if needed.
- Switch to wired: Ethernet avoids radio interference entirely.
- Adjust stream settings: Lower resolution or frame rate in the Brinks Home App for smoother video.
Persistent Issues
- Perform a factory reset (Factory Default).
- After reset, contact us to re-add to your Brinks Home account. Text 469-513-8685 or call 469-391-4024.
LED Reference Guide
| LED Pattern | Meaning | Action |
|---|---|---|
| Off | No power |
|
| Flashing red | Booting up | Wait ~60 s for startup. |
| Flashing green | Local network connecting | Wait for link to establish. |
| Solid green | Online & connected | No action needed. |
| Flashing blue | WPS/AP mode active | Complete Wi-Fi setup. |
| Solid red | No Internet | Check router & network. |