ADC-V523 Indoor Video Camera Guide
Summary: This article covers the Brinks Home Indoor Camera (ADC-V523) specifications, features, setup procedures (WPS & AP modes), installation via desktop and mobile apps, troubleshooting tips, and LED status reference.
Table of Contents
- Common Terms
- Specifications
- Features
- Factory Default
- Pre-Installation Steps
- Wi-Fi Setup by WPS
- Wi-Fi Setup by AP
- Add via Desktop App
- Add via Mobile App
- Troubleshooting
- LED Reference Guide
- Further Assistance
Common Terms
- Transformer (Power Brick)
- The low-voltage power supply—often called the “power brick”—that powers your camera.
- Wi-Fi Extender (Range Booster)
- Rebroadcasts your Wi-Fi signal to reach areas with weak coverage.
- AP Mode (Access Point Mode)
- Camera-hosted hotspot mode—connect directly to the camera’s network for setup.
- WPS (Wi-Fi Protected Setup)
- Quick-pair method—push-button pairing without entering a password.
- VMD (Video Motion Detection)
- Analytics feature detecting motion events in the camera’s view.
- Perimeter Guard (Zone Monitoring)
- Defines virtual boundaries for motion alerts.
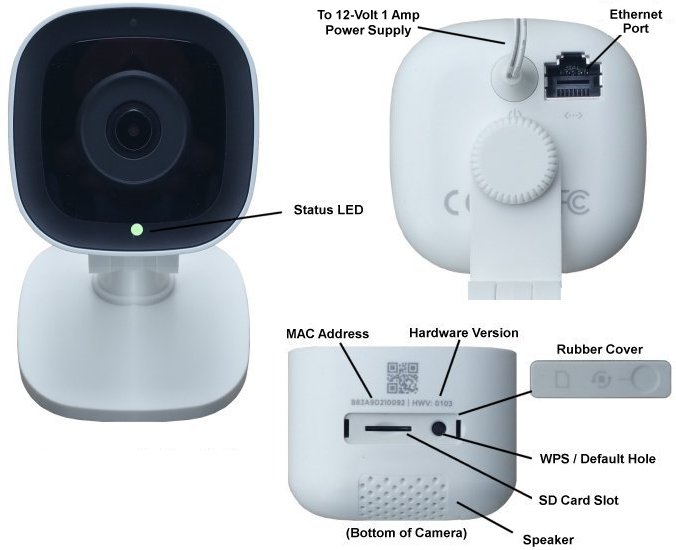
Specifications
- 1920 × 1080 p video resolution
- HDR (High Dynamic Range) recording
- 15 ft night-vision range
- 117° horizontal & vertical field of view
- Two-way talk/listen
- Wi-Fi 802.11 b/g/n
- Ethernet connection
- Operating temperature: 32 °F to 104 °F
Features
- 117° field of view
- High dynamic range (HDR)
- Person, vehicle, and animal detection (Analytics 3000 required)
- Two-way audio
- Ethernet or Wi-Fi (2.4 GHz/5 GHz)
- Works with the Brinks Home™ Mobile App
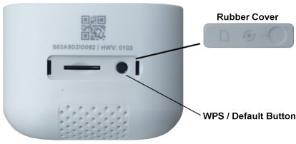
Factory Default
Warning: Resets camera—must re-add to your account.
- Remove the bottom rubber cover and hold the WPS button for 15 seconds.
Pre-Installation Steps
Watch this video for pre-installation guidance:
Wi-Fi Setup by WPS
Use WPS to pair your camera:
Step-by-Step Instructions
-
Hold the camera’s WPS button for 3 seconds until the front LED flashes blue.
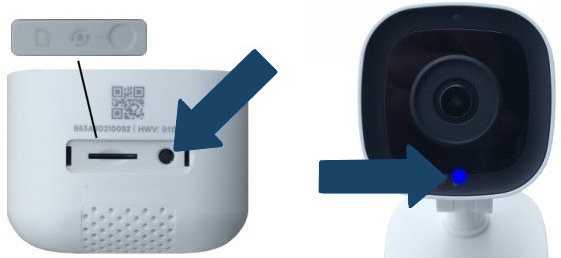
-
Press your router’s WPS button (or enable WPS in its settings).
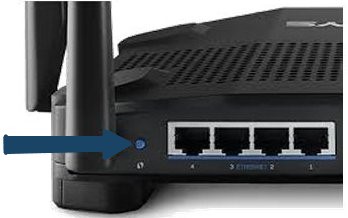
- If WPS fails, follow the Access Point (AP) mode instructions below.


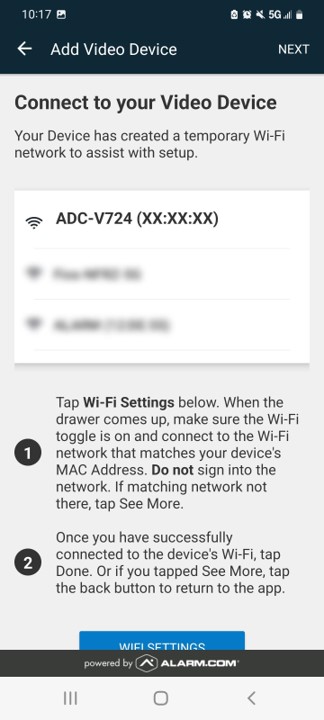
Wi-Fi Setup by Access Point
Use AP mode to pair your camera:
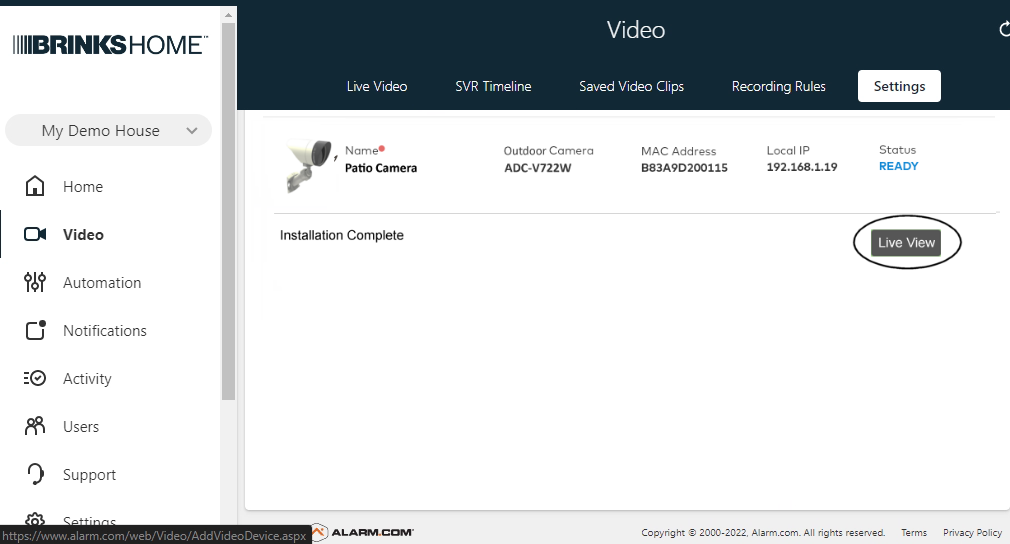
Add via Desktop App
Note: Camera must be on your Wi-Fi network first.
-
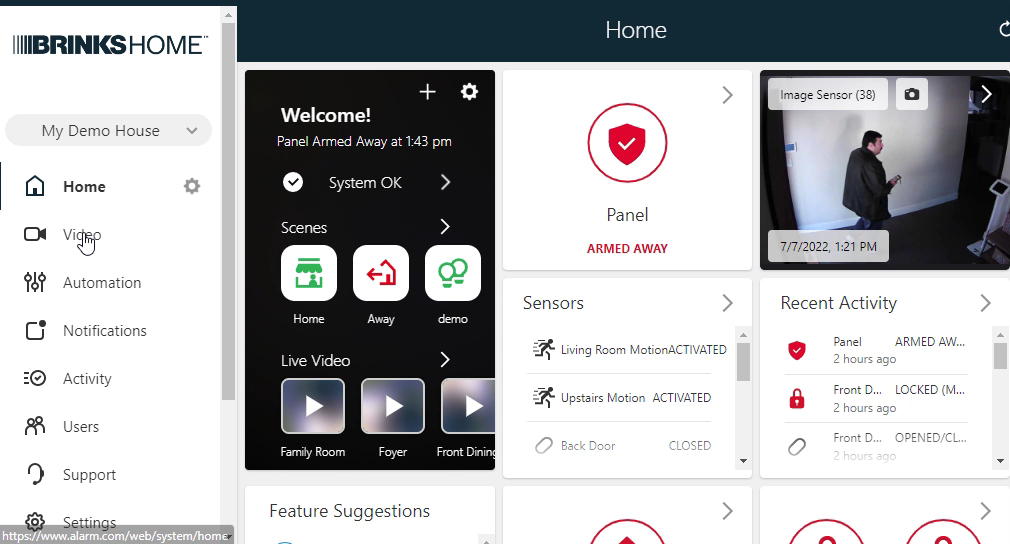
Log in to the Brinks Home App and tap Video.
-
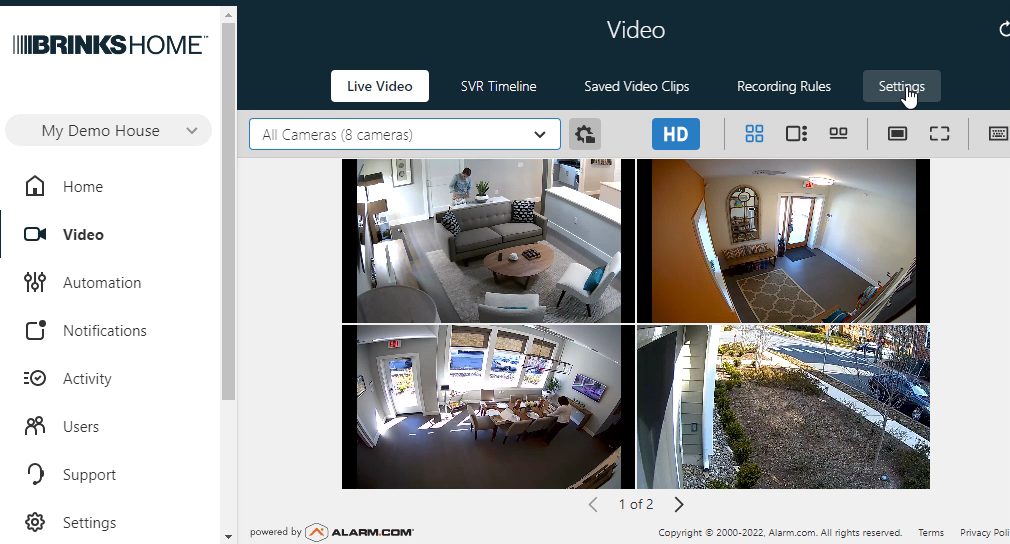
Select Settings.
-
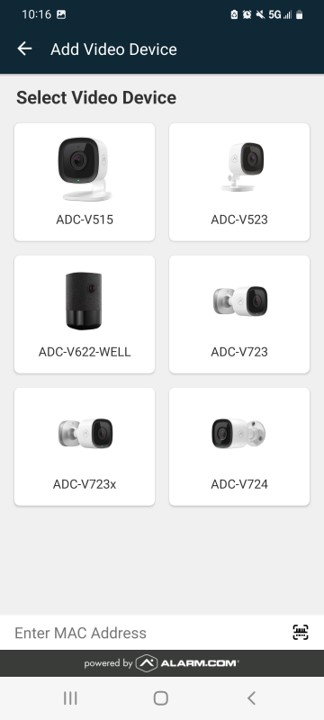
Scroll down and choose Add Video Device.

-
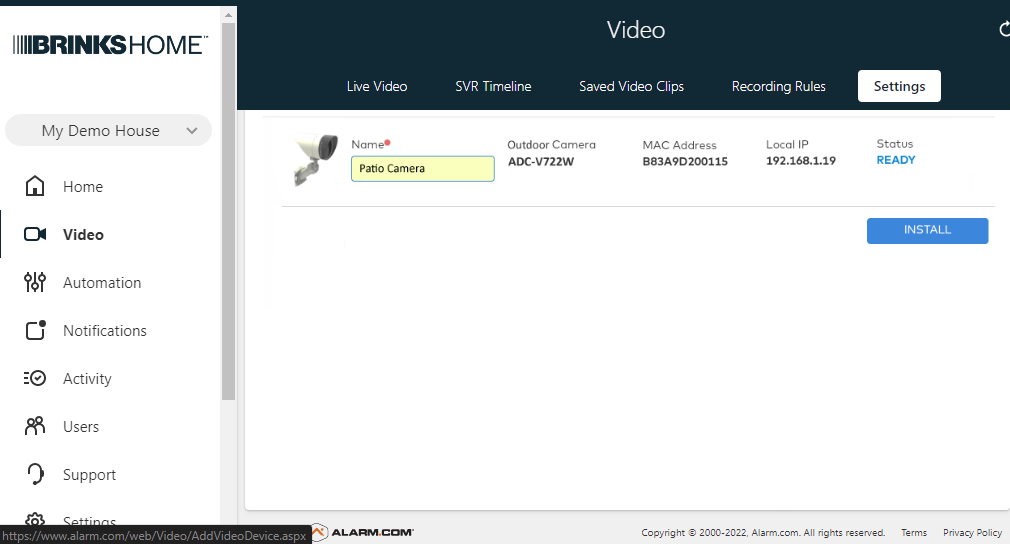
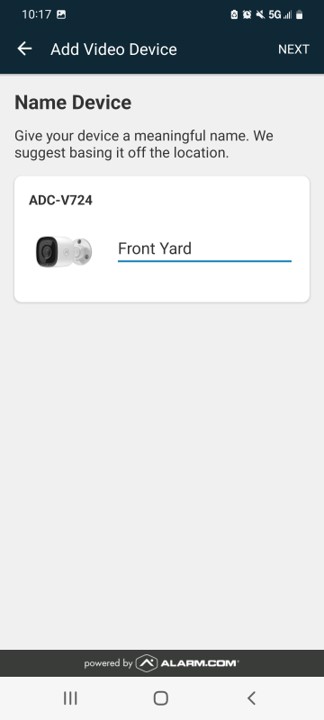
When detected, enter a name and tap Install.
-
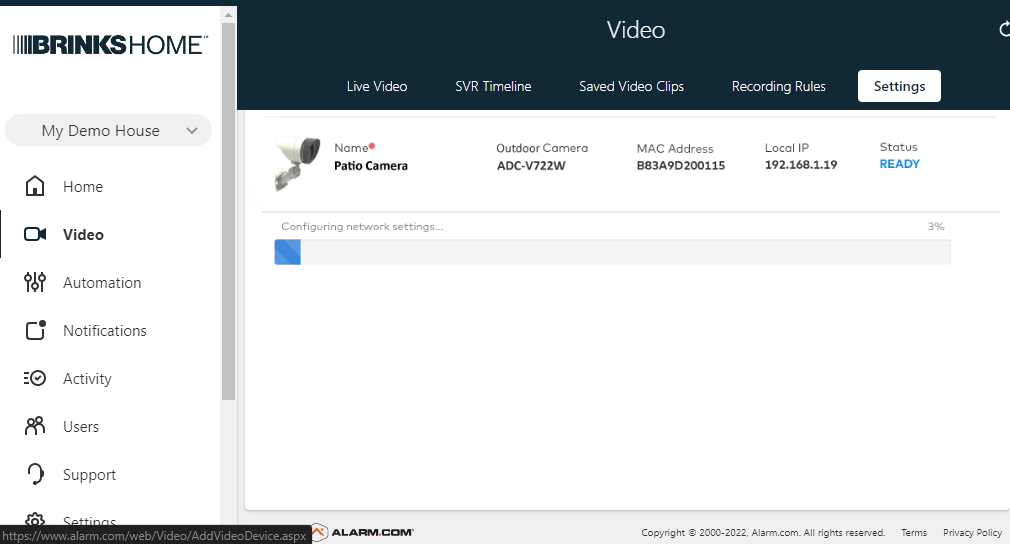
Wait several minutes for configuration.
-
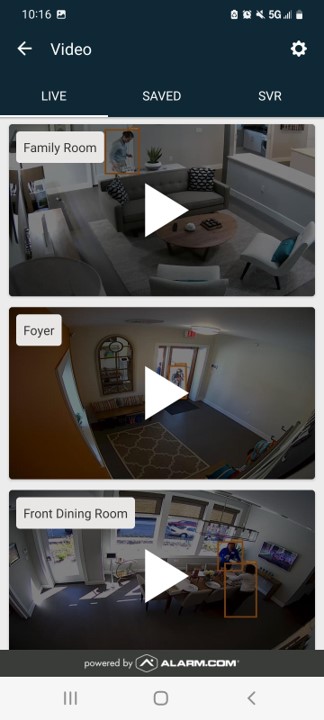
Select Live View to see your camera.


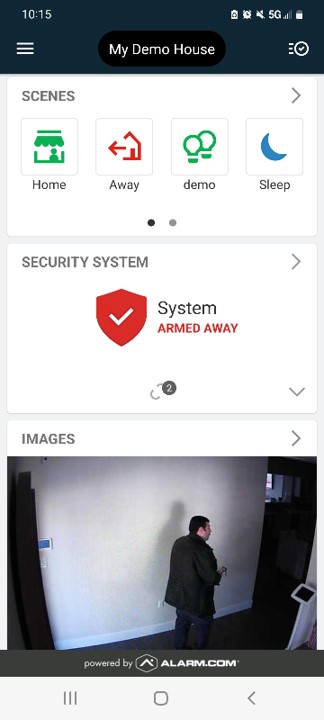
Add via Mobile App
Note: Camera must be on your Wi-Fi network first.
Video Instructions:
-
Open the Brinks Home App → Video.
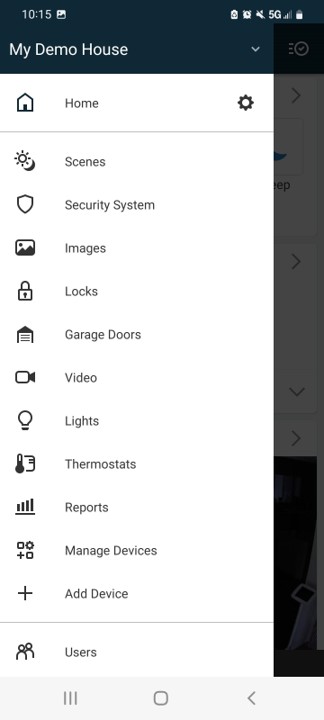
-
Tap the gear icon (Settings).

-
Select Add Video Device, choose your camera model.
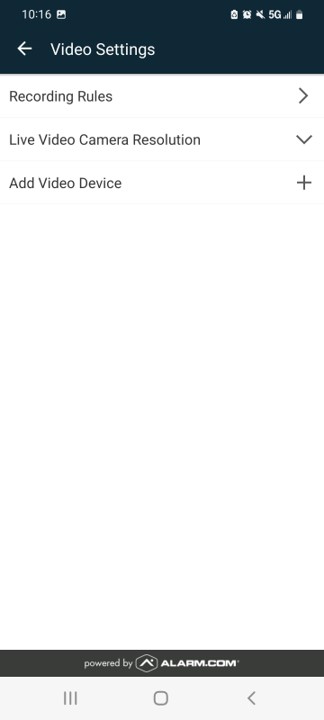
-
Enter a name and tap Next.
-
Wait for configuration.

-
Tap Live View to see your camera.


Troubleshooting
-
Camera unresponsive?
- Power cycle by unplugging and re-plugging the adapter.
- Wait 30 seconds, then verify LED status.
-
No Wi-Fi connection?
- Move camera closer to router or add a Wi-Fi Extender.
- Retry WPS or switch to AP mode.
-
Still not connecting?
- Reset to factory default and re-add to account.
- Confirm network credentials and router settings.
LED Reference Guide
| LED Pattern | Status | Action |
|---|---|---|
| Off | No power |
|
| Flashing red | Booting |
|
| Flashing green | Connecting to network |
|
| Solid green | Connected to Internet | No action needed. |
| Flashing blue | WPS mode |
|
| Flashing white | AP mode | Connect to camera’s hotspot to complete setup. |
| Solid red | No connection |
|
Further Assistance
For more details, view the original user guide: