How to Program the Honeywell 5808W3 to the GC2 Panel
Step-by-Step Instructions:
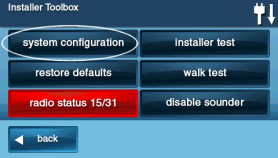
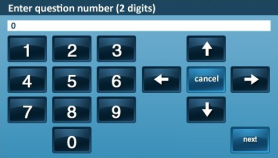
1. Press the bottom right logo, enter the default installer code 1561 or 1171, then press System Configuration.


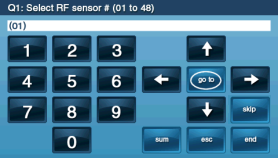
2. From here, you've entered Q1: RF sensor programming. Press Go To, enter a 2-digit location number between 01 and 60, then press the down arrow to continue.
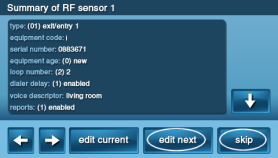
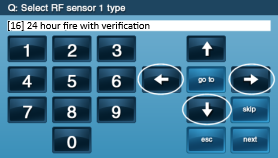
3. To select your sensor type, enter 16, or press the arrow buttons to scroll to (16) 24 hour fire with verification. Next, press the down arrow to continue.
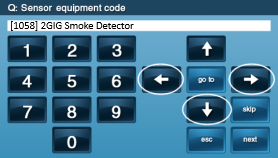
4. To specify the equipment type, press the arrow buttons to scroll to (0589) HW Smoke "5808W3". Press the down arrow to continue.
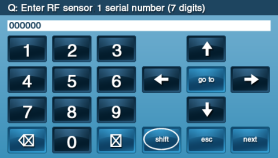
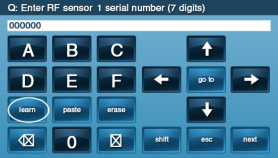
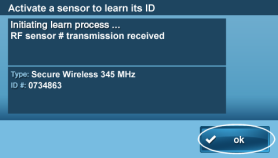
5. Enter the serial number from the sensor sticker. Alternatively, you can press shift, then press learn, then tamper/activate the sensor, and then press Ok. Once the serial number is entered manually or through the alternative process, press the down arrow to continue.
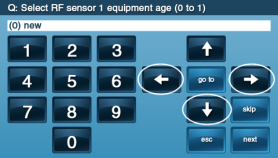
6. Enter 0, then press the down arrow to continue.
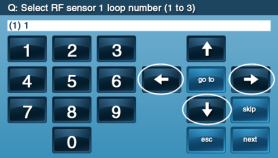
7. Enter 1 if using an external switch or 2 if using an internal reed switch, then press the down arrow to continue.
8. Enter 1 to enable the 30-second dialer delay, then press the down arrow to continue.

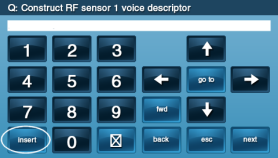
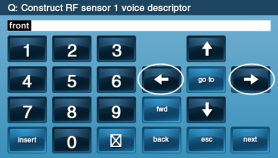
9. Press insert and use the arrows to select a voice descriptor for the sensor, then press the down arrow to continue. Note: multiple words can be added by pressing insert again.
10. Enter 1 to enable central station reports, then press the down arrow to continue.

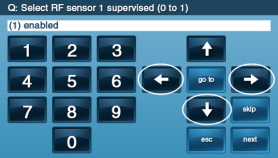
11. Enter 1 to enable sensor supervision, then press the down arrow to continue.
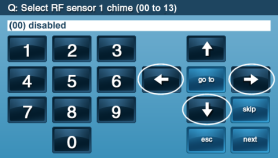
12. Press the arrow buttons to scroll through numbered chime sounds, then press the down arrow to continue.
13. Press the down arrow to complete the process or press Edit Next to program in the next sensor.