IQ Panel 2—Using Photo Frame
Using the Photo Frame Video
Step-by-Step Instructions
1. Load 800 x 480 pixel photos on a Micro-SD card, then insert the card into the right side slot

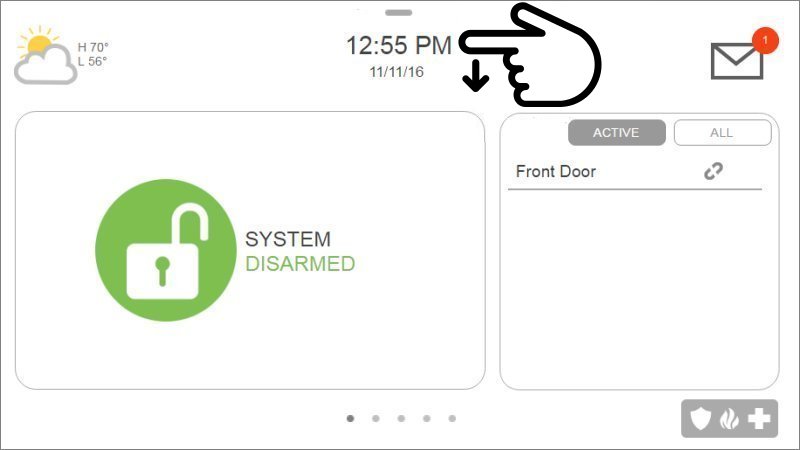
2. Press or swipe down top clock display for Settings, then press PHOTO FRAME

3. Press PLAY to view a slideshow of all available images


4. To delete images press DELETE, select the images, then press DELETE again


5. To add images press ADD, select the images, then press ADD NEW PHOTOS


6. To change settings press SETTINGS, then select the settings you want to change


7. Press DURATION, then select how many minutes before slideshow or clock displays

8. Press EFFECTS to display how images display during slideshow

9. Press SHUFFLE to toggle random pictures ON or OFF

10. Press DISPLAY TYPE to select between Photo Frame or Weather Clock display

11. Press BACK or the HOME button to exit
