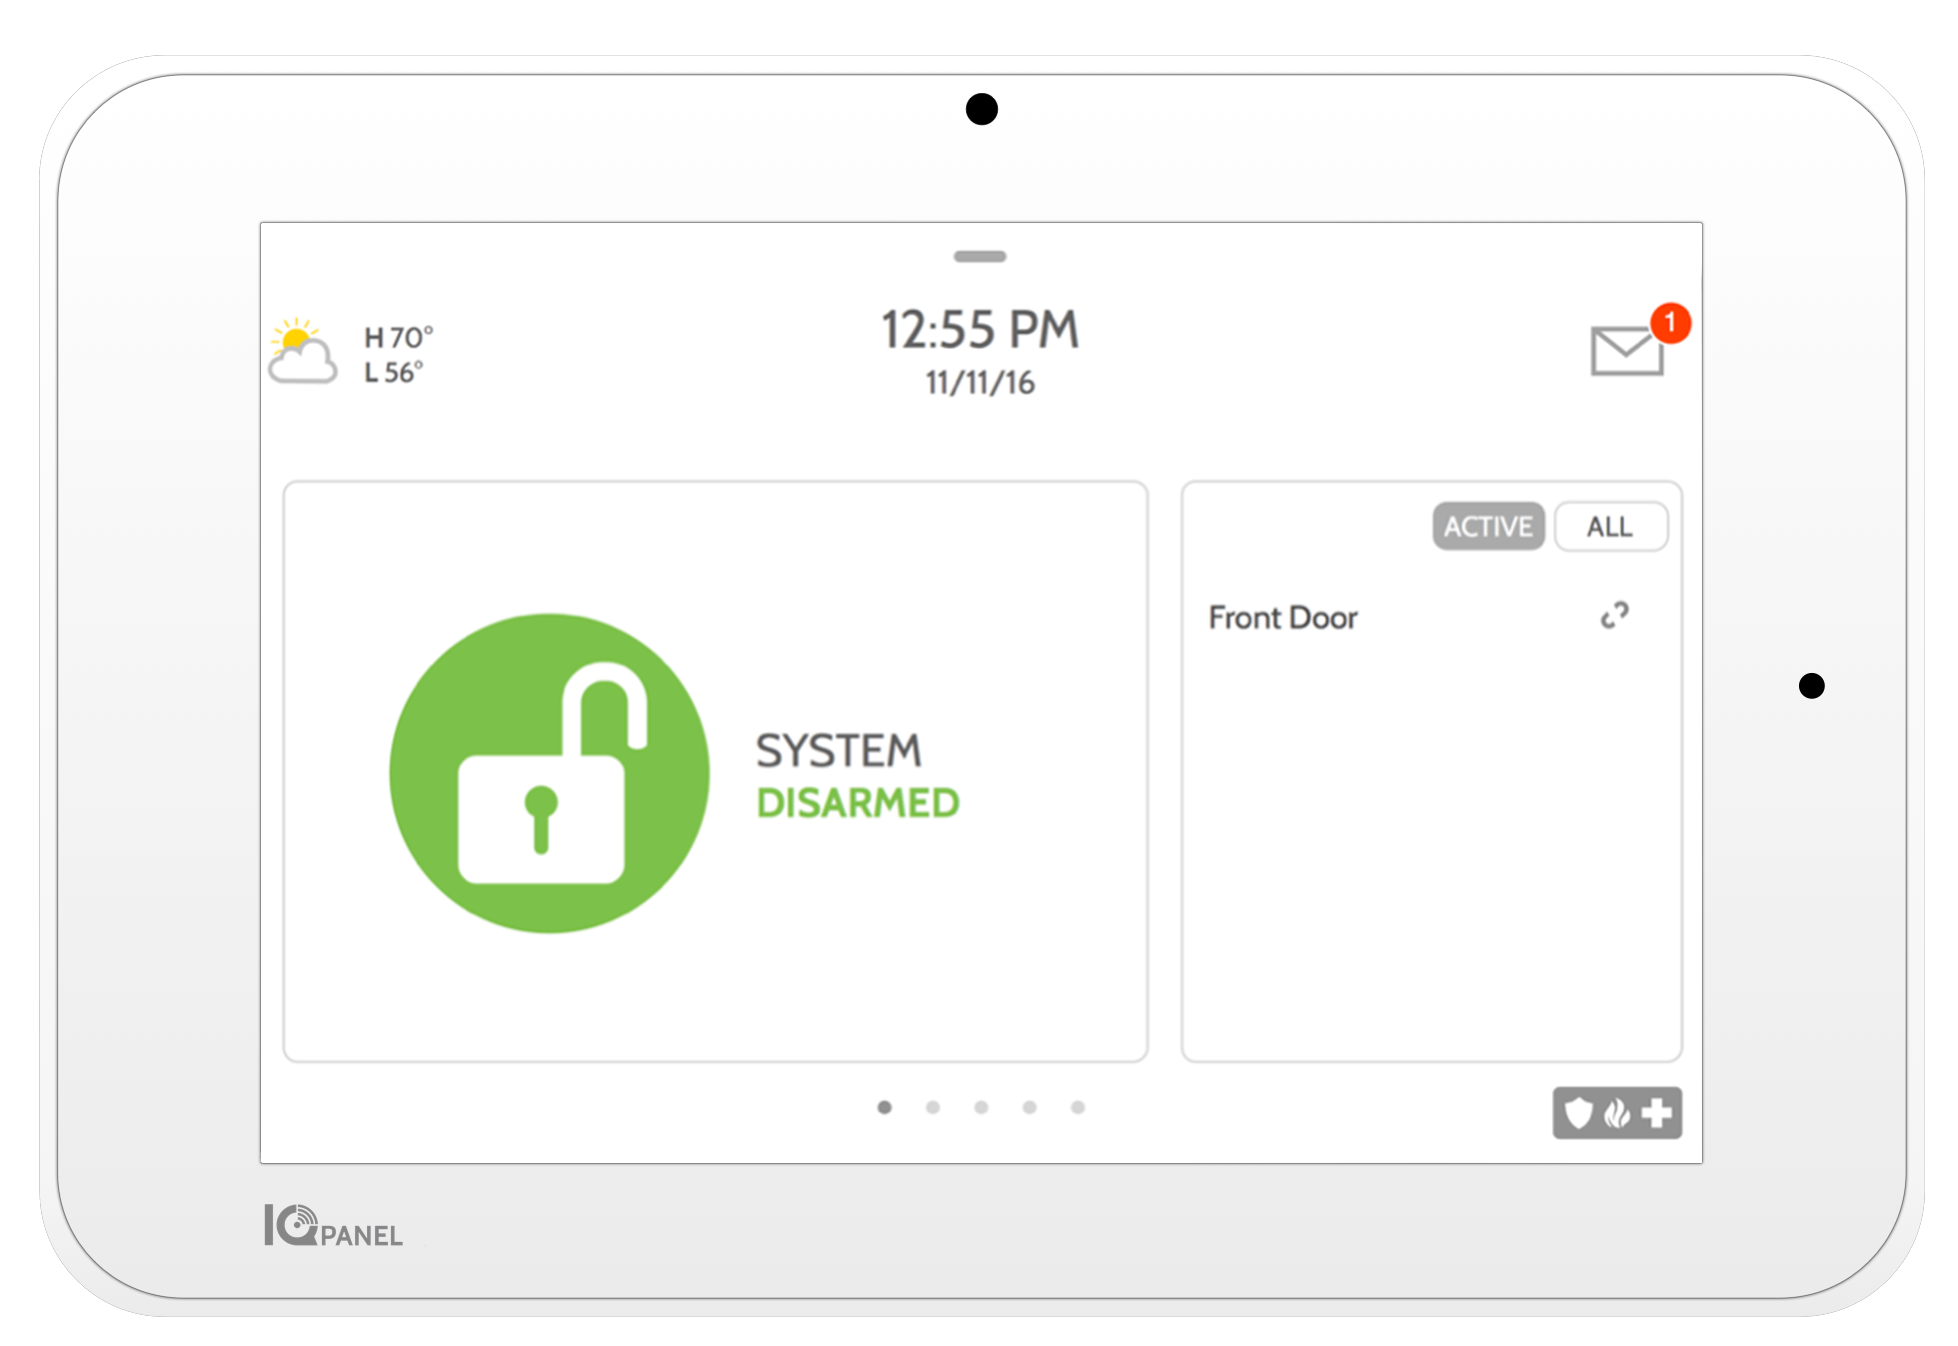
IQ Panel 2 Guide
Summary
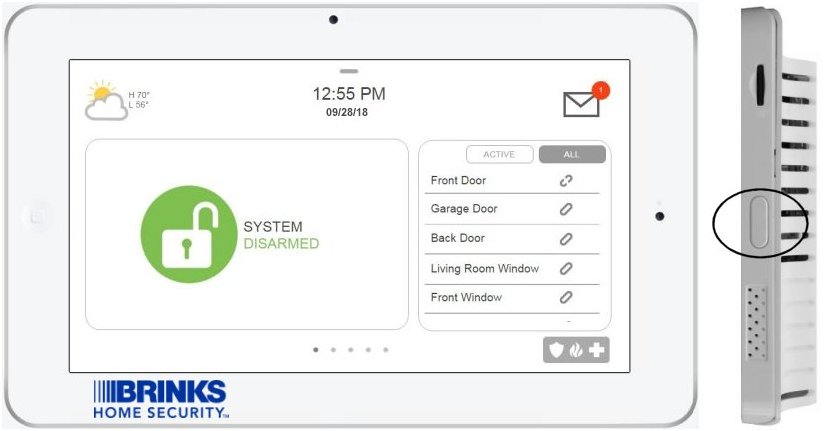
This article includes: instructional video demonstrates how to perform basic functions on the IQ Panel 2, arming/disarming methods, checking system status, managing user codes, adjusting display and audio settings, and powering the panel on and off.
Specifications
- Dimension: 5″ H × 7.75″ W × 0.75″ D
- Touch screen: capacitive glass multi-touch
- Battery: lithium-polymer 3200 mAh
- Storage: 8 GB NAND flash + microSD slot
- Z-Wave Plus: up to 128 devices
- Wireless: Wi-Fi 802.11 a/b/g/n/ac dual-band; Bluetooth 4.0
- Cellular: LTE
- Front camera: 5 MP fixed focus
- Operating temperature: –10 °C to 50 °C (14 °F to 122 °F)
Features
- Dual-path (LTE + Wi-Fi) connectivity for redundancy
- Built-in Z-Wave Plus (2×2 MIMO) for locks, lights, thermostats
- Bluetooth disarm—keep your phone in your pocket
- Onboard 5 MP camera captures disarm photos
- Built-in glassbreak detector & 85 dB siren
- Customizable photo frame when idle
- Expandable via up to 4 field-replaceable radios
- Works with the Brinks Home™ Mobile App
User Functions
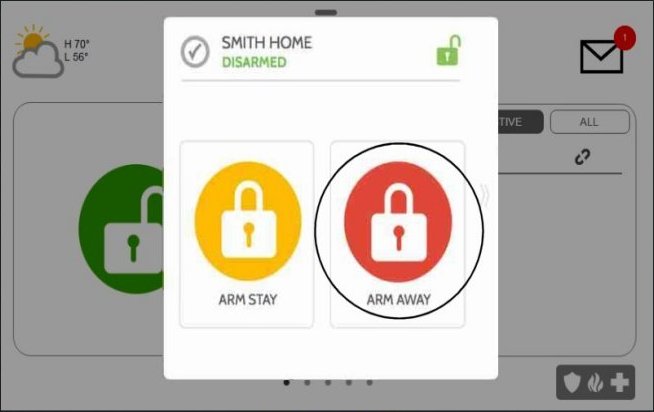
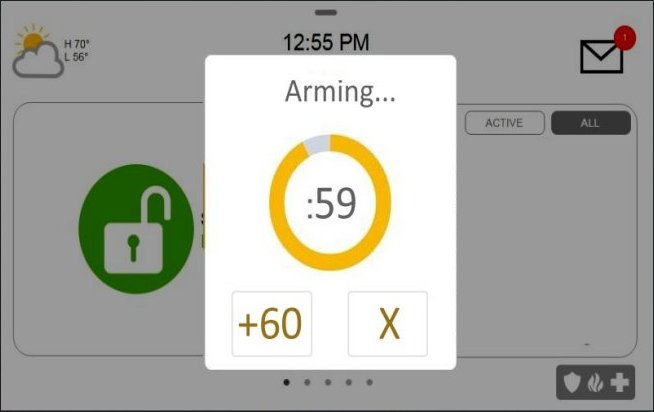
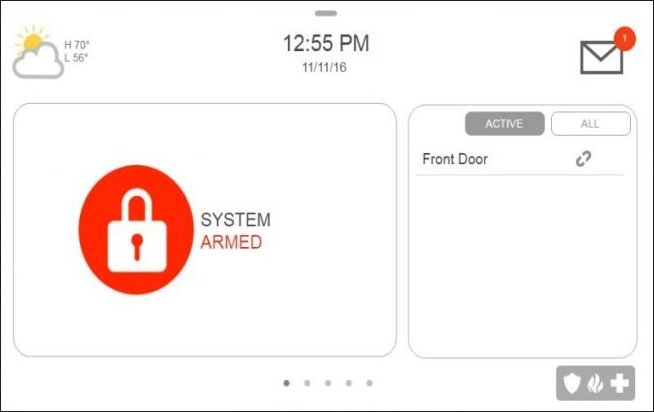
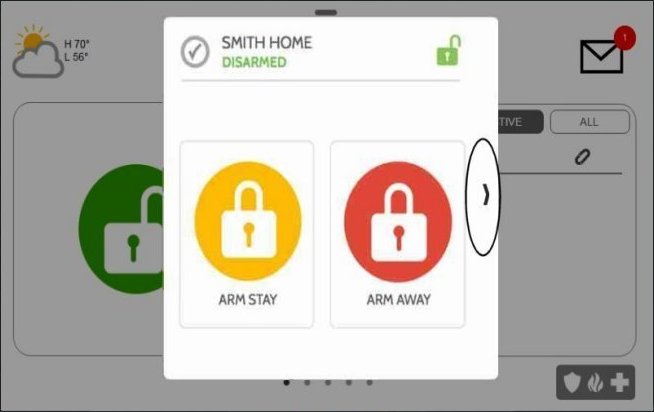
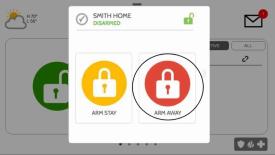
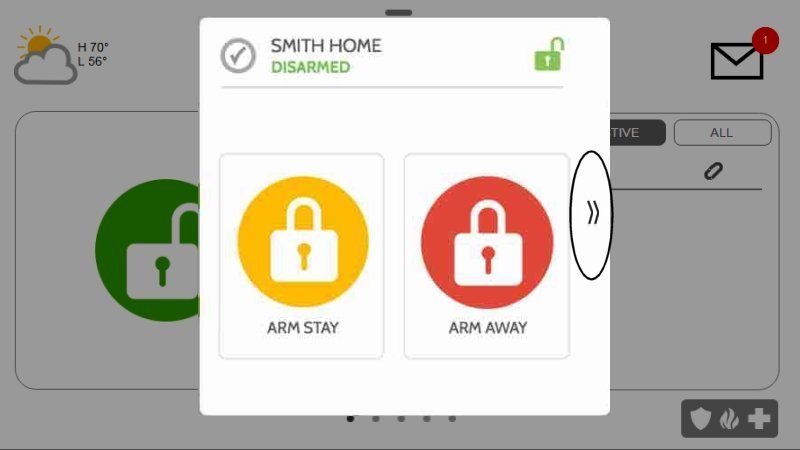
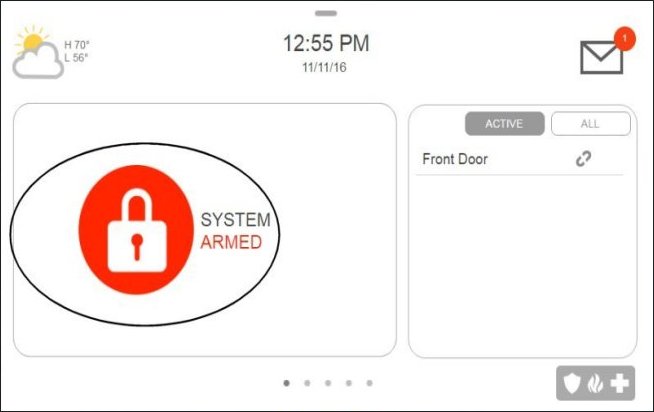
Arm Away
Use when leaving the premises.
- Press the Lock icon.
- Select Arm Away.
- Vacate during the exit-delay timer.

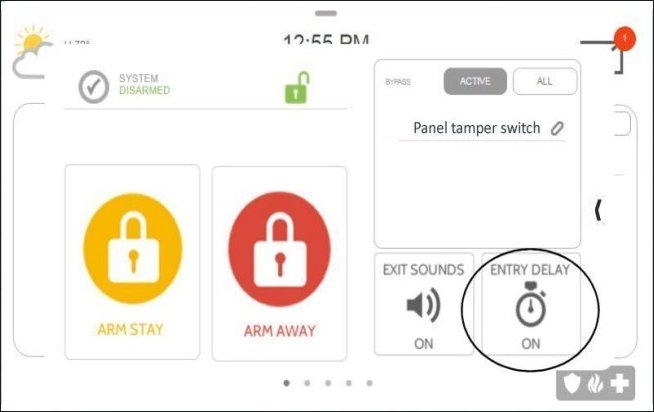
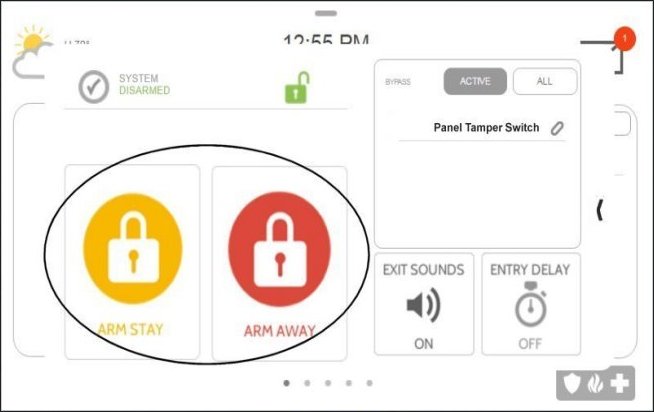
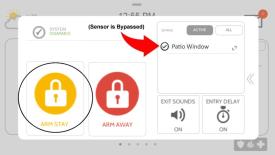
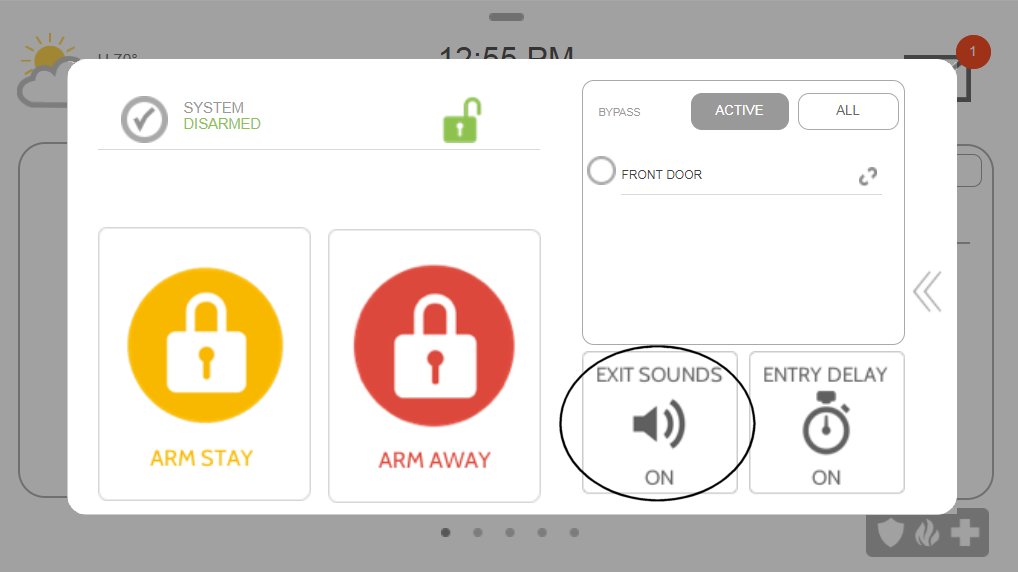
Arm Instant
Perimeter only; no entry delay.
- Tap Lock.
- Tap the right-arrow icon.
- Tap Entry Delay so it reads Off.
- Select Arm Stay or Arm Away.

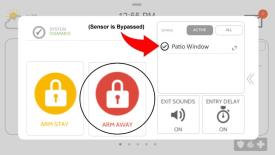
Force Arm Away
Bypasses open zones automatically.
- Tap Lock.
- Select Arm Away.


Arm Partition Away
Arms only the selected partition.
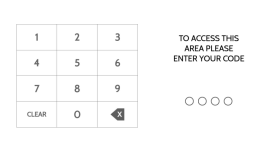
- Enter your code at the lock screen.
- Swipe to choose partition.
- Tap Lock, then Arm Away.

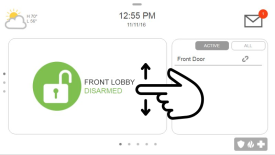
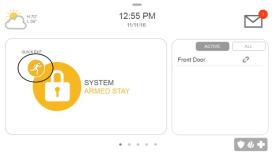
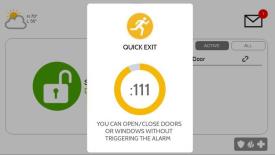
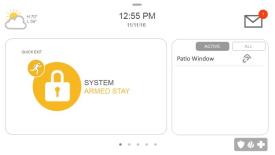
Quick Exit (from Arm Stay)
Allows exit without disarming.
- Tap the runner icon.
- A 120-second exit delay begins.
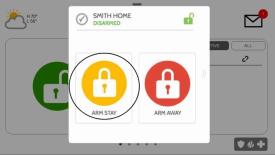
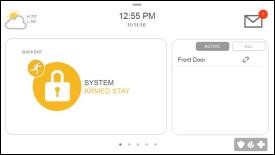
Arm Stay
Use when remaining on site.
- Tap Lock.
- Select Arm Stay.
Force Arm Stay
Bypasses open sensors, arms ready ones.
- Tap Lock; open zones display.
- Select Arm Stay.

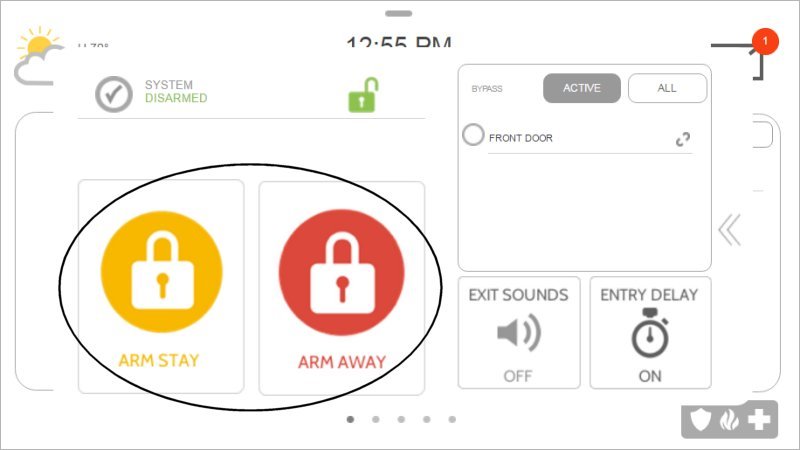
Silent Arm
Arm without exit tones.
- Tap Lock, then More (≫).
- Tap Exit Sounds to toggle off.
- Select Arm Stay or Arm Away.
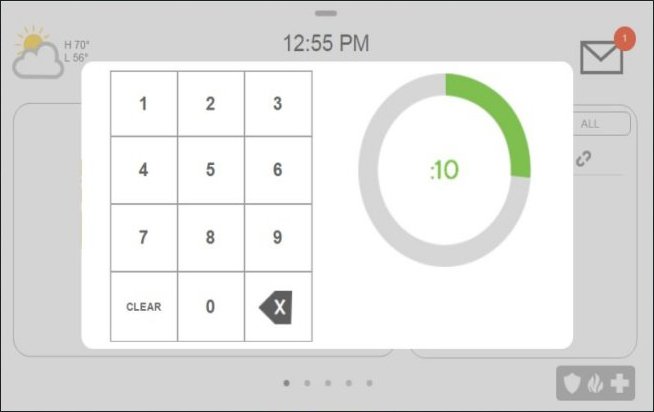
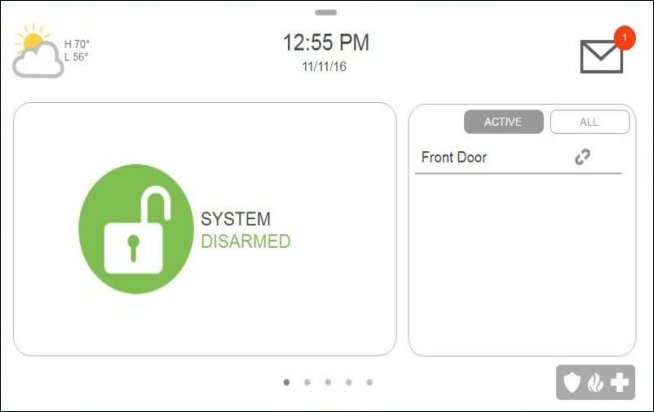
Disarm System
Silences alarms and resets.
- When armed away, enter your code during entry delay.
- When armed stay, tap Lock and enter your code.
Disarm Partition
Disarm a specific partition.
- Enter your code at the lock screen.
- Swipe to select the partition.
- Tap Lock, then enter the partition’s code.


Change Partition
Partitions must be enabled via Settings → Advanced Settings → Installation → Installer Settings → General → Enable Partitions.
- Enter your code at the lock screen.
- Swipe to choose a different partition (indicator dots change).
- Actions (arm/disarm) now apply only to that partition’s sensors.

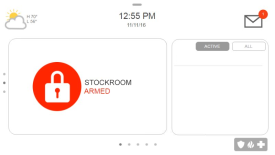
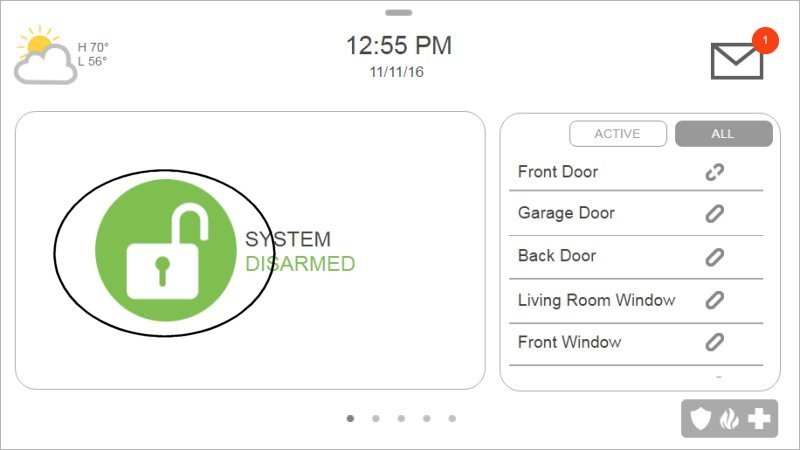
System & Sensor Status
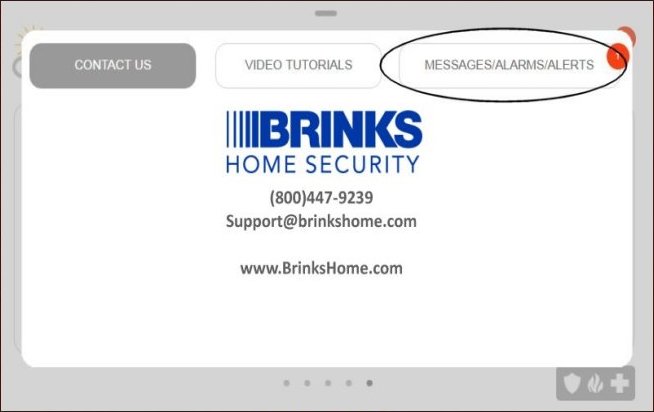
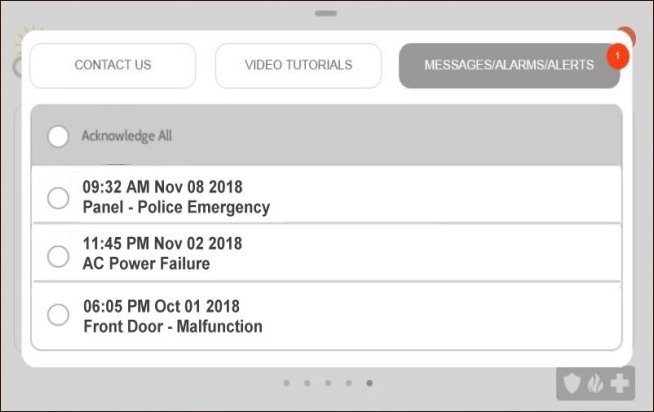
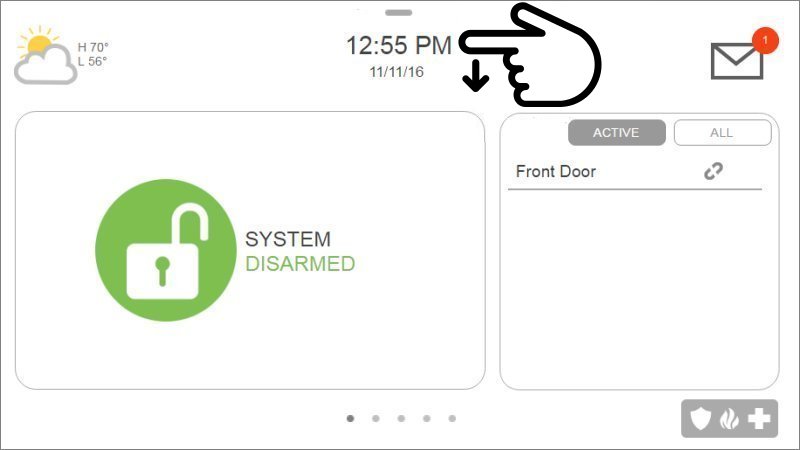
Check Your System Status
- Tap the logo (top right).
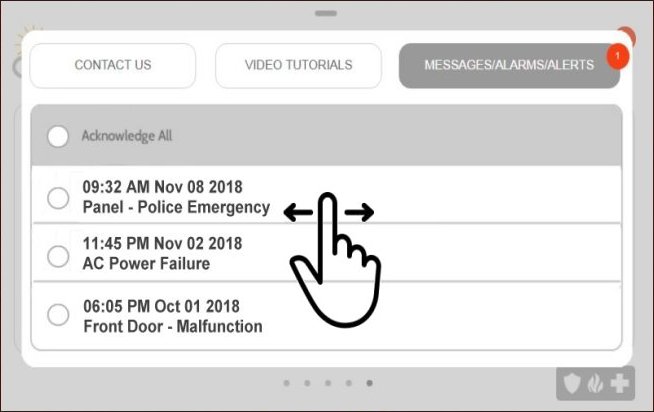
- Select Messages/Alerts/Alarms.
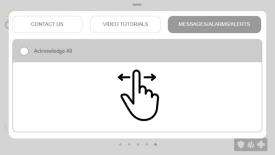
- Swipe left/right to exit.
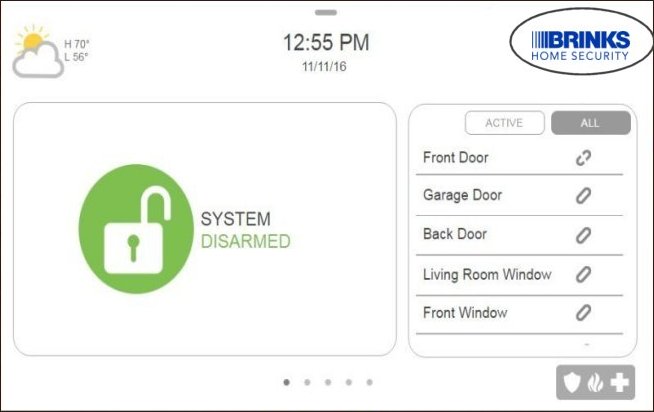
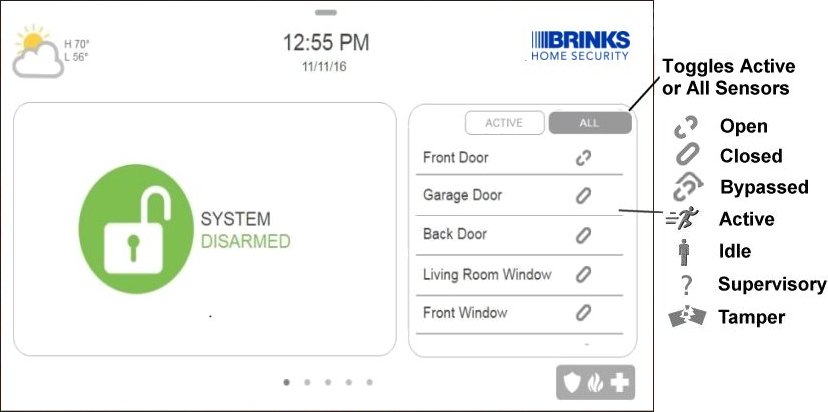
Check Sensor Status
Shows all sensors and any trouble conditions.
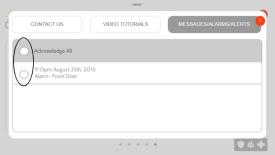
Alarm Memory
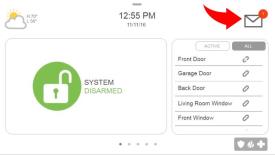
Clear Alarm History
- Tap the envelope icon (top right).
- Select Messages & Alerts.
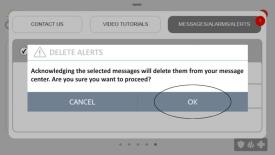
- Tap each alarm or tap Acknowledge All.
- Tap OK to delete, then swipe to exit.

User Code Management
Change Master Code
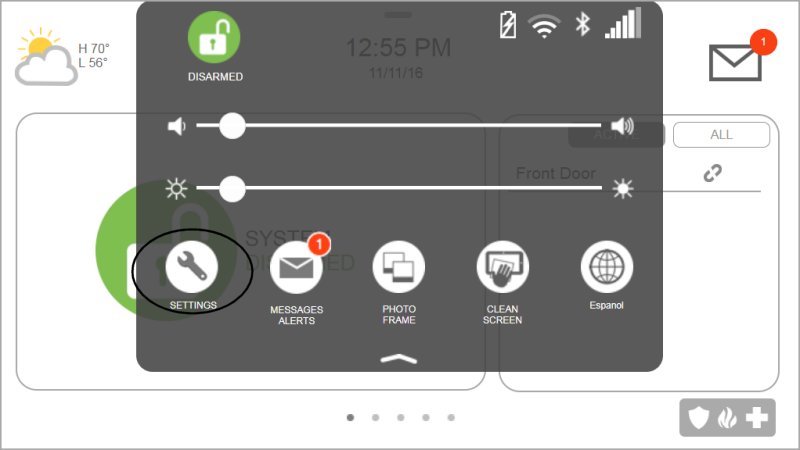
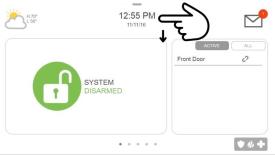
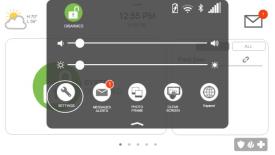
- Swipe down the clock display and tap Settings.
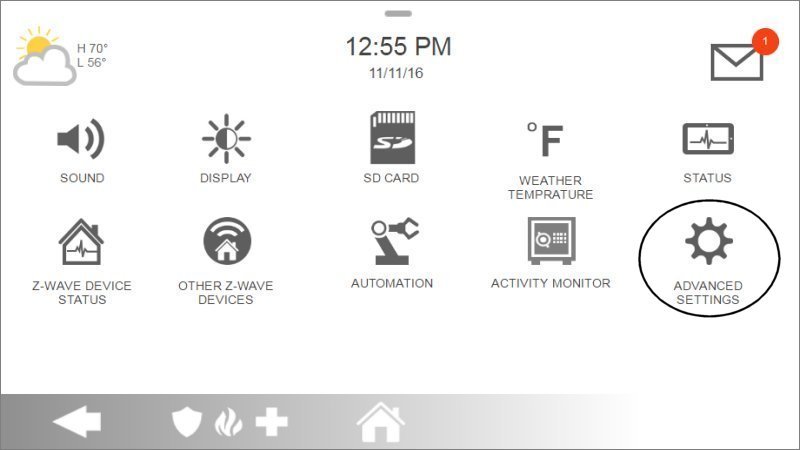
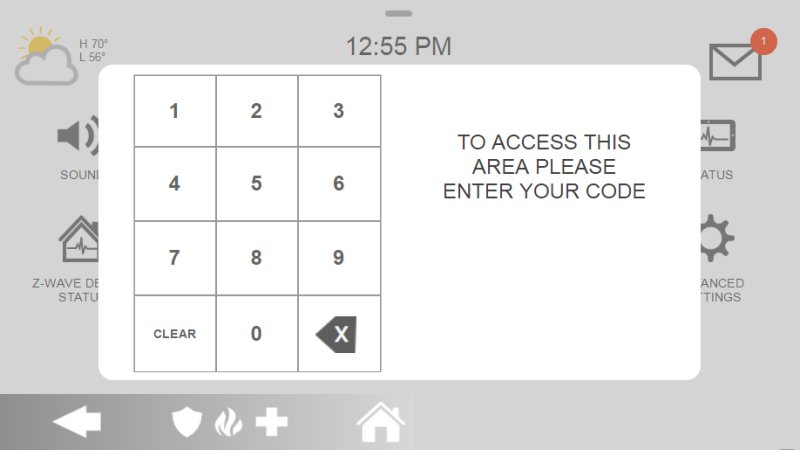
- Tap Advanced Settings, then enter your current master code.
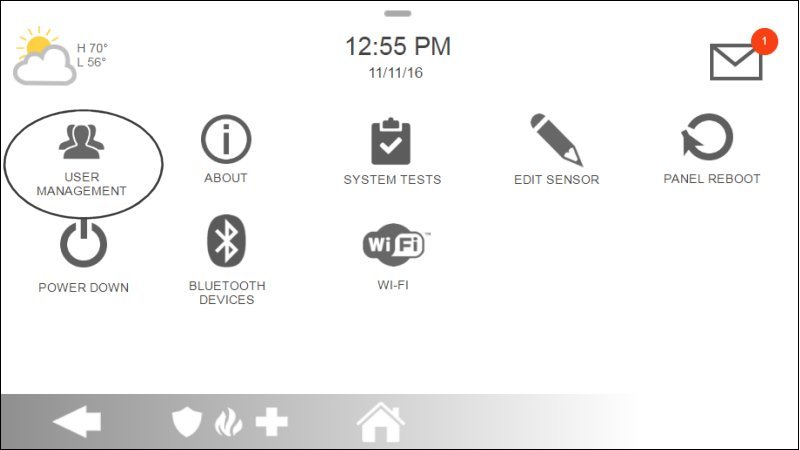
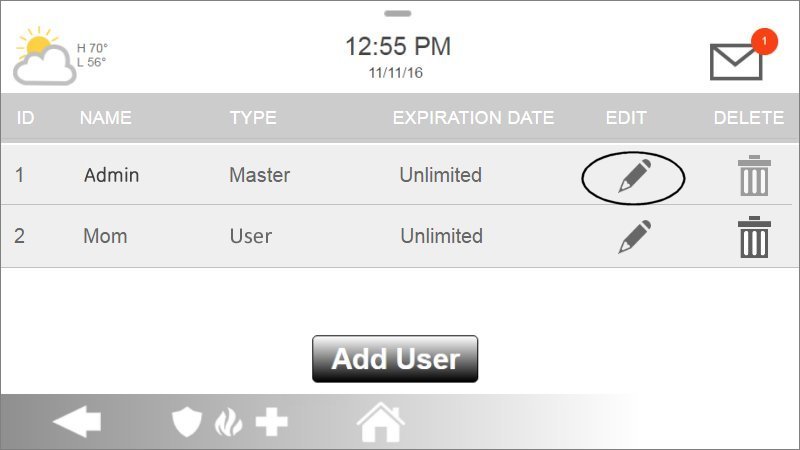
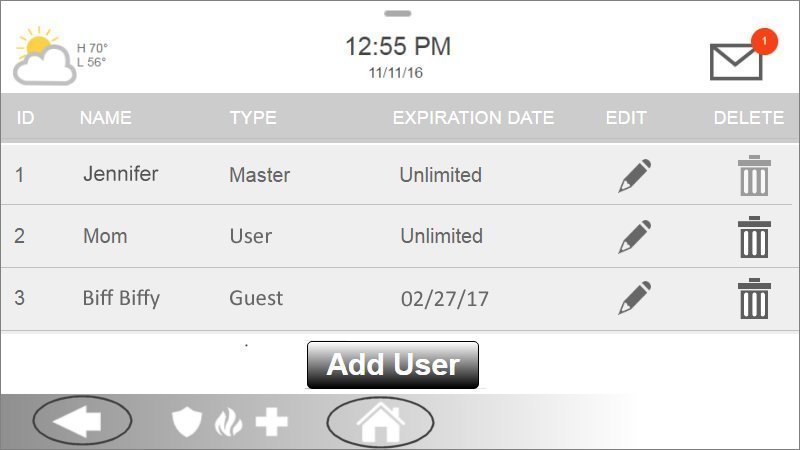
- Select User Management.
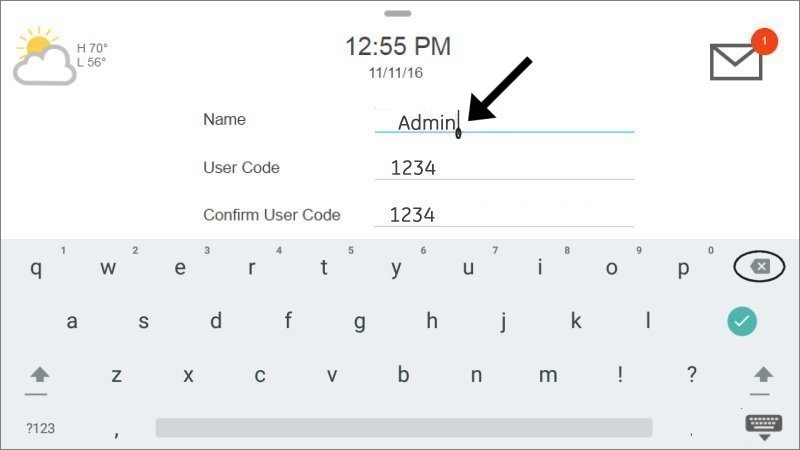
- Tap the pencil icon next to the Master entry.
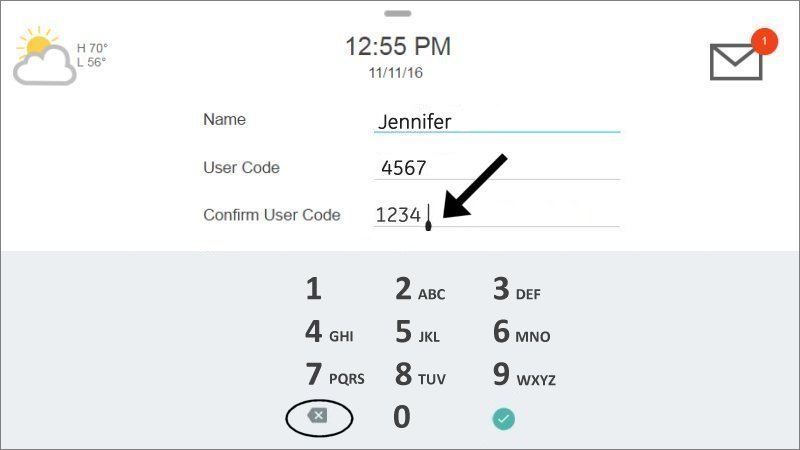
- Update the name field; tap the checkmark.
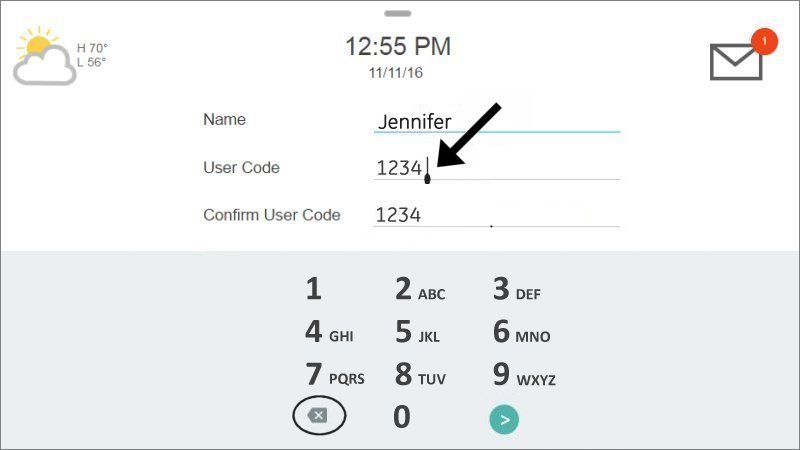
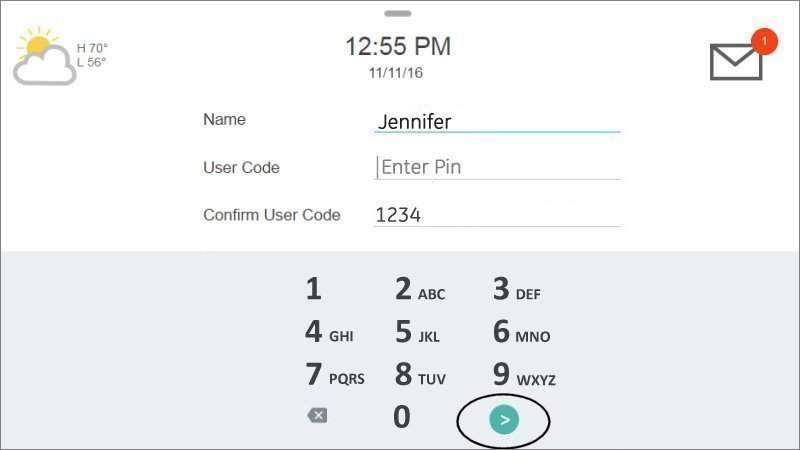
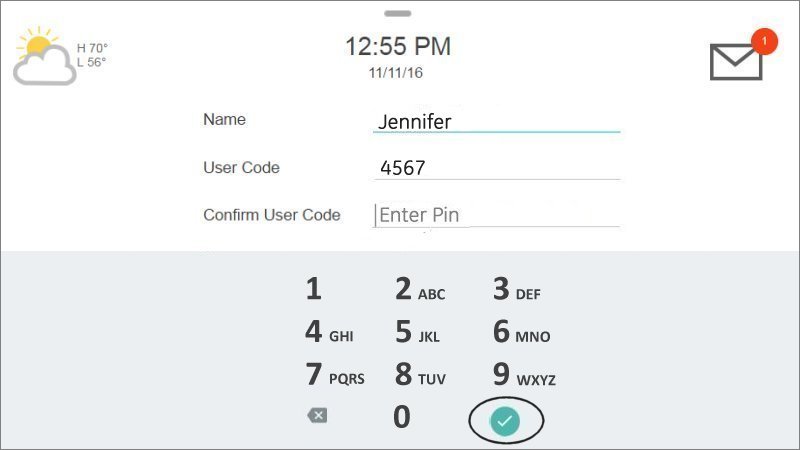
- Tap the user code field; enter the new code; tap the checkmark.
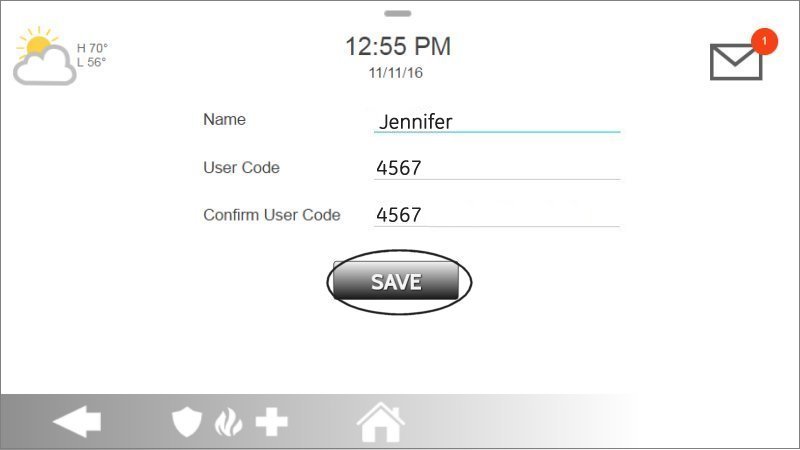
- Tap Save, then press Back or Home to exit.

Lost Master Code
- Swipe down the clock display; tap Settings.
- Tap Advanced Settings, then enter the default installer code 1111.
- Select User Management.
- Tap the pencil icon next to the Master entry.
- Tap the code field; press the back arrow to clear; enter new code; tap checkmark.
- Tap Save to confirm and exit.
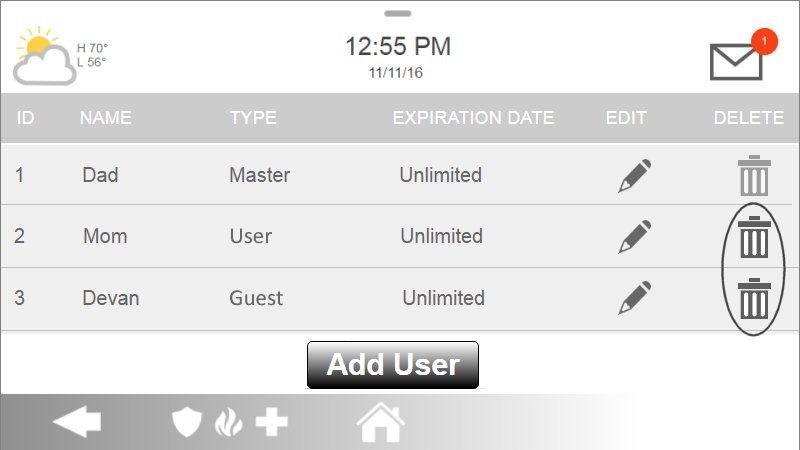
Delete User Code
- Swipe down clock display; tap Settings.
- Tap Advanced Settings, then enter your master code.
- Select User Management.
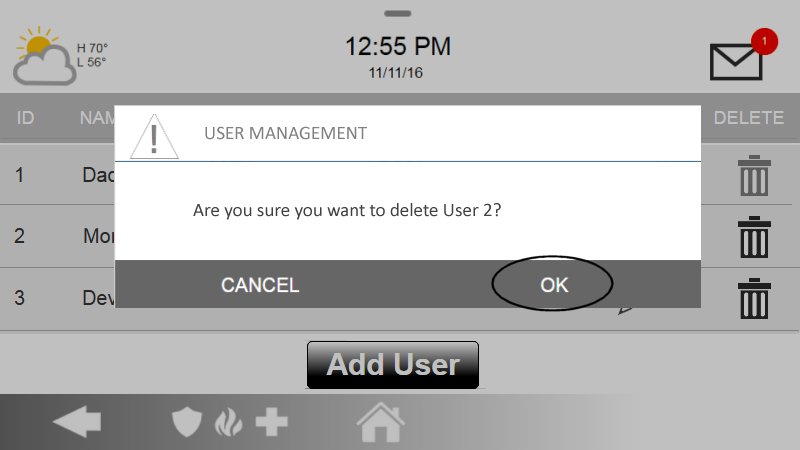
- Tap the trash icon beside the user.
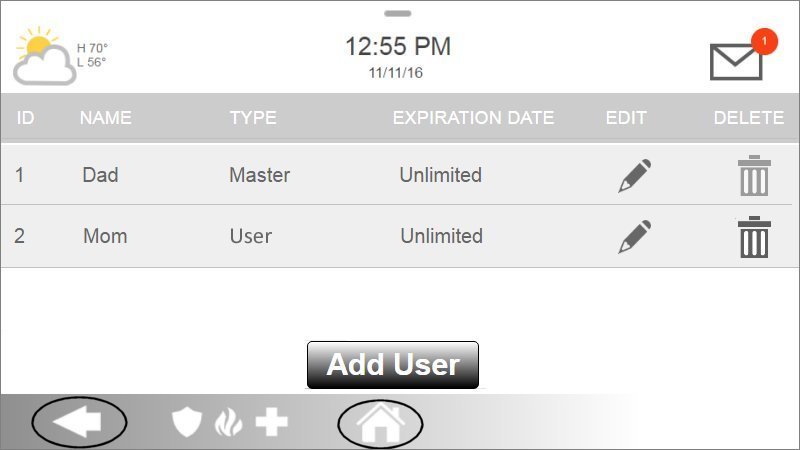
- Tap OK to confirm; then Back or Home to exit.

Display & Audio Settings
Display Brightness
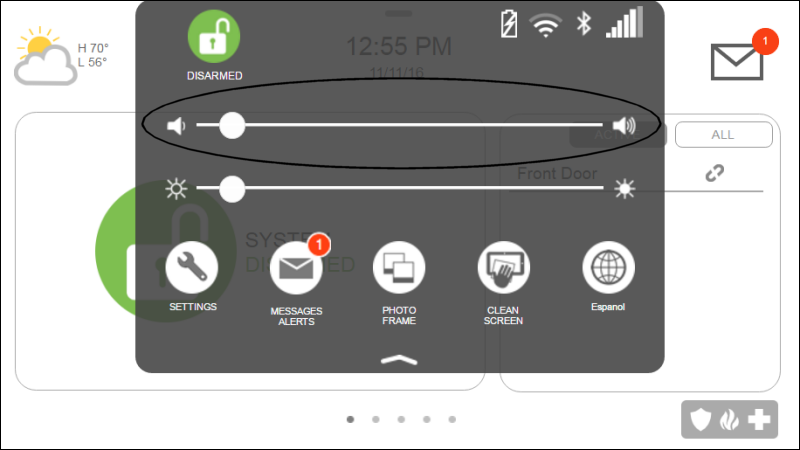
- Swipe down clock display.
- Drag the brightness slider left/right.


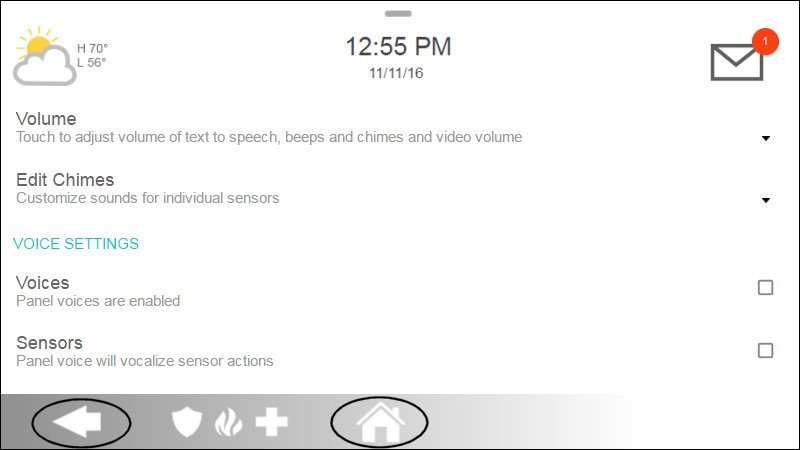
Voice Enable/Disable
- Swipe down clock display; tap Settings.
- Tap Advanced Settings; enter your code.
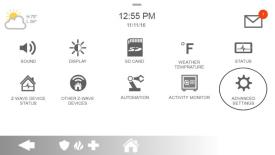
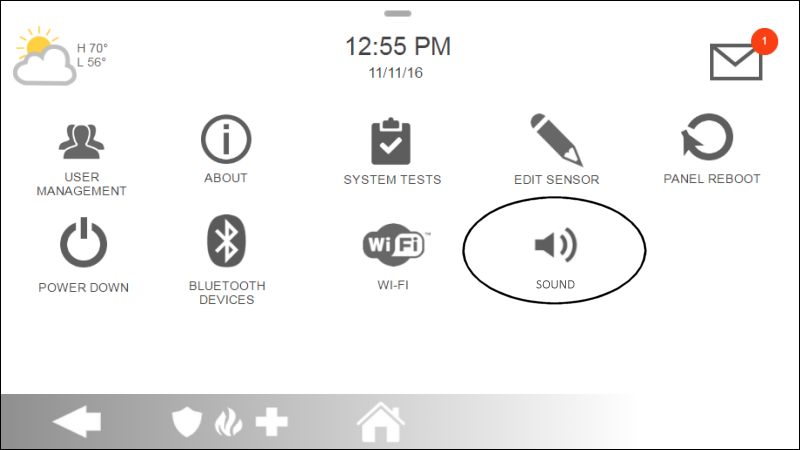
- Select Sound.
- Toggle Voices or Sensors.
- Tap Back or Home.
Volume Control
- Swipe down clock display.
- Slide volume left/right.

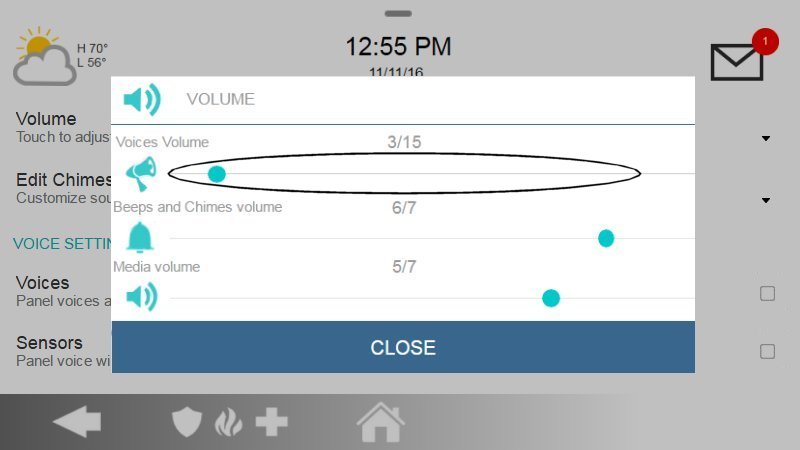
Chime Volume
- Swipe down clock display; tap Settings.
- Tap Advanced Settings; enter your code.
- Select Sound.
- Tap dropdown next to Volume.
- Adjust chime sliders.
- Tap Close, then Back or Home.

Power Management
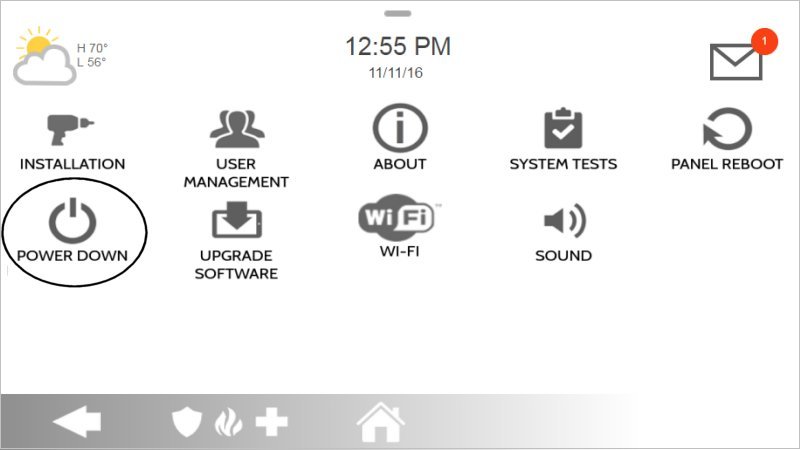
How to Reboot the Panel
- Swipe down clock display; tap Settings.
- Tap Advanced Settings; enter your code.
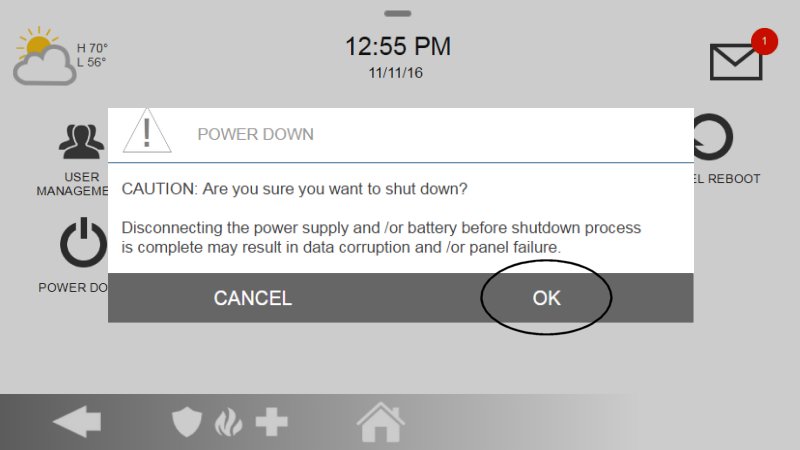
- Tap Power Down; confirm OK.
- Wait 2 minutes; hold side power button for 3–4 seconds to power up.


If it doesn’t power up, confirm the outlet works and isn’t on a switch.
How to Power Down the Panel
- Unplug the transformer from the outlet.
- Allow up to 24 hours for the internal battery to drain.
- Plug the transformer back in.
- Wait 2 minutes; hold side power button for 3–4 seconds to power up.
After restoring power, allow up to 24 hours for the low-battery message to clear.
Need Further Assistance?
Text a Support Representative at 469.513.8685.
For complete details, see the IQ Panel 2 User Manual.