How to Program the RE524X to your Panel
Connect the Translator to Your Panel
Follow the steps below to program the Resolution RE524X translator to your panel.
- Enter your panel into learn mode. For instructions on entering your panel into learn mode, select one of the panels below or refer to your user manual.
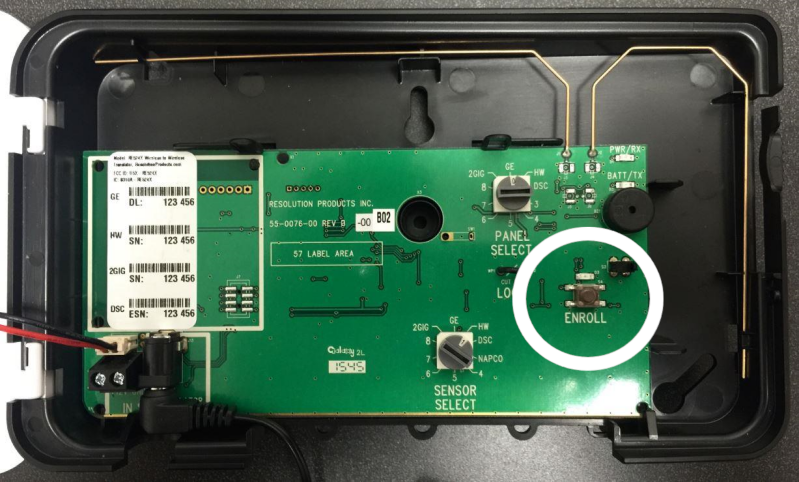
- With the translator open and the panel in learn mode, press the enroll button on the translator.
- Set the following information depending on your panel type:
- 2GIG or Honeywell: enter sensor type 03, then enter the loop number 1.
- Interlogix or Qolsys: enter sensor type 13.
- DSC: enter sensor type 03.
Connect a Sensor to Your Translator
Follow the steps below to program sensors into your translator.
- Turn the panel select dial on the translator to match your brand of panel.
- Turn the sensor select dial on the translator to match your brand of sensor.
- Press the configure button, and you will notice a yellow LED.
- Activate your sensor so that it is detected by your panel.
- Trip a 2GIG or Honeywell sensor for the system to recognize it.
- Activate the tamper on Interlogix, GE and Qolsys sensors for the system to recognize it.
- Press the configure button or close the translator cover to exit programming.
Note: if you are using 2GIG or Honeywell brand sensors on any 2GIG panel, select 2GIG as the sensor type by default.
The following instructions are panel specific steps for adding the translator to each specific panel. If your panel is not represented, refer to your user's manual or text a Support Representative any time at 469.513.8685.
2GIG GC2 Learn Mode Instructions:
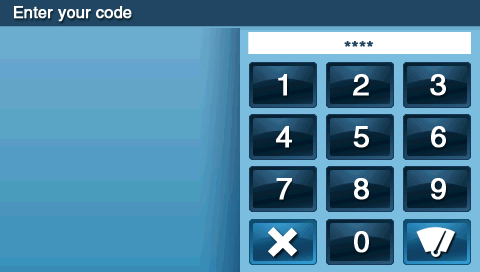
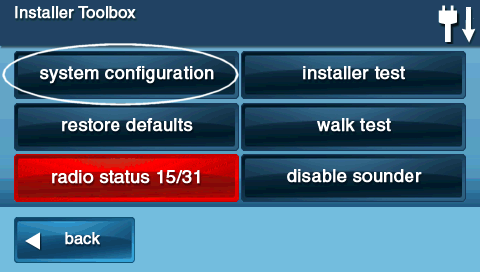
1. To program a translator into a security zone, you will first need to access the installer toolbox. Press the 2GIG logo on your panel screen, then enter the default installer code 1561.
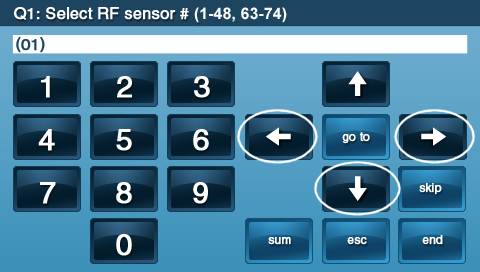
2. Press System Configuration, select a sensor zone number not currently in use (01 to 48, 63-74), then press the down arrow.
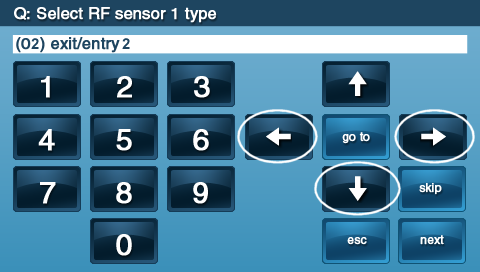
3. Press the left or right arrows to select Sensor Type, then press the down arrow.
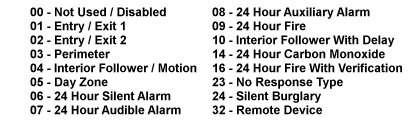
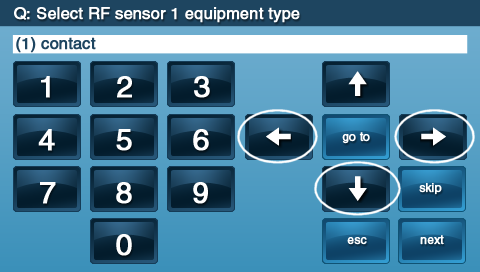
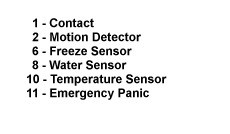
4. If 04, 06, 07, 08, 10, or 23 were selected above, enter Equipment Type, then press the down arrow.
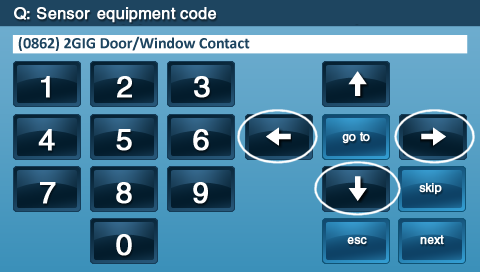
5. Press the right arrow to select the equipment code 0000 - Other. Press the down arrow to continue.
6. To auto-learn the translator, press Shift then Learn, then activate the translator.
Click here to return to translator instructions.
2GIG GC3 Learn Mode Instructions:
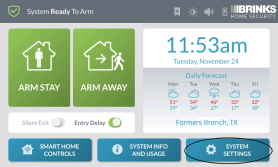
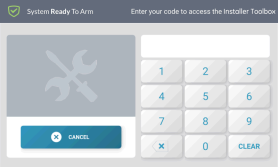
1. Press System Settings, enter the default installer code 1561, then press Installer Toolbox.

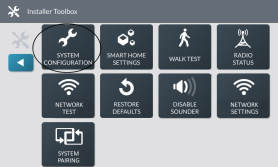
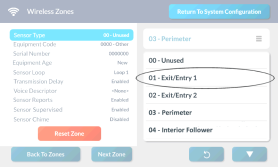
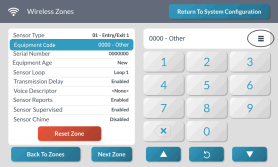
2. Press System Configuration, press Wireless Zones, select Wireless Zone 001 to 100 on the left, then press Edit Zone.

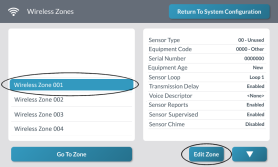
3. Press Sensor Type, then choose from the list of sensor types.
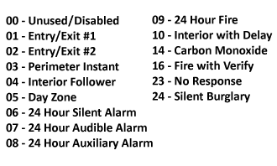
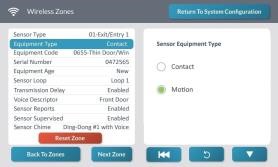
4. If sensor type 04, 06, 07, 08, 10, or 23 was selected, enter Sensor Equipment Type.
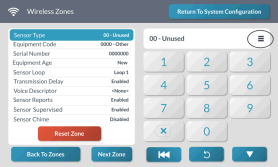
5. Press Equipment Code, then choose 0000 - Other from list of all equipment codes.
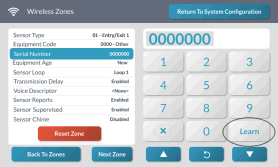
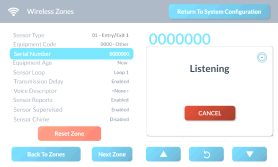
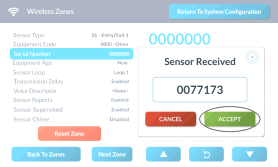
6. Press Learn, activate the translator, then press Accept to finish.
Click here to return to translator instructions.
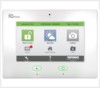
Qolsys IQ1 Learn Mode Instructions:
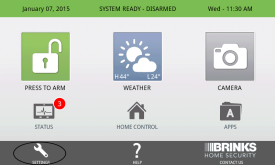
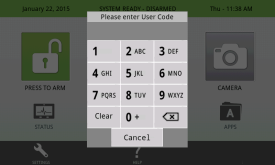
1. Select the settings icon in the lower left corner of the panel, then enter the default installer code 1111 or 2222.
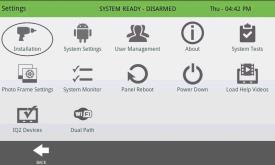
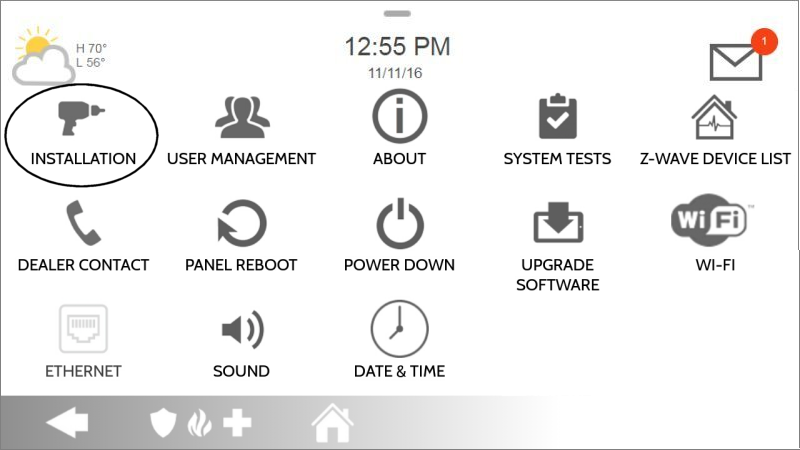
2. Select Installation.
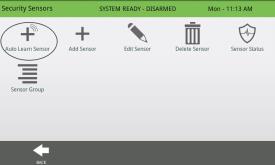
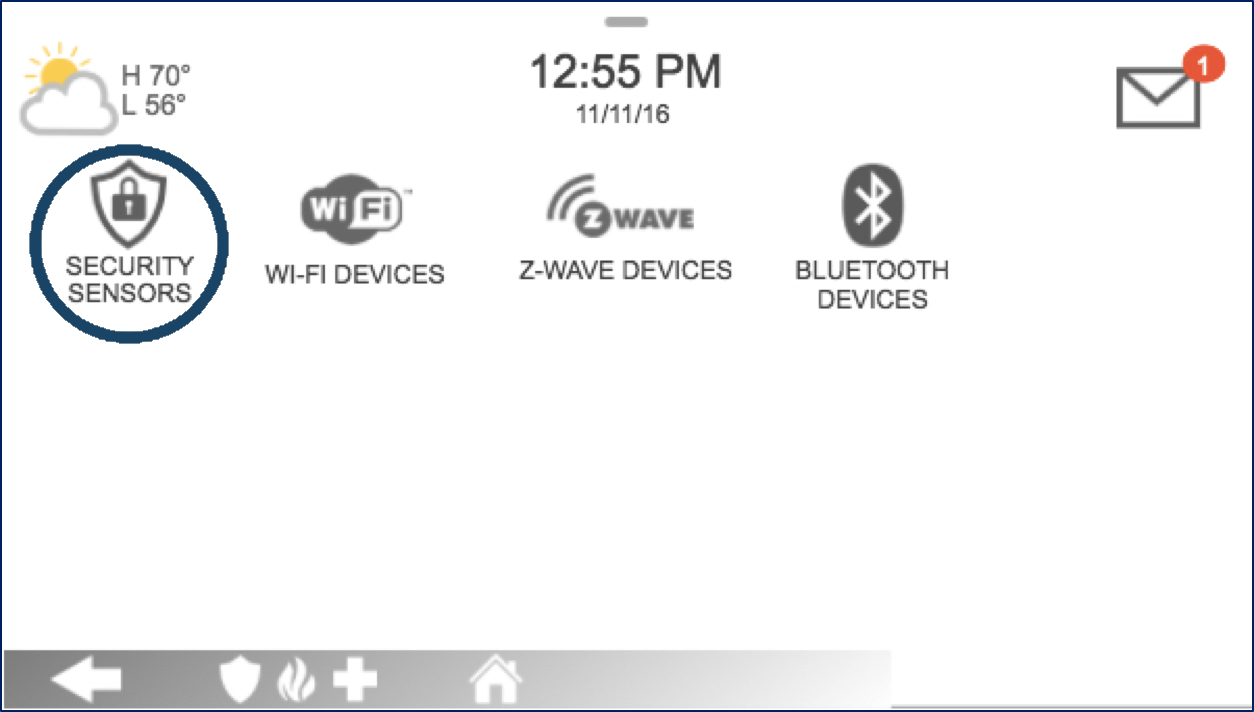
3. Select Security Sensors.

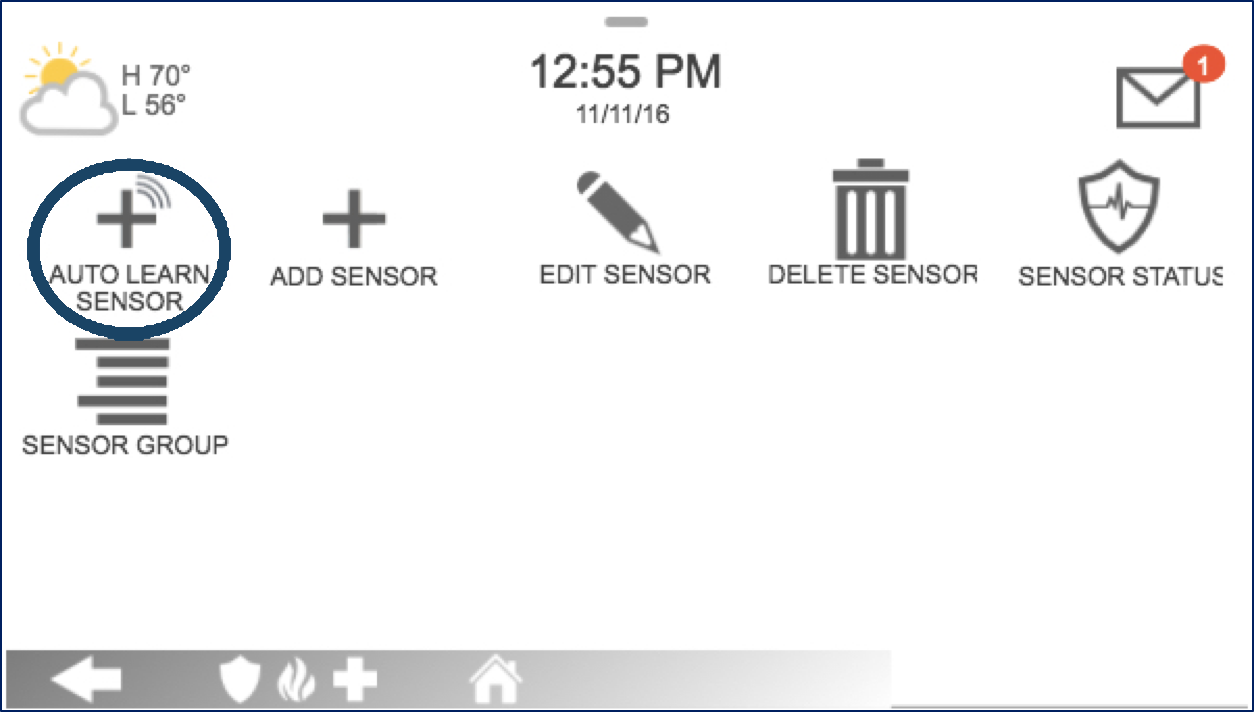
4. Select Auto Learn Sensor.
Click here to return to translator instructions.
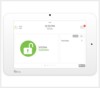
Qolsys IQ2 Learn Mode Instructions:
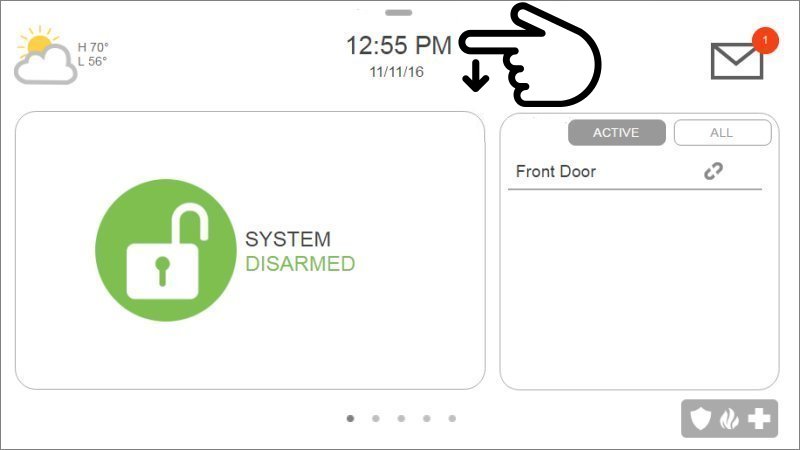
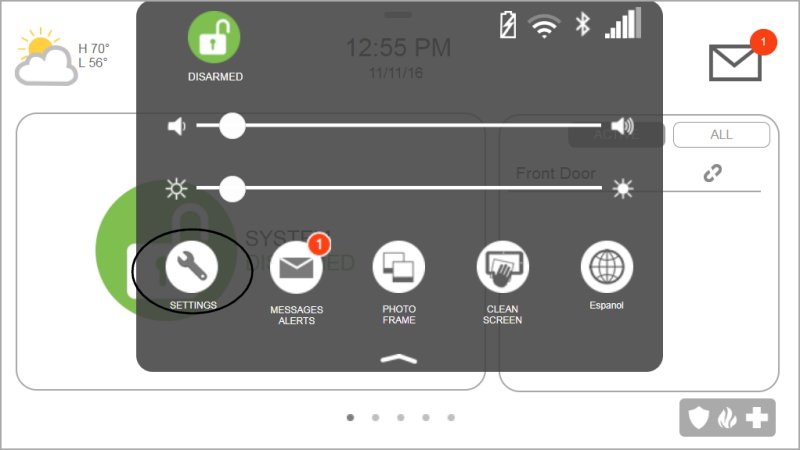
1. Swipe down from the clock display at the top of the screen, then press Settings.
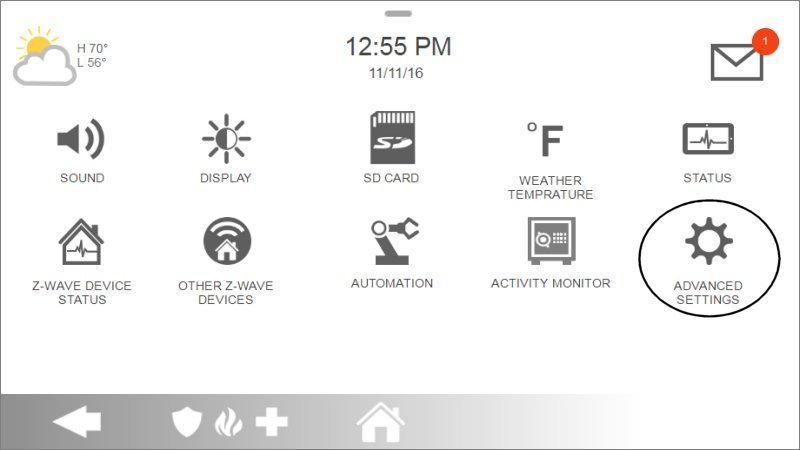
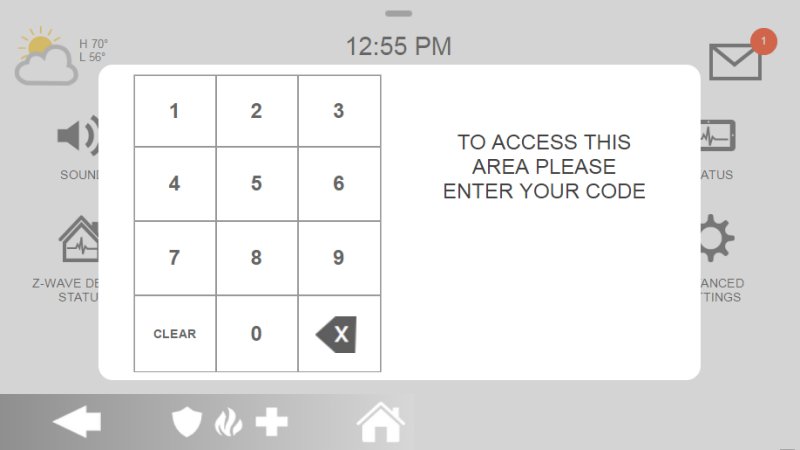
2. Press Advanced Settings, then enter the default installer code 1111 or 2222.
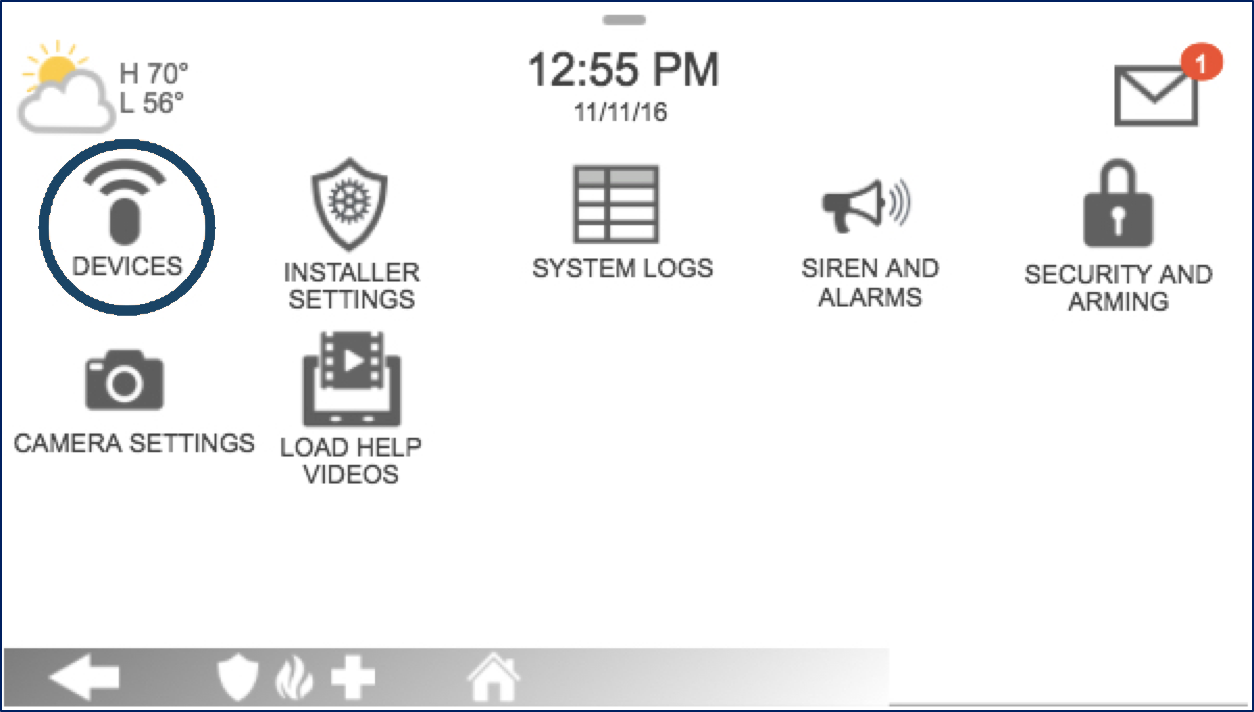
3. Press Installation, then Devices.
4. Press Security Sensors, then Auto Learn Sensors.
Click here to return to translator instructions.
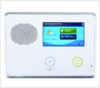
Simon XT Learn Mode Instructions:
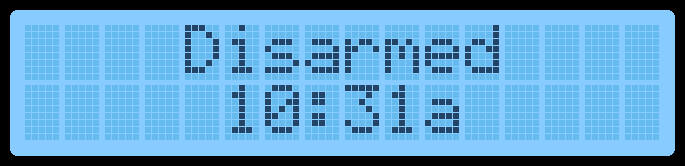
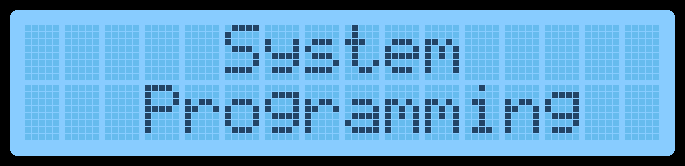
1. Start with your system in a disarmed state. Press the up or down arrows until you get to System Programming, then press Ok.
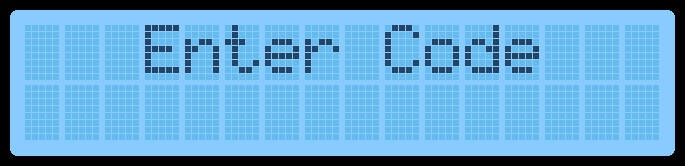
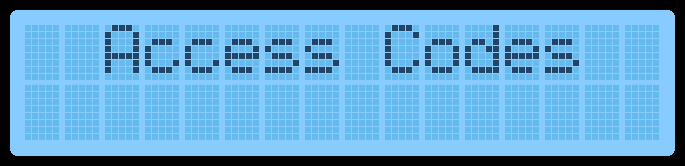
2. Enter the default installer code 4321, then press Ok to enter the system programming menu, which first displays Access Codes.
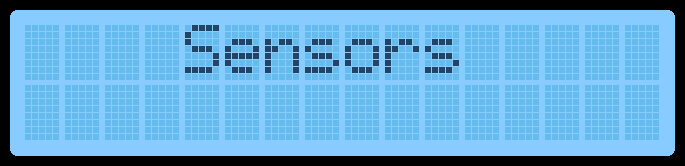
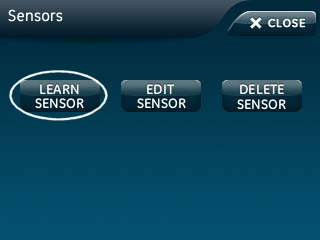
3. Press the up or down arrows until you get to Sensors, then press Ok. The system will display Learn Sensor.
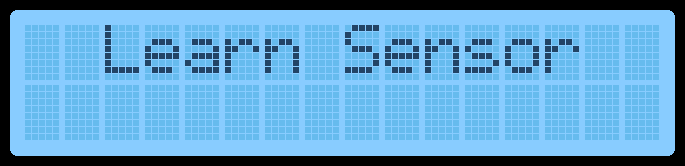
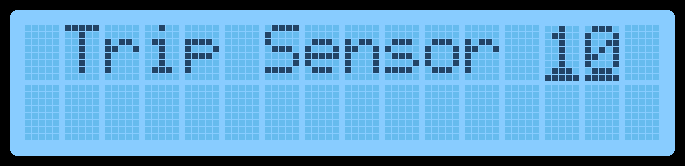
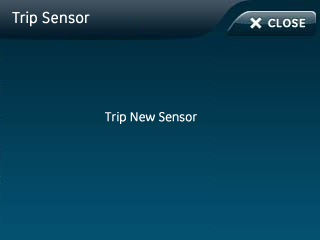
4. Press Ok again to place the Simon XT into sensor learn mode. The system will now prompt you to trip the device you want to learn.
Click here to return to translator instructions.
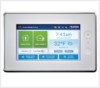
Simon XTi Learn Mode Instructions:
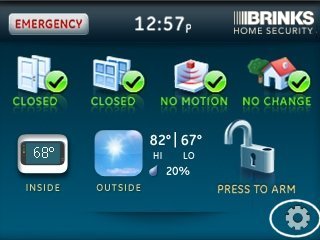
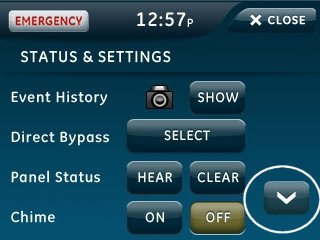
1. Press the settings gear, then press the down arrow several times.
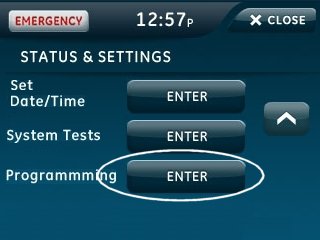
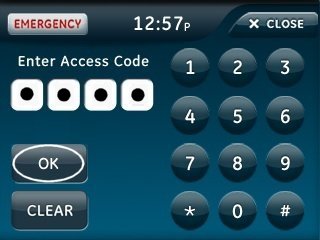
2. Press Enter by Programming, enter the default installer code 4321, then press OK.
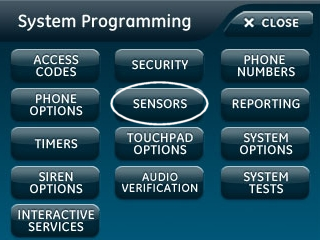
3. Press Sensors then Learn Sensor.
4. Simon XTi enters device learn mode.
Click here to return to translator instructions.