How to Program the DSC26103 to your Panel
Z-Wave Device Pairing Instructions for Multiple Panels
Z-Wave devices are compatible with a variety of panels. Follow the instructions below specific to your system. If your system isn’t represented, contact a support representative at 469.513.8685 for help.
Table of Contents
Qolsys IQ Panel 2 Z-Wave Pairing Instructions
Follow these steps to pair Z-Wave devices with the Qolsys IQ Panel 2:
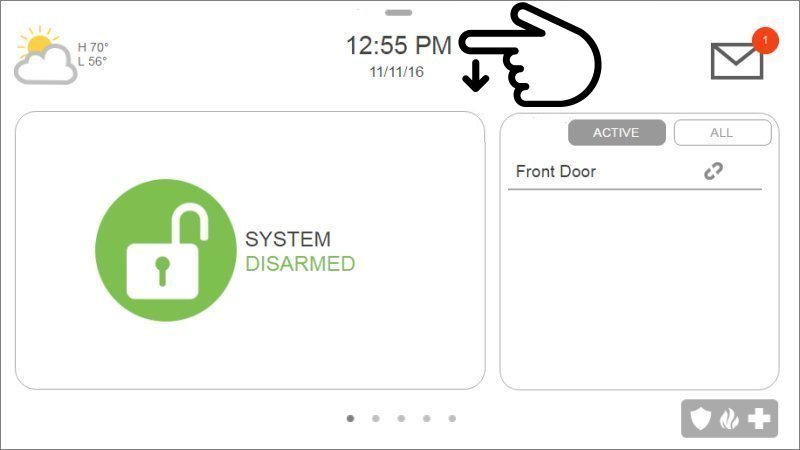
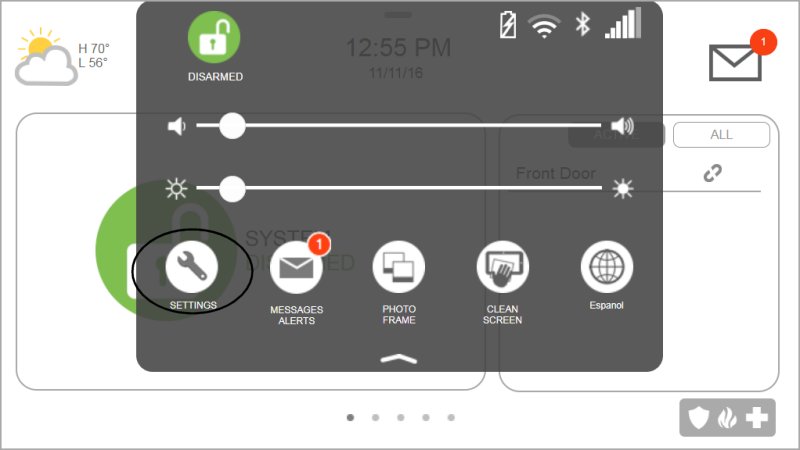
Step 1: Access Settings
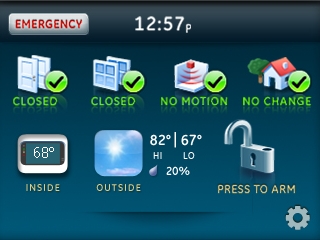
Press or swipe down on the clock display at the top to reveal the Settings Tray, then press Settings.
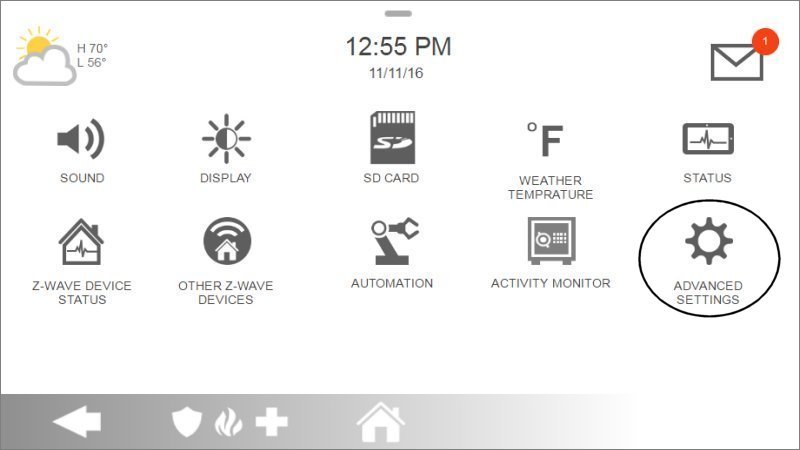
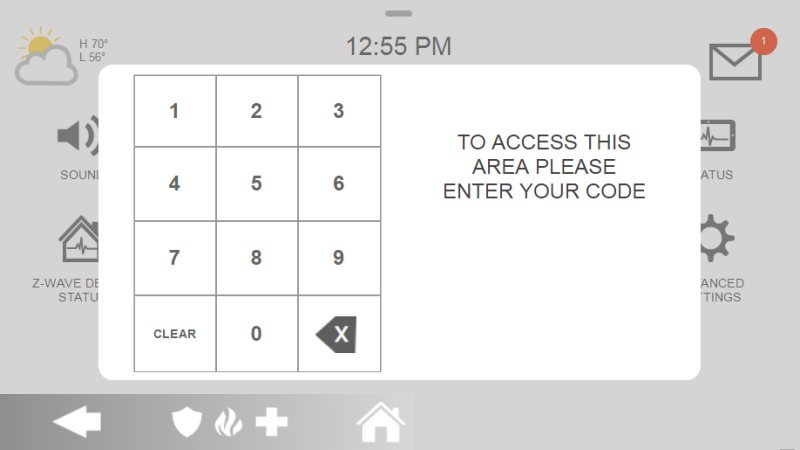
Step 2: Advanced Settings
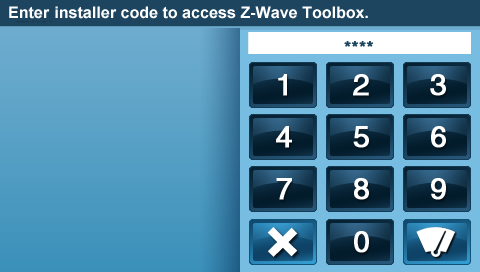
Press Advanced Settings and enter the default installer code 1111.
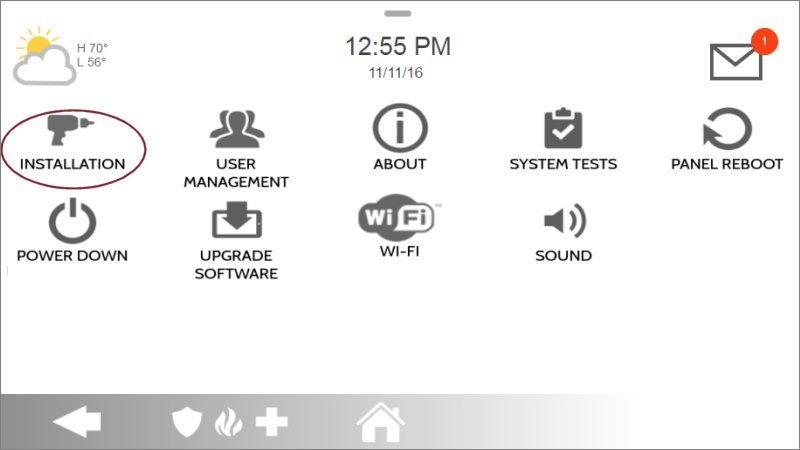
Step 3: Installation
Press Installation, then select Devices.
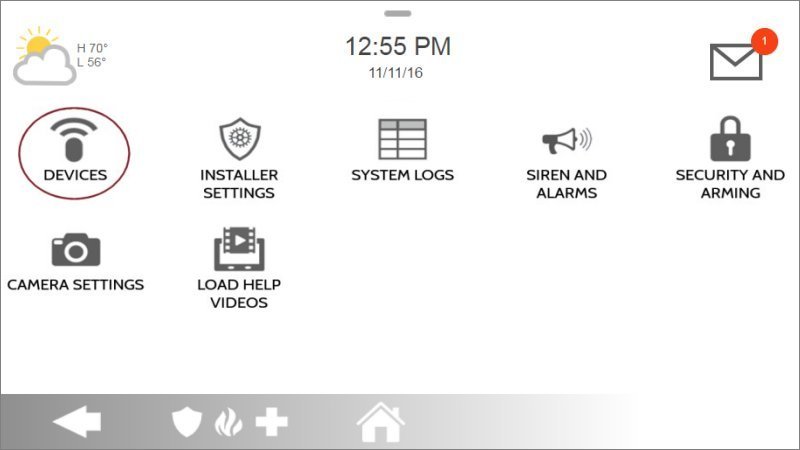
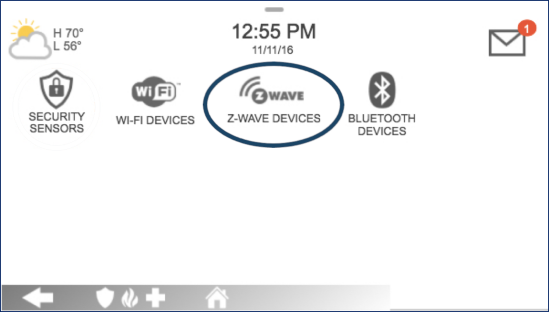
Step 4: Add Z-Wave Device
Press Z-Wave Devices, then press Add Device, and select Pair to enter pairing mode.

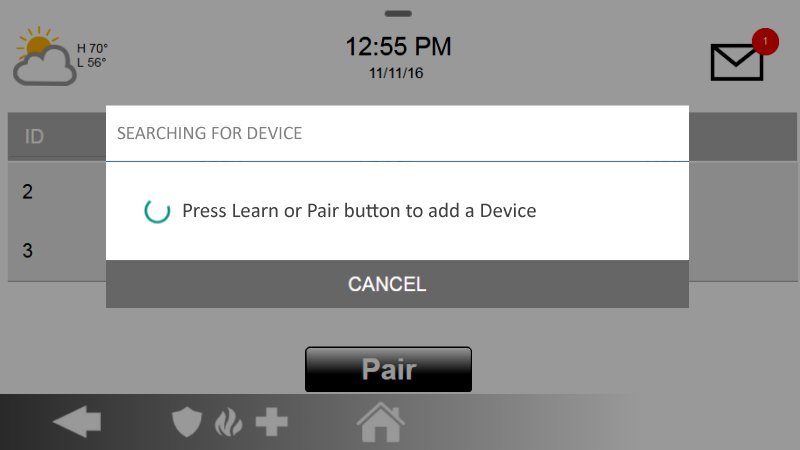
Step 5: Pairing Process
The IQ Panel 2 will enter Z-Wave learn mode. Use your Z-Wave device’s remote or internal button to start pairing.
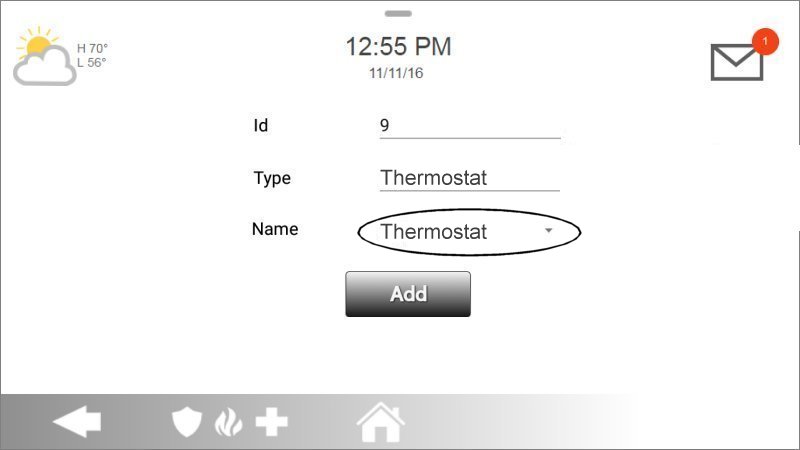
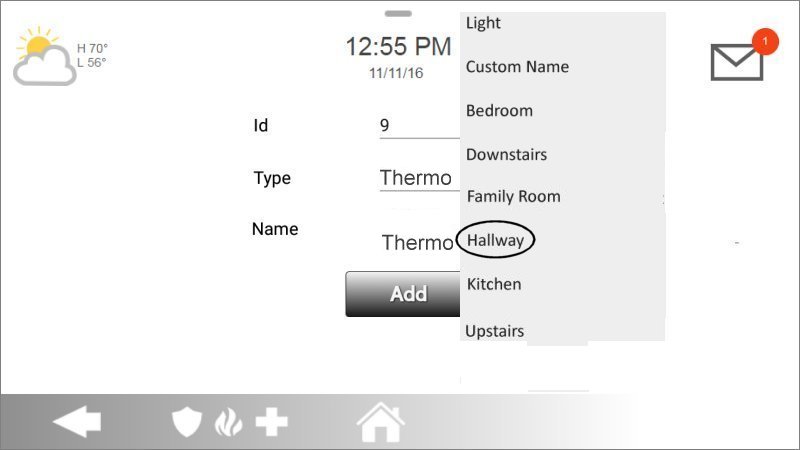
Step 6: Finalize the Pairing
Once paired, the panel will display the device settings. Press Name, then choose a name for the device. Press Add and return to the home screen.
2GIG GC2 Z-Wave Pairing Instructions
Follow these steps to pair Z-Wave devices with the 2GIG GC2:
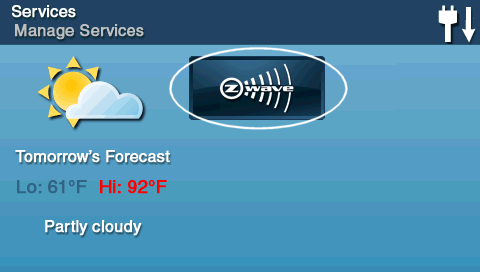
Step 1: Access Z-Wave Settings
Press Services, then press the Z-Wave logo.

Step 2: Advanced Settings
Press the wrench icon for settings, then enter the default installer code 1561.
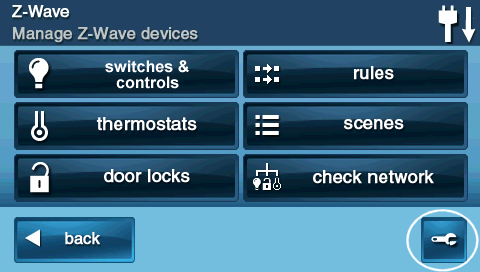
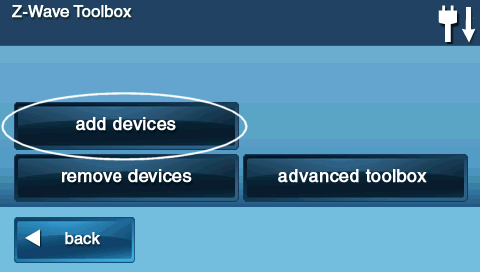
Step 3: Add Z-Wave Devices
Press Add Devices to enter Z-Wave learn mode.

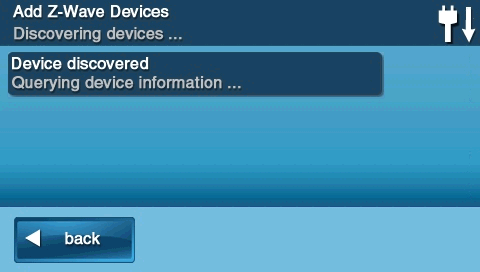
Step 4: Activate the DSC26103 In-Wall Switch
Use one of the two methods below to activate the DSC26103 in-wall switch:
- Press Include on the remote to begin the Z-Wave inclusion process.
- In a 3-wire system, toggle the external switch/button or push the internal button to initiate pairing into the Z-Wave network.


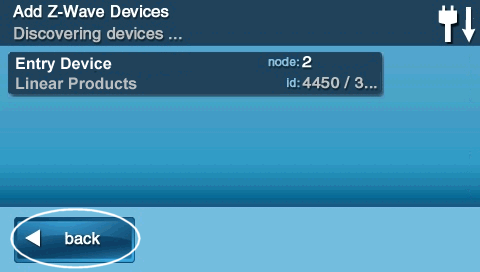
Step 5: Complete the Pairing
Once the learning process is complete, press Back or Home to exit.
Interlogix Simon XTi Z-Wave Pairing Instructions
Follow these steps to pair Z-Wave devices with the Interlogix Simon XTi:
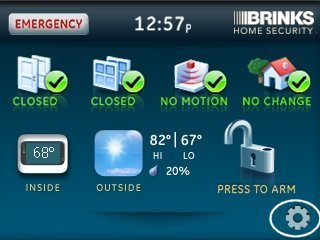
Step 1: Access Programming
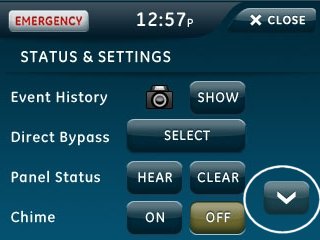
Press the gear icon to open the settings menu, then press the down arrow several times until you reach Programming.
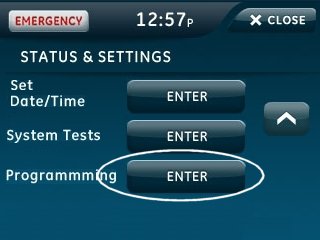
Step 2: Enter Programming Mode
Press Enter next to Programming, enter your master code, and press Ok.

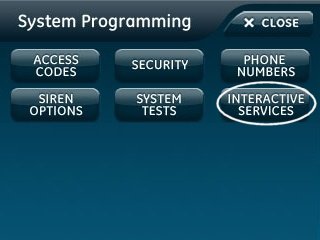
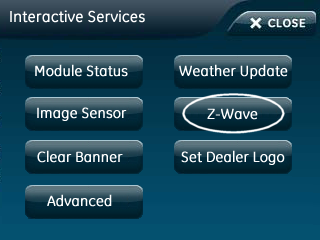
Step 3: Access Z-Wave Menu
Press Interactive Services, then select Z-Wave.
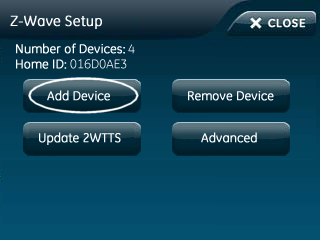
Step 4: Add Z-Wave Device
Press Add Device to start the learning process.
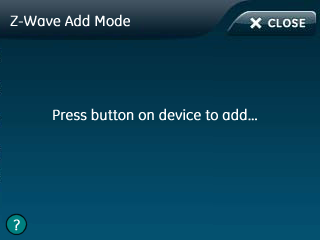
Step 5: Activate the DSC26103 In-Wall Switch
Use one of the two methods below to activate the DSC26103 in-wall switch:
- Press Include on the remote to begin the Z-Wave inclusion process.
- In a 3-wire system, toggle the external switch/button or push the internal button to initiate pairing into the Z-Wave network.
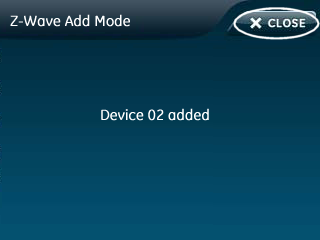
Step 6: Complete the Pairing
The Simon XTi will beep and display "Device XX Added." Press Close several times to exit.
Interlogix Simon XT Z-Wave Pairing Instructions
Follow these steps to pair Z-Wave devices with the Interlogix Simon XT:
Step 1: Access Z-Wave Menu
Hold the Star button (*) for 10 seconds to open the Z-Wave menu.
Step 2: Enter Z-Wave Learn Mode
Hold the 1 key for 10 seconds to enter Z-Wave learn mode.
Step 3: Pairing Process
The Simon XT will enter Z-Wave learn mode. Once in this mode, you can initiate the pairing process for your device.
Step 4: Activate the DSC26103 In-Wall Switch
Use one of the two methods below to activate the DSC26103 in-wall switch:
- Press Include on the remote to begin the Z-Wave inclusion process.
- In a 3-wire system, toggle the external switch/button or push the internal button to initiate pairing into the Z-Wave network.
Step 5: Pairing Completion
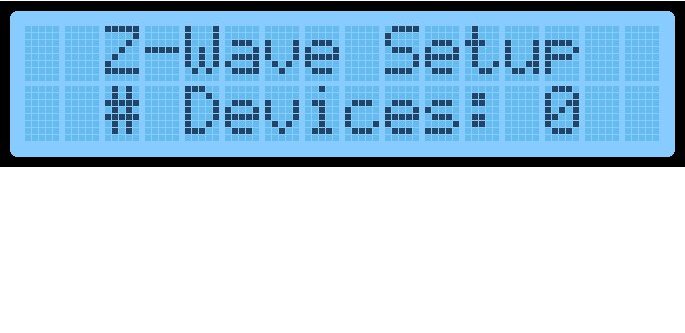
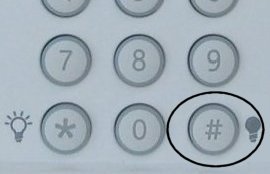
When successful, the Simon XT will beep and display the number of devices in memory. Hold the # button for 10 seconds to exit.
Step 6: Exit the Menu
Hold the # button for 10 seconds to exit the Z-Wave menu.
If you need further assistance or your panel isn't listed, contact our support team at 469.513.8685.