How to Program the CT32 Thermostat to Your Panel
CT32 Thermostat Z-Wave Pairing Instructions for Various Panels
Z-Wave devices are compatible with various systems. Follow the instructions below to pair your CT32 Thermostat with panels like the Qolsys IQ Panel 2, 2GIG GC2, Interlogix Simon XTi, and Simon XT. For assistance, contact a support representative at 469.513.8685.
Qolsys IQ Panel 2 and CT32 Thermostat Z-Wave Pairing Instructions
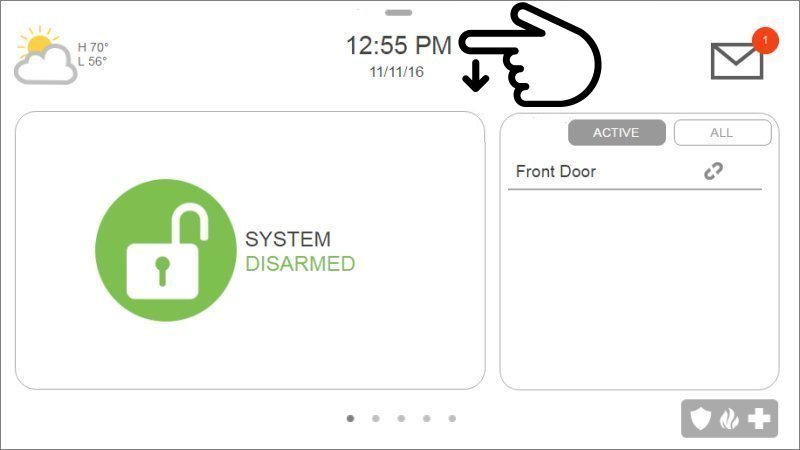
Step 1: Press or swipe down the clock display at the top for the Settings Tray, then press Settings.
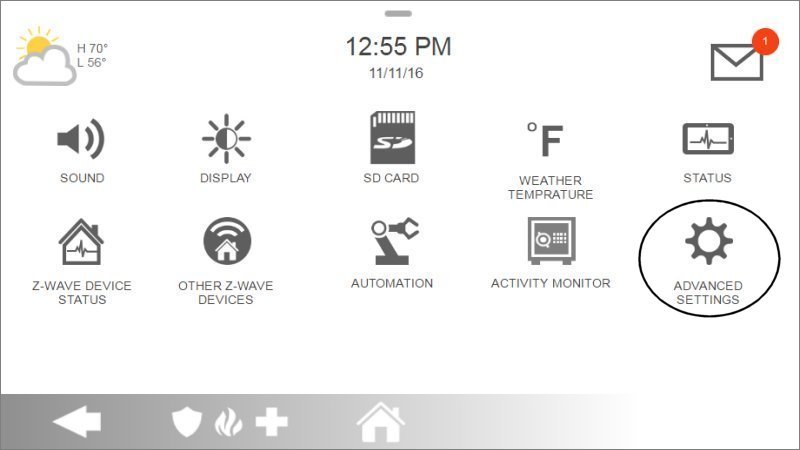
Step 2: Press Advanced Settings, then enter the default installer code 1111.
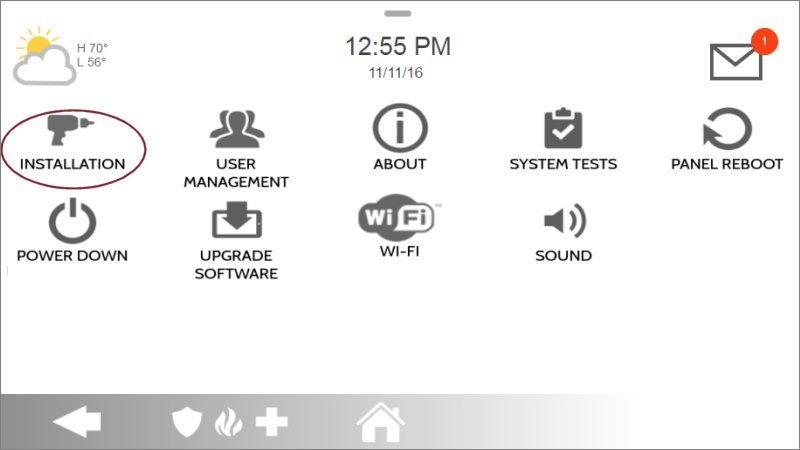
Step 3: Press Installation, then select Devices.
Step 4: Press Z-Wave Devices, then Add Device, and press Pair to begin the process.
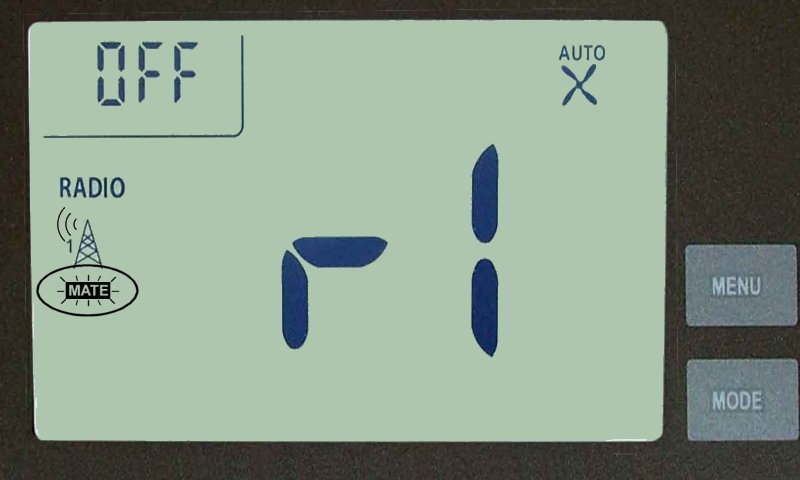
Step 5: The IQ Panel 2 will enter Z-Wave learn mode. On your CT32 Thermostat, press the Menu button until r1 displays, then Mate will appear under the antenna icon. Press Mate to initiate pairing.

- When Mate is pressed, it will begin flashing. Once the pairing process is successful, Link will appear on the thermostat display. You can now press Menu to exit pairing mode.
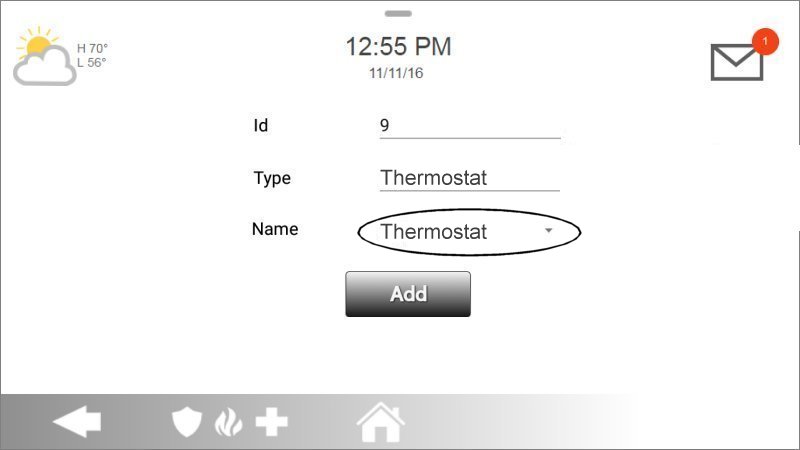
Step 6: If successful, the IQ Panel 2 will display the device settings. Press Name to give the thermostat a name, then press Add and Home to exit.
Steps to Pair CT32 Thermostat with 2GIG GC2
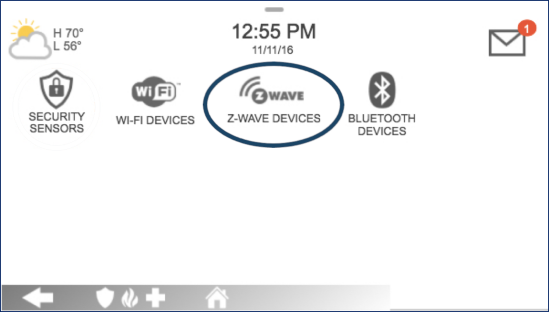
Step 1: Press Services, then press the Z-Wave logo.

Step 2: Press the wrench icon, then enter the default installer code 1561.
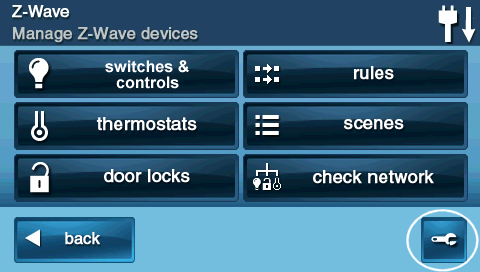
Step 3: Press Add Devices to enter Z-Wave learn mode.
Step 4: On your CT32 Thermostat, press the Menu button until r1 displays, then Mate appears under the antenna icon. Press Mate to initiate pairing.
- Once Mate is pressed, it will begin flashing. When the pairing process is successful, Link will appear. Press Menu to exit pairing mode.
Step 5: Once pairing is complete, the GC2 panel will display the device information. You can now press Back or Home to exit.
Steps to Pair CT32 Thermostat with Interlogix Simon XTi
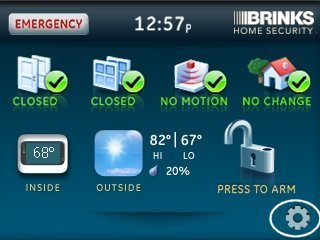
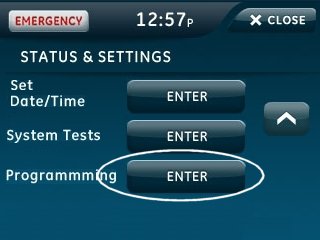
Step 1: Press the gear icon, then press the down arrow several times to access Programming.
Step 2: Press Enter next to Programming, enter your master code, then press OK.
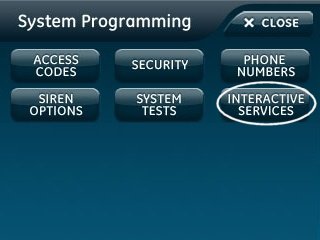
Step 3: Press Interactive Services, then select Z-Wave.
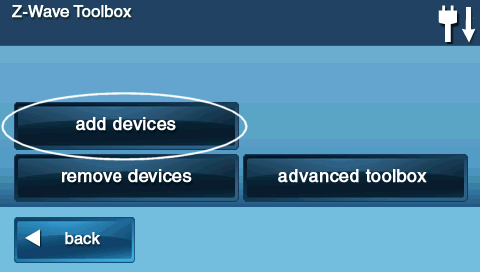
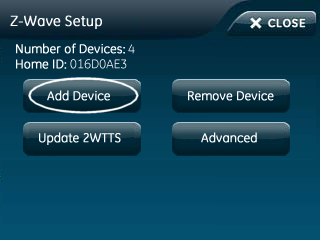
Step 4: Press Add Device to enter Z-Wave learn mode.
Step 5: On your CT32 Thermostat, press the Menu button until r1 displays, then Mate will appear. Press Mate to begin the pairing process.
- Press Mate, and it will begin flashing. Once pairing is complete, Link will appear on the thermostat display. Press Menu to exit pairing mode.
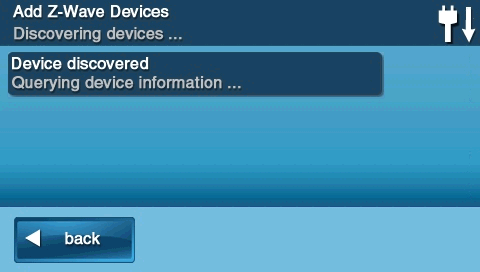
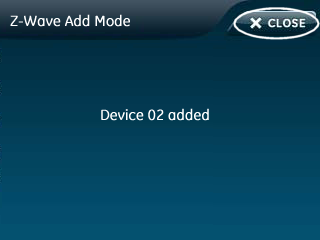
Step 6: The Simon XTi will display the device information once pairing is successful. Press Close to exit.
Steps to Pair CT32 Thermostat with Interlogix Simon XT
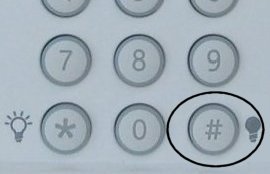
Step 1: Hold the Star button (*) for 10 seconds to access the Z-Wave menu.
Step 2: Hold the 1 key for 10 seconds. The Simon XT will enter Z-Wave learn mode.
Step 3: On your CT32 Thermostat, press the Menu button until r1 displays, and Mate appears under the antenna icon. Press Mate to begin pairing.
- Once Mate is pressed, it will start flashing. When pairing is complete, Link will appear. Press Menu to exit.
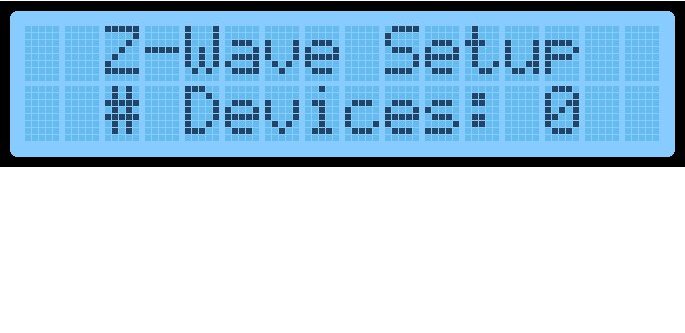
Step 4: The Simon XT will display the number of devices added. Press # for 10 seconds to exit the menu.