ADC-V723 Outdoor Camera Guide
This guide covers everything you need to know about the Brinks Home™ Outdoor Camera (ADC-V723)—features, setup, troubleshooting, and tips for getting the most out of your camera.
Navigate to the section you're looking for using the links below:
Product Overview
The Brinks Home Outdoor Camera (ADC-V723) provides clear, high-definition video with advanced analytics to detect people, vehicles, and animals. It offers night vision, a wide field of view, and cloud or on-board storage options for continuous recording.
Getting Started
Features
- 117° field of view
- High Dynamic Range (HDR)
- Detects people, vehicles, and animals with the Pro Video with Analytics 3000 service package
- Wi-Fi (2.4GHz or 5GHz)
- Waterproof & dust-tight
- Compatible with the Brinks Home™ Mobile App
Setup Instructions
Installation Steps
This brief video reviews pre-installation steps for the Brinks Home Outdoor Camera (ADC-V723):
Connecting to Wi-Fi Using WPS Mode
Step-By-Step Instructions:
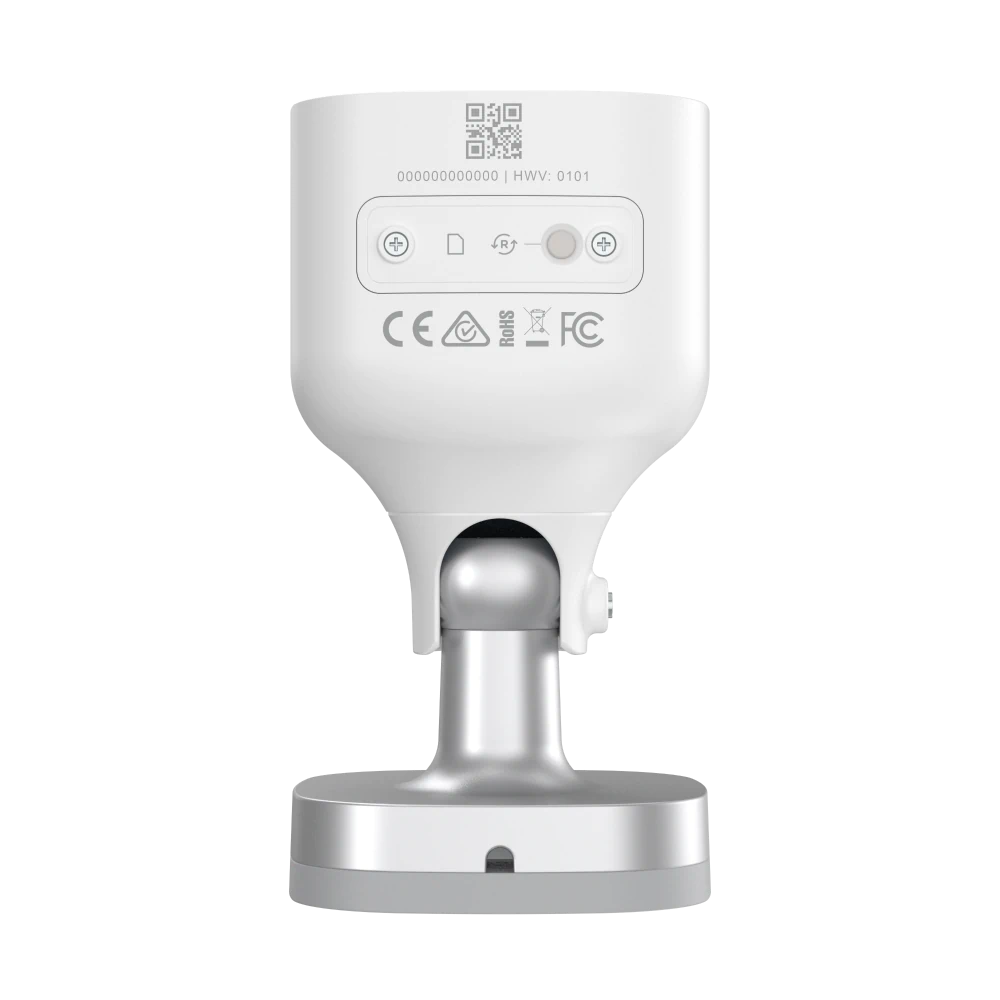
- Hold the reset button for 3 seconds until the LED flashes blue.
- Press and release the router's WPS button or enable WPS through the router's settings.
- The LED on the camera may turn red during this step. Wait up to 2 minutes for the LED to flash then turn solid green to confirm a successful connection.

Video Instructions:
Note: If WPS mode fails, try Access Point mode.
Connecting to Wi-Fi Using AP Mode
Step-By-Step Instructions:
- Hold the reset button for 6 seconds until the LED flashes white.
- Open your smartphone's Wi-Fi settings and look for ADC-V723 (xx:xx:xx), then press Connect.
- Open a web browser and enter 192.168.1.1 in the search bar. Then click Scan to search for Wi-Fi networks.
- Select your Wi-Fi network, scroll up and enter your Wi-Fi credentials, press Submit, then OK.
- The camera LED will turn green if successful, or red if there is a failure.
Video Instructions:
Add Camera Using the Brinks Home Alarm.com Website
Note: The camera must be connected to Wi-Fi first so it can be added to your account.
Step-By-Step Instructions:
- Log in to the Brinks Home Alarm.com website, then select Video.
- Select Settings.
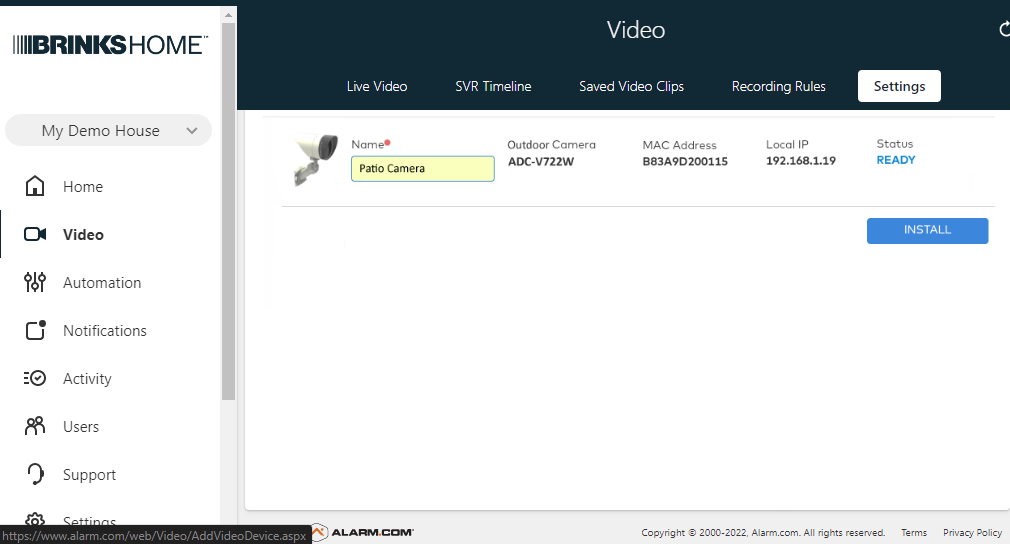
- Scroll to the bottom of the page and select Add Video Device.
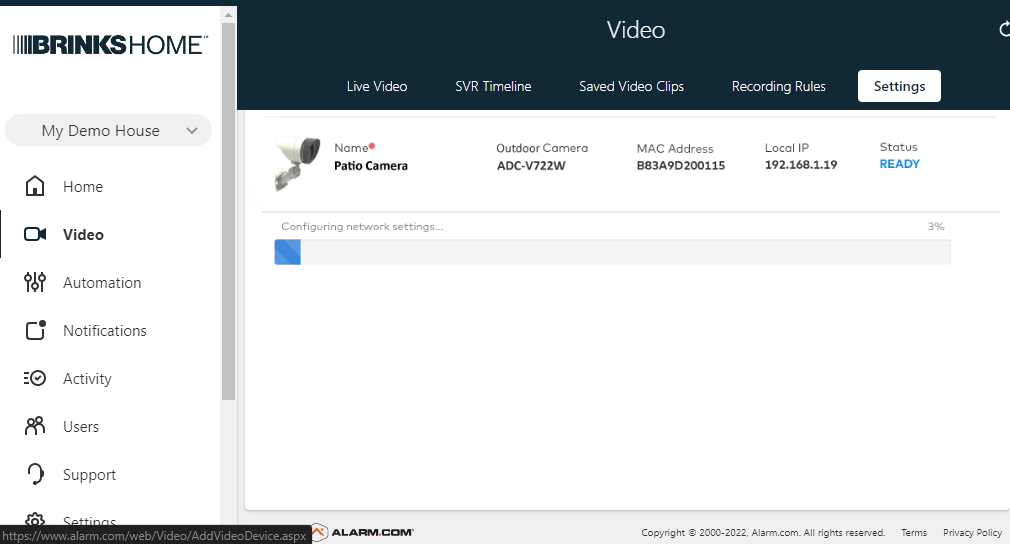
- The system should detect the camera. Enter the camera name and click Install.
- The camera will be added to your account, which can take several minutes.
- When finished, select Live to view images from the newly installed camera.


Add Camera Using the Brinks Home Mobile App
Note: The camera must be connected to Wi-Fi first so it can be added to your account.
Step-By-Step Instructions:
- Log in to the Brinks Home Mobile App then press Video.
- Select Settings by pressing the gear icon in the upper right-hand corner.
- Select Add Device +, then select the video device you want to add.
- The system should detect the camera. Enter the camera name and click Next.
- The camera will be added to your account, which can take several minutes.
- When finished, select Live to view images from the newly installed camera.


Video Instructions:
After adding your camera, you can set up recording rules. Click here to learn more.
Specifications
- 1920 x 1080 pixel video resolution
- 117° vertical and horizontal field of view
- 40' night vision range
- WiFi 802.11 b/g/n
- Operating temperature of -4° F to 122° F

Factory Default
Warning: Performing a factory reset will erase all data. The camera must be re-added to your account to restore functionality.
- Press and hold the reset button on the camera for approximately 15 seconds until the LED flashes red and green.
- Release the button to allow the camera to reboot to factory default settings.
- If the camera was previously installed on your account, delete it from the account before reinstalling.

Troubleshooting
If you're experiencing issues with your camera, try the following troubleshooting steps:
- Power Cycle the Camera: Unplug the power adapter, wait for about 10 seconds, then plug it back in to reboot the camera.
- Check Wi-Fi Signal Strength: Ensure the camera is within range of your Wi-Fi router. If the signal is weak, consider moving the camera closer to the router or using a Wi-Fi extender.
- Factory Reset the Camera: If issues persist, perform a factory reset.
If these steps don't resolve the issue, you can text us at 469.513.8685 or chat with us 24/7 for further assistance.
LED Reference Guide
| Color & Pattern | Status | Recommended Action |
|---|---|---|
| No Light | Powered off | Verify camera power adapter is plugged in |
| Solid Green | Connected online | Access live video, no further action needed. |
| Solid Red | Not connected to network | Connect to Wi-Fi via AP or WPS. |
| Flashing Blue | Pairing via WPS | Connect camera to Wi-Fi using WPS. |
| Flashing Green | Local network connection | Wait for LED to turn solid green. |
| Flashing Red | Camera booting up | Wait for camera to finish booting (~2 min.) |
| Flashing White | Pairing via Access Point | Connect Camera to Wi-Fi using AP. |
| Flashing Red/Green | Factory reset in progress | Allow factory reset to complete (~2 min.) |
FAQs
Find answers to the most common questions about the Brinks Home Outdoor Camera (ADC-V723) here.
If you need further assistance, text us at 469.513.8685 or chat with us 24/7 for an immediate response.