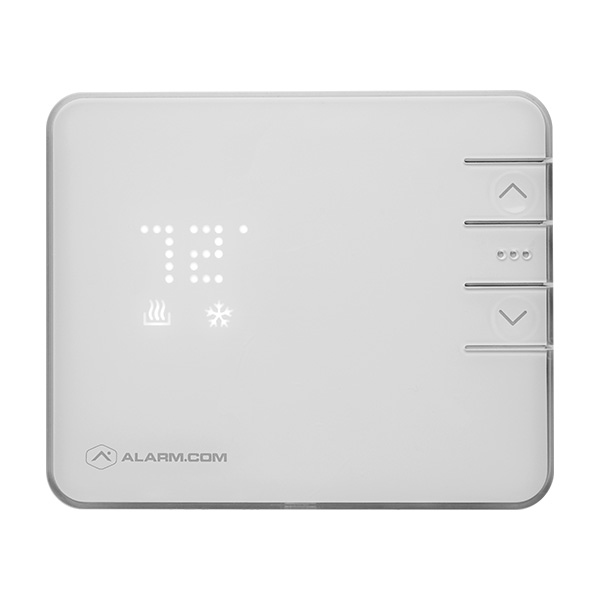
ADC-T2000 Smart Thermostat Guide
Specifications
- • Heating: up to 3 stages of heat
- • Cooling: 1 and 2 stages (Y,Y2)
- • Heat pump: with auxiliary (O/B, Y, Y2, W, W2)
- • Fan: G power (C, RH, RC)
- • Power requirements: common wire or standard AA batteries
- • Z-Wave compatible with all current security panels
Features
- • Compatible with Alarm.com-compatible security systems, like the 2GIG GC3 or Qolsys IQ Panel 2, utilizing Z-wave functionality
- • Control via the thermostat directly or remotely using the Brinks Home™ Mobile App
- • Allows for customized scheduling and temperature presets
- • Receive alerts if someone adjusts the ADC-T2000 smart thermostat while they are away
- • As a Z-Wave device, the ADC-T2000 can be integrated into smart scenes with other Z-Wave devices
- • The ADC-T2000 can also be used with the ADC-S2000 temperature sensor for accurately reading the temperature across a larger building
Installation Steps
Video Instructions:
Step-by-Step Instructions:
Caution: verify that the system is 24 VAC. If the old system is labeled as 120 or 240 volts or has wire nuts, the system is high voltage. Do not install the thermostat to a high voltage system. Contact a local HVAC professional for help.
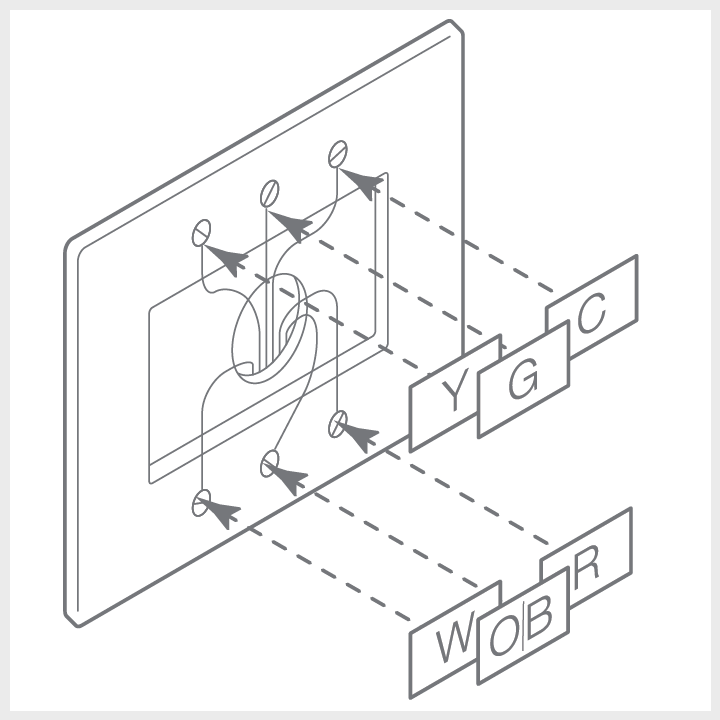
- With power turned off at the circuit breaker, prepare the wires, ensuring they are the proper gauge (18-24 AWG), each having exposed straight ends about 1/8 in. long. It is recommended that you label wires and take pictures to reference where wires were each connected.
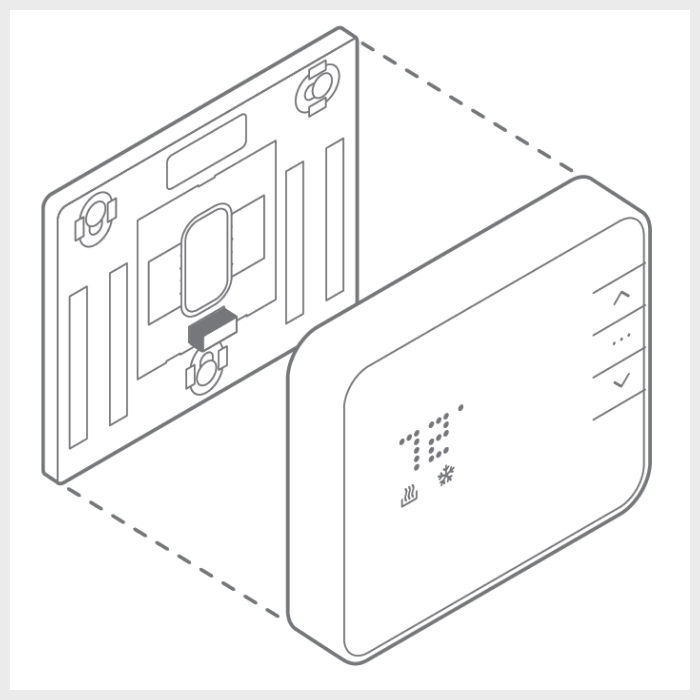
- Install the backplate onto the wall using 3/16 in. drill holes following the pattern on the backplate.
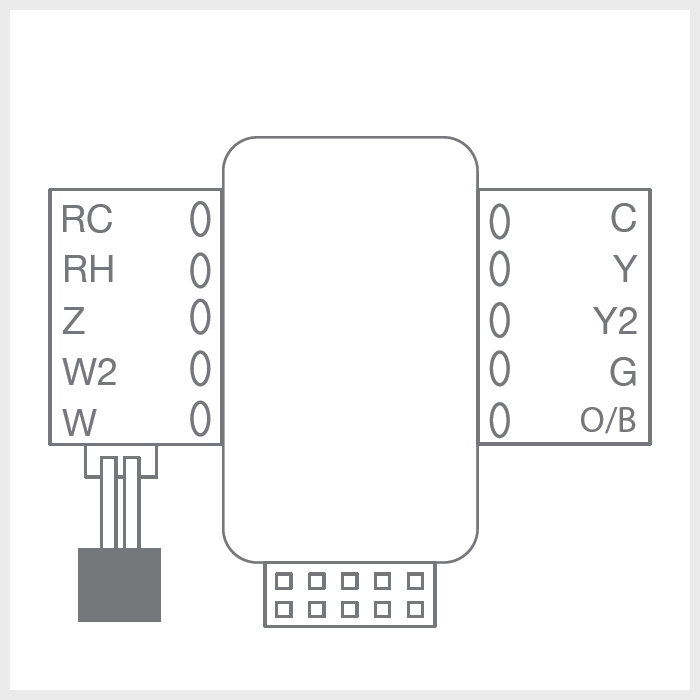
- Reconnect all wires to the new thermostat. If you find that you have extra wires, it is recommended that you contact your local HVAC professional for assistance.
- • If you have R, connect it to RH.
- • If you have RH & RC, remove the black jumper in the lower left corner of the backplate terminal board with needle-nose pliers.
- • Z can be used for W3, H, DH, or O/B Zoning.
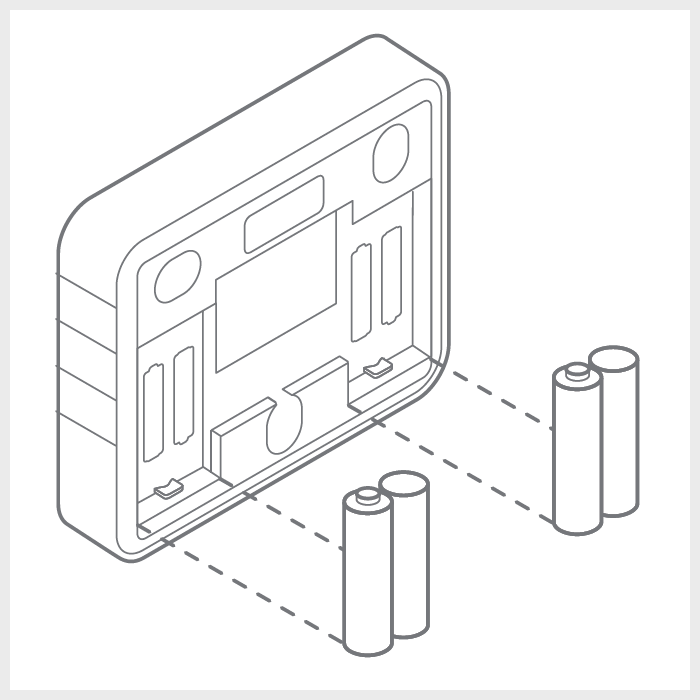
- Install 4 AA batteries into the thermostat.
- Install the thermostat body to the backplate, ensuring all excess wires are tucked into the wall and the device fits flush with the backplate, then restore power at the circuit breaker.

For additional information relating to your device, click the following link to view the original manufacturer's user guide or installation manual: ADC-T2000 Smart Thermostat Manual