Skybell Doorbell Camera Guide
Summary: The SkyBell HD (ADC-VDB101/102) and SkyBell Slim Line (ADC-VDB105x/106x) Wi-Fi Doorbell Cameras feature integrated 1080p/720p video, two-way audio, PIR motion sensing, color IR night vision, and Brinks Home™ app integration. This guide covers specifications, installation & mounting, reset procedures, Wi-Fi setup (AP Mode), signal strength guidance, adding the device in desktop and mobile apps (with image), advanced configuration tips, general troubleshooting, and an LED status reference for both models.
Table of Contents
- Specifications
- Common Terms
- Installation & Mounting
- Reset Procedures
- Wi-Fi Setup via AP Mode
- Signal Strength Guidance
- Add in Desktop App
- Add in Mobile App
- Advanced Configuration Tips
- General Troubleshooting
- LED Status Reference
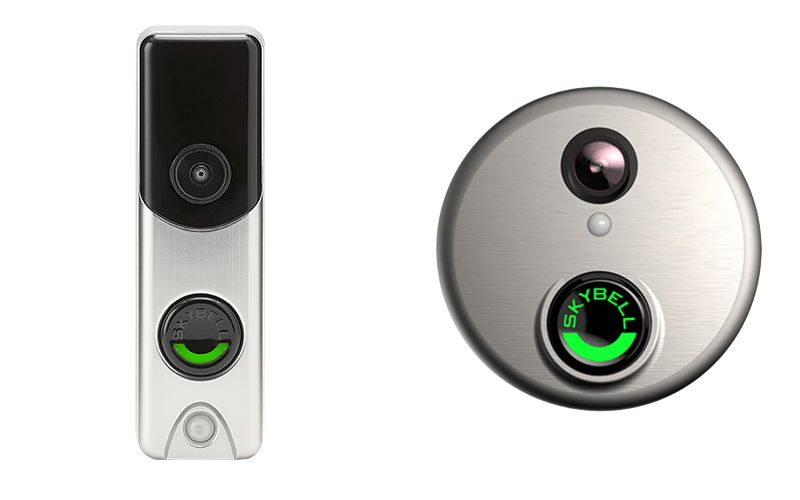
SkyBell HD (round) and Slim Line (slim) models
Specifications
† When wired to an in-home chime; otherwise add a 10 Ω 10 W resistor.
Common Terms
- Live View
- Tap Video → Live in the app to see a real-time video feed from your doorbell camera.
- AP (Sync) Mode
- Your doorbell broadcasts a “SkyBell-XXXX” Wi-Fi network after a factory reset or unpaired power-on—use it to connect to your home network.
- Soft Reset
- A quick reboot (Firmware restart) that keeps your Wi-Fi credentials and custom settings.
- Factory Reset
-
Erases all settings (Wi-Fi, device name, recording rules).
Warning: After a factory reset, you must re-sync in the app and contact Brinks Home Support to re-register your device.
- Firmware
- The embedded software powering your doorbell—keep it updated for new features and security improvements.
Installation & Mounting
- Power Off: Turn off the doorbell circuit at your breaker panel.
- Mount Bracket: Remove the existing chime plate, position the SkyBell bracket, and secure with supplied screws and anchors.
- Connect Wires: Attach your existing doorbell wires under the bracket’s screw posts, ensuring tight connections.
- Restore Power: Turn the breaker back on and verify the bracket’s contacts are live.
- Attach SkyBell: Snap the unit onto the bracket until it clicks; the LED should illuminate.
Reset Procedures
Soft Reset
Reboots without clearing settings:
- Press and hold the SkyBell button until the LED blinks green, then flashes red/green, then blinks blue.
- Release when it blinks blue; device will reboot to normal mode (solid yellow on HD, solid dark blue on Slim).
Factory Reset
Erases all settings—requires re-sync and support re-registration:
- Press and hold the SkyBell button until the LED blinks green → red/green → blue → yellow.
- Release when it blinks yellow; device will reboot into AP mode (alternating red/green).
- Complete setup via the app, then contact support to re-activate your device.
Wi-Fi Setup via AP Mode
- After power-on or factory reset, wait for the LED to alternate red/green (AP mode).
- In the Brinks Home™ App → Video → Settings → Add Device, tap “Connect via Wi-Fi.”
- Switch your phone’s Wi-Fi to “SkyBell-XXXX” when prompted.
- Return to the app, select your home SSID, enter the password, and confirm.
- Wait for the LED to blink yellow/blue, then turn solid green—doorbell is online.
Signal Strength Guidance
Ensure a strong Wi-Fi connection for reliable live video and notifications. To check and interpret your SkyBell’s signal:
- Open the Brinks Home™ Mobile App.
- Tap the Video icon at the bottom.
- Tap the settings (gear) icon next to your doorbell.
- Scroll to Signal Strength (%) and note the value.
Add Doorbell in Brinks Home™ Desktop App
- Log in at Alarm.com.
- Click Video in the left menu.
- Click the gear Settings icon (top-right).
- Select Add Device.
- Scan the QR code or enter the doorbell’s serial number.
- Name your doorbell and finish the prompts.
- Open Live View to confirm your video feed.
Add Doorbell in Brinks Home™ Mobile App
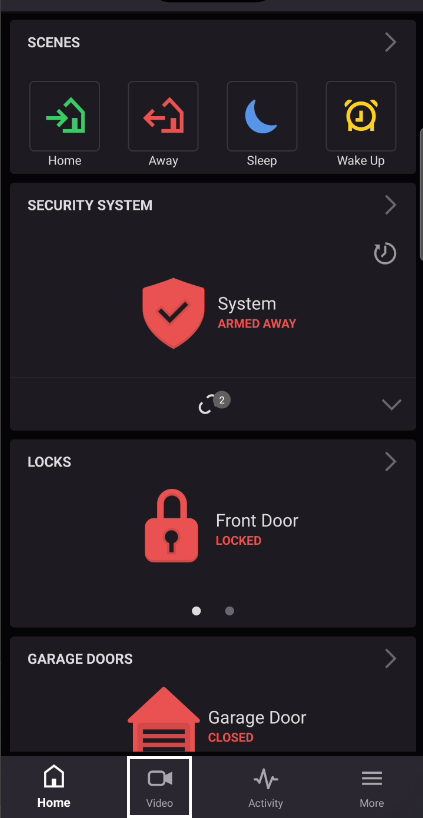
Mobile App: Tap Video, then Add Device
- Open the Brinks Home™ App on iOS or Android.
- Tap the Video icon at the bottom.
- Tap the gear Settings icon (top-right).
- Select Add Device.
- Scan the QR code or enter the serial number manually.
- Name the doorbell and complete the prompts.
- Tap Live to verify your feed.
Advanced Configuration Tips
- Firmware Updates: In Desktop App → Video → Settings, check “Firmware Version” and click “Update.”
- Network Isolation: Place your doorbell on a guest or IoT VLAN to segment traffic.
- Motion Zones: In Video Settings, adjust PIR zones and sensitivity to reduce false alerts.
- Recording Schedule: Create time-based rules (e.g., daytime only) to conserve cloud storage.
General Troubleshooting
- Power Cycle: Turn off the doorbell circuit for 10 seconds, then restore power.
- Network Check:
- Run Speedtest to confirm ≥2 Mbps upload.
- Ensure Wi-Fi signal ≥70% at the doorbell location.
- Reset: Use Soft Reset for a quick reboot or Factory Reset to clear settings if unresponsive.
- User Permissions: Verify your Alarm.com account has video device privileges.