Qolsys IQ4 Hub Panel Guide
Summary: This guide walks you through the IQ4 Hub panel’s specifications, features, user operations (arming modes, partitions, status checks), and maintenance tasks (reboot, power cycle) for smooth system management.
Table of Contents
- Specifications
- Features
- User Functions
- Rebooting the Panel
- Power Cycle the Panel
- Common Terms
- Further Assistance
Specifications
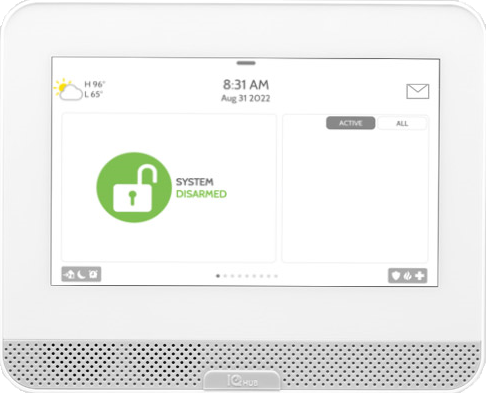
- Screen: 7 inch LCD touchscreen
- Battery: 24-hour lithium polymer backup pre-installed
- Z-Wave Plus (800 series)
- 128 wireless zones
- LTE & Wi-Fi dual-path communication built-in
- Single SRF (PowerG, 319.5, 345, or 433)
- 3 microphones with echo cancellation
Features
- Intuitive swipe/scroll/touch interface
- Supports up to 128 devices
- Live doorbell & camera video on-screen
- Bluetooth disarm—keep your phone in your pocket
- Customizable photo frame display when idle
- Control Z-Wave lights, locks, thermostats, garage openers
- Easy install: smart mount, wizard, on-screen diagnostics
User Functions
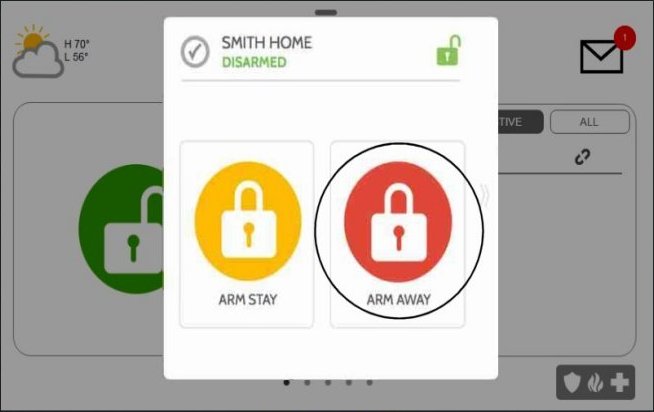
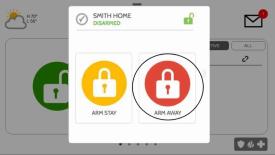
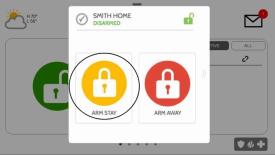
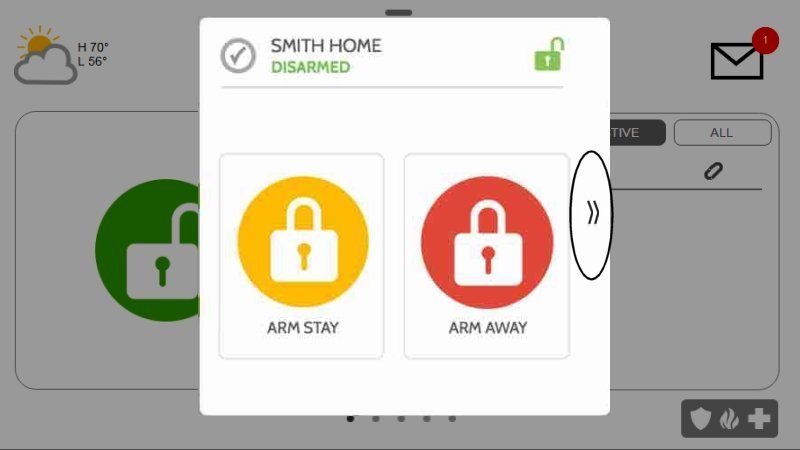
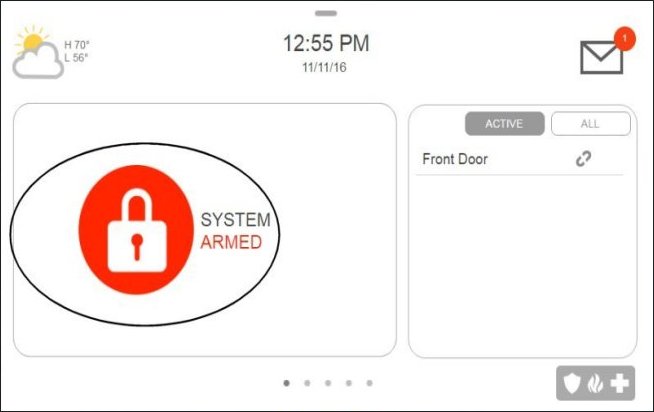
Arm Away
Use when you’re leaving home. The panel arms all zones with exit delay.
- Press Lock, then Arm Away.
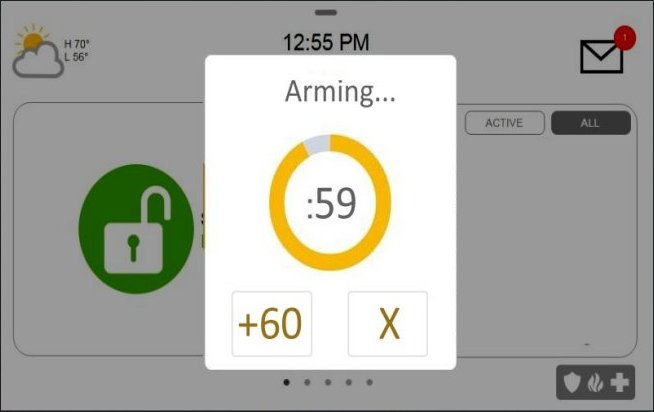
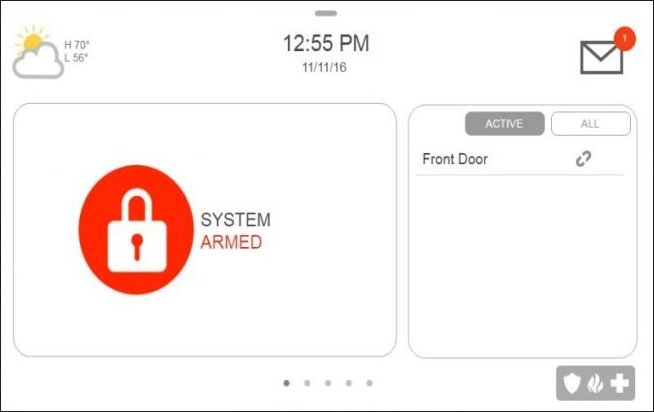
- The exit delay timer appears, then shows Armed Away.

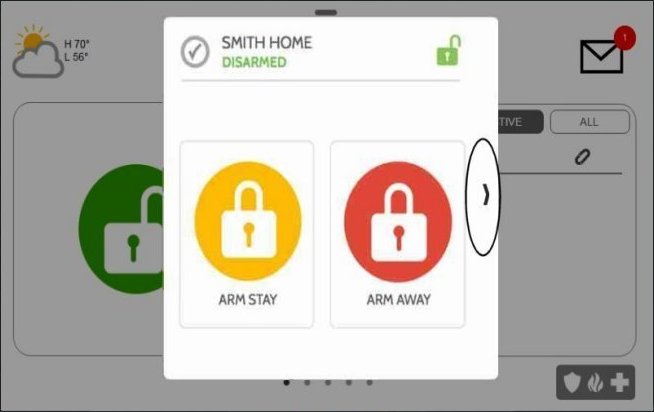
Arm Instant
Arms perimeter sensors instantly—no entry delay, interior sensors bypassed.
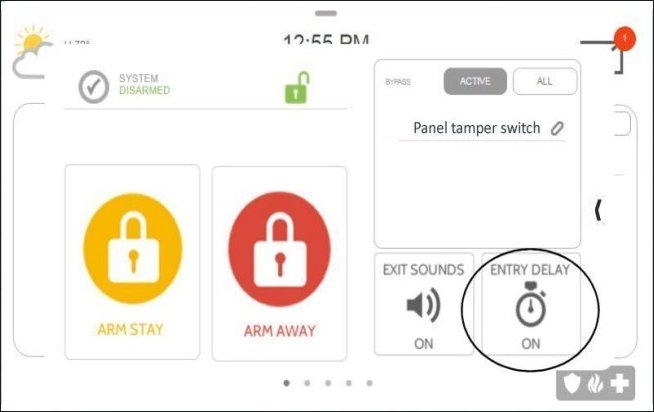
- From disarmed, press Arm (lock icon), then the right arrow.
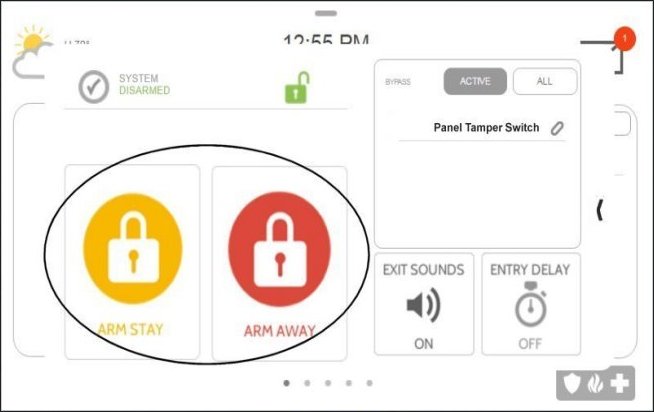
- Tap Entry Delay to turn it off, then choose Arm Stay or Arm Away.

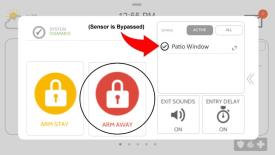
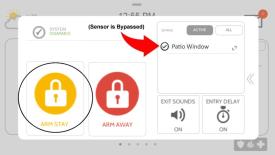
Force Arm Away
Arms away even with open sensors—bypasses zones not ready.
- Press Arm (lock icon); open sensors list appears.
- Select Arm Away.
- The system arms, auto-bypassing open zones.


Arm Partition Away
Arm only the selected partition area with perimeter & interior sensors.
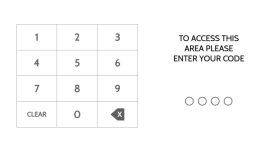
- Enter your code at lock screen.
- Swipe to choose partition.
- Press Lock, then Arm Away.
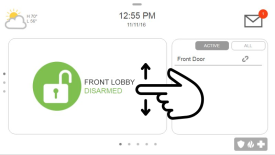
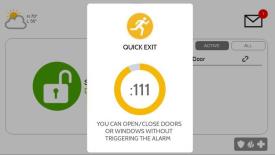
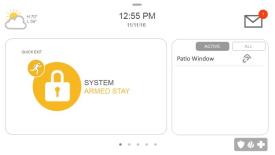
Arm Stay Quick Exit
Allows a temporary exit while still in Armed Stay.
- In Armed Stay, press Quick Exit (runner icon).
- A 120-sec exit delay begins.
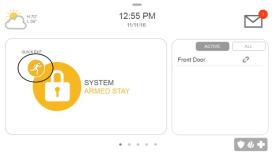
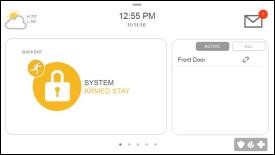
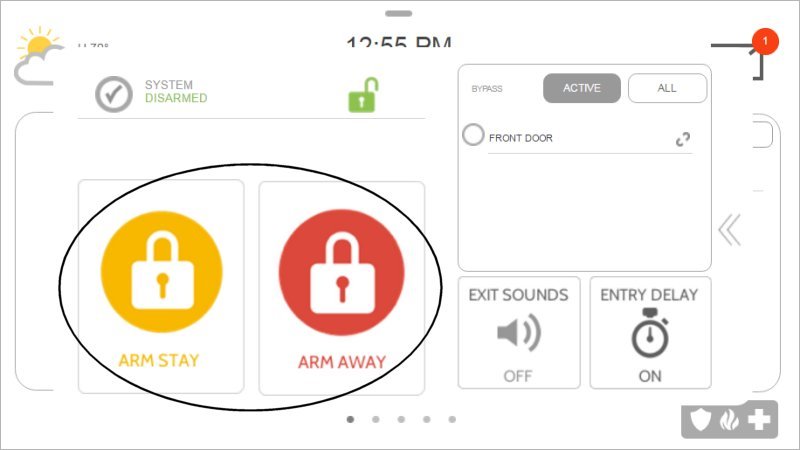
Arm Stay
Use when you remain inside—arms perimeter only.
- Press Lock, then Arm Stay.
- The display shows Armed Stay.
Force Arm Stay
Arms perimeter sensors in Stay even if some are open.
- Press Arm; open sensors appear.
- Select Arm Stay—exterior zones arm.
- The system arms, bypassing open sensors.

Disarm Partition
Disarm a specific partition without affecting others.
- Enter your code, swipe to the partition.
- Press Arm, enter partition code to disarm.


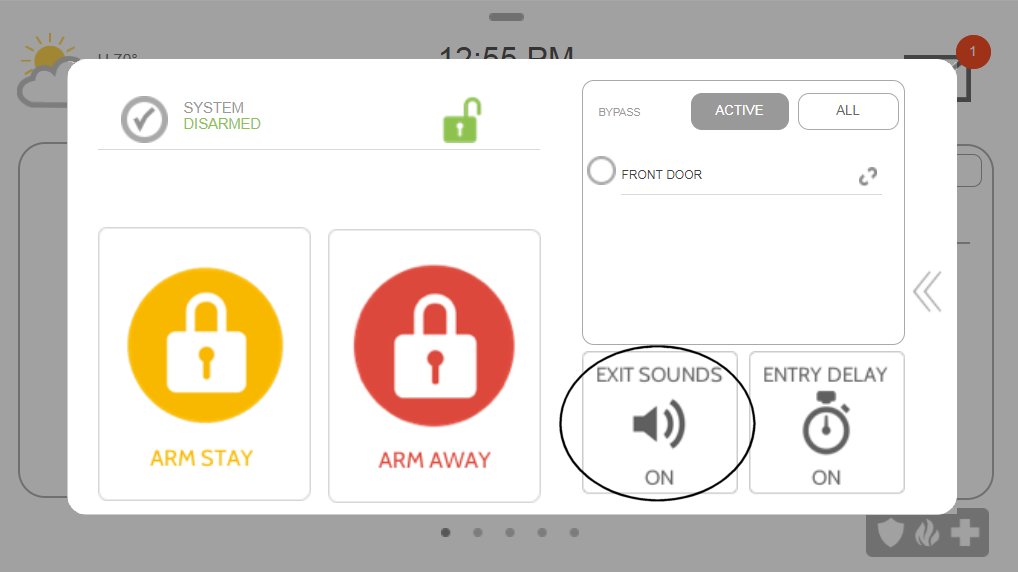
Silent Arm
Arm without exit/entry sounds for quiet departure/arrival.
- Press Arm, then More (double arrow).
- Toggle Exit Sounds off, then choose Arm Stay or Arm Away.
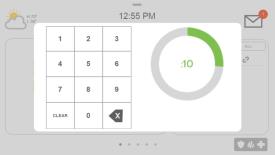
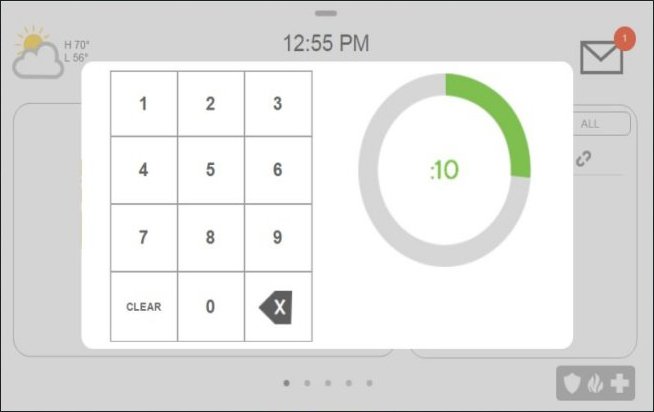
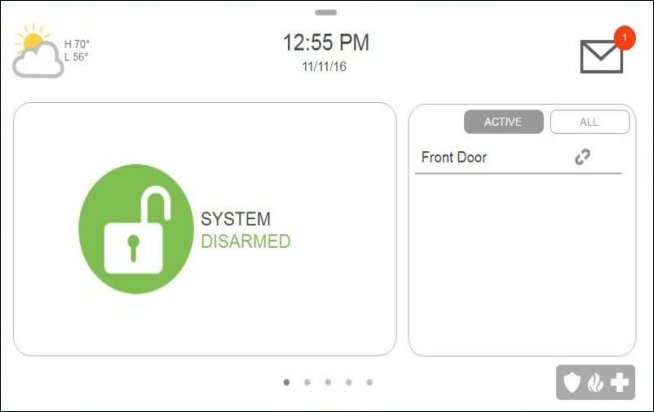
Disarm System
Silences & resets alarms when you return.
- If armed Away, enter your code before delay ends.
- If armed Stay, press Lock, then enter your code.
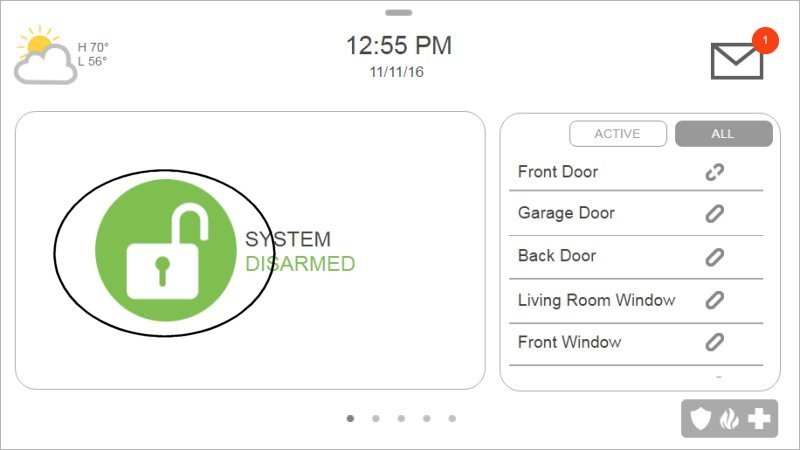
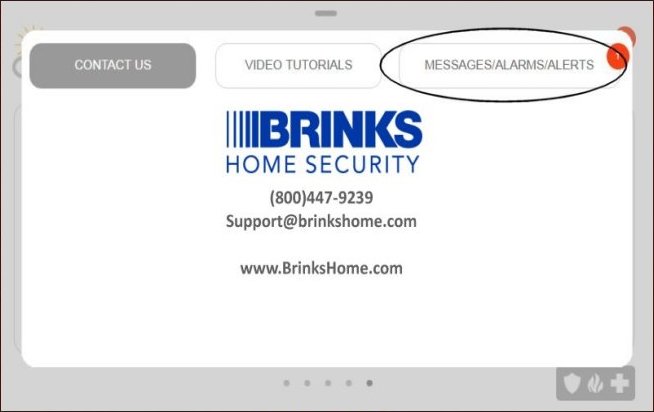
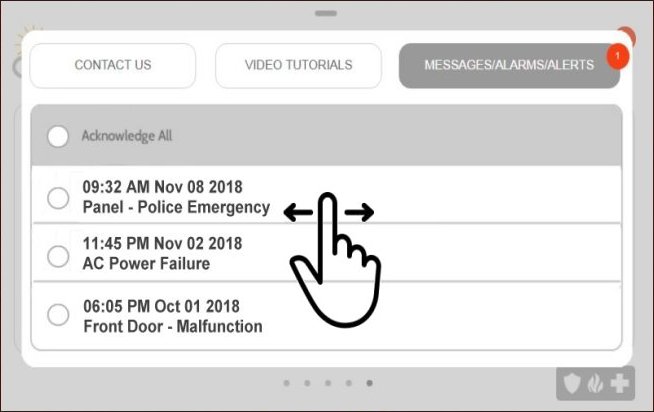
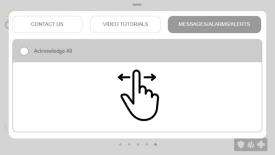
Check Your System Status
View open or trouble zones.
- Press Brinks Home logo → Messages/Alerts/Alarms.
- Swipe left or right to exit.
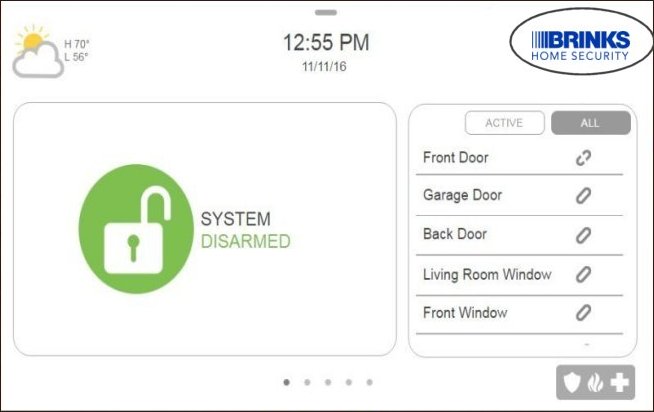
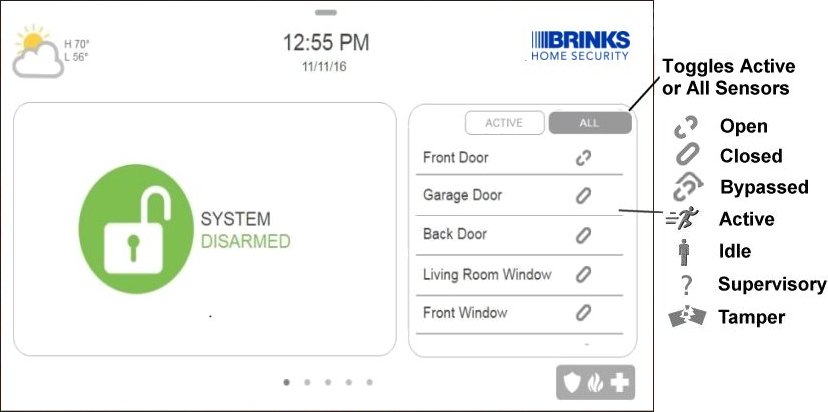
Check Sensor Status
Ensure all sensors are communicating and healthy.
- Sensor list displays on right side of home screen.
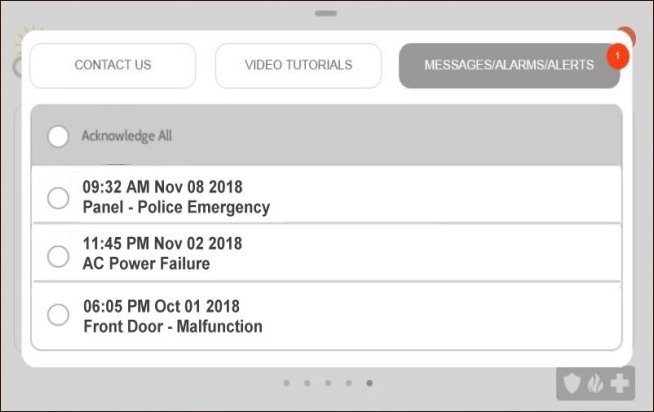
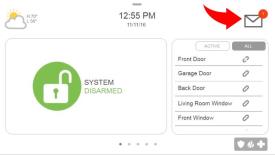
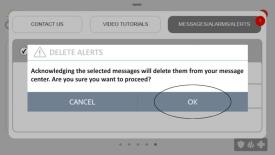
Clear Alarm Memory
Acknowledge and delete past alarms.
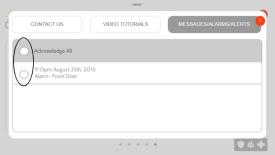
- Tap Messages (envelope), then Messages & Alerts.
- Select individual alarms or Acknowledge All, then Ok. Swipe to exit.

Rebooting the Panel
Perform a standard reboot to resolve minor issues:
- Swipe down clock display → Settings.
- Select Advanced Settings, enter installer code 2222.
- Tap Panel Reboot; wait for restart.
Hard reboot (only if unresponsive): press & hold power button 30 sec.
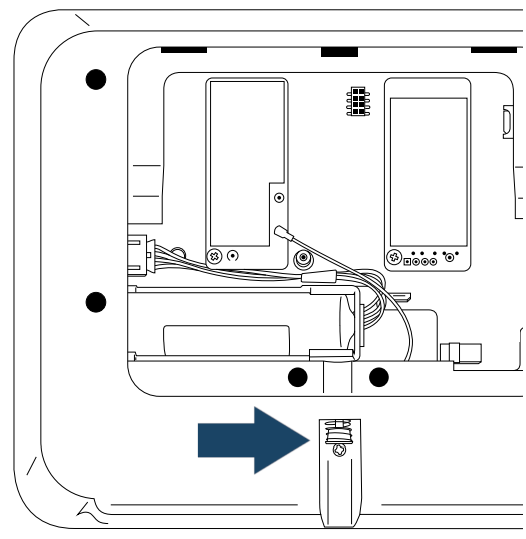
Power Cycle the Panel
- Remove AC power from outlet.
- Unscrew rear locking screw, remove SmartMount backplate.
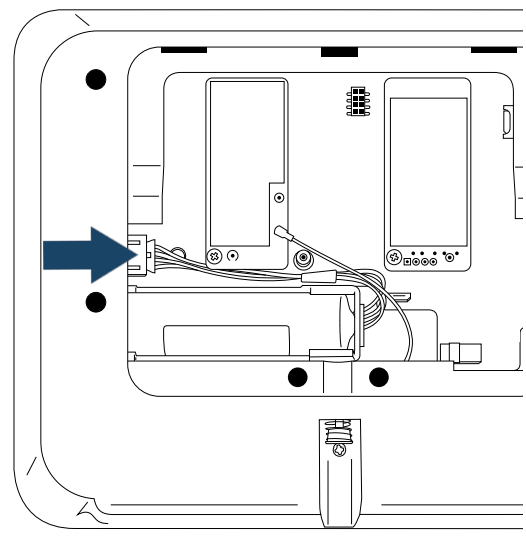
- Unplug 4-pin battery connector.
- Wait several minutes, reconnect battery, remount, restore AC power.
Common Terms
- Transformer (Power Brick)
- The low-voltage power supply—often called the “power brick”—that powers your device.
- Wi-Fi Extender (Range Booster)
- A device that rebroadcasts your Wi-Fi signal to cover areas with weak connectivity.
- AP Mode (Access Point Mode)
- Makes your device act as a hotspot, sharing its connection with others.
- WPS (Wi-Fi Protected Setup)
- A quick-connect method that pairs without entering a password.
- VMD (Video Motion Detection)
- Records or alerts you when movement is detected in the camera’s frame.
- Perimeter Guard (Zone Monitoring)
- Defines and monitors specific areas around your property.
Further Assistance
If you still need help, please call us at 469-513-8685 or text 469-513-8685.