ADC-V720W Outdoor Camera Guide
Summary: The ADC-V720W Outdoor Bullet Camera is discontinued but remains compatible with your Brinks Home™ App. This article covers specifications, network setup (wired and wireless), adding the camera via desktop and mobile apps, troubleshooting tips, and an LED status reference.
Table of Contents
- Common Terms
- Signal Strength Guidance
- Specifications
- Factory Default
- Hardwire Connection to Router
- Wi-Fi Setup by WPS Enrollment
- Add Camera Using the Brinks Home™ App (Desktop)
- Add Camera Using the Brinks Home™ Mobile App
- Troubleshooting
- LED Status Reference
- Further Assistance
Common Terms
- Transformer (Power Brick)
- The low-voltage power supply—often called the “power brick”—that provides power to the camera.
- Wi-Fi Extender (Range Booster)
- A device that amplifies your wireless signal to improve camera connectivity in areas with weak coverage.
- AP Mode (Access Point Mode)
- A configuration mode where the camera acts as its own wireless network for setup and troubleshooting.
- WPS (Wi-Fi Protected Setup)
- A method to quickly pair the camera with your router by pressing the WPS buttons on both devices.
- VMD (Video Motion Detection)
- A feature that detects and records motion within the camera’s field of view.
- Perimeter Guard (Boundary Detection)
- An Alarm.com™ feature that alerts you when motion is detected near the perimeter of a defined area.
Signal Strength Guidance
- Open the Brinks Home™ App on your smartphone.
- Tap the bottom-bar Video icon.
- Tap the Settings gear in the top-right corner.
- Select your ADC-V720W camera from the list.
- Scroll down to view the Signal Strength percentage.
| Signal Range | Status | Action |
|---|---|---|
| 80–100% | Excellent | No action needed. |
| 60–79% | Good | Monitor performance; slight repositioning may help. |
| 40–59% | Fair | Move camera closer to router or remove obstructions. |
| 0–39% | Poor | Reposition camera, add a Wi-Fi extender, or contact us for help. |
Specifications
- 1280 × 800 pixel video resolution
- 40′ night vision range
- Field of view: 77° horizontal, 54° vertical
- Wi-Fi 802.11 b/g/n
- Ethernet connection (no PoE support)
- Operating temperature: –4° F to 122° F
Factory Default
Warning! This erases all settings. You must re-add the camera to your Brinks Home™ App and reconfigure Wi-Fi.
- Remove the plastic cover from the camera.
- Press and hold the Reset button for 15 seconds until the LED flashes red and green.
- Release the button; wait for the camera to reboot.

Hardwire Connection to Router
- Plug an Ethernet cable into the camera’s network port.
- Connect the other end to your network router.
- Ensure the camera’s LED turns solid green to confirm network connectivity.

Wi-Fi Setup by WPS Enrollment
- Press and hold the camera’s WPS button for 5 seconds until its LED rapidly flashes green.
- On your router, press and release its WPS button or enable WPS in its settings.
- Within 2 minutes, wait for the camera LED to turn solid green (success) or red (failure).


Add Camera Using the Brinks Home™ App (Desktop)
Note: The camera must be on your network (Ethernet or Wi-Fi) before adding.
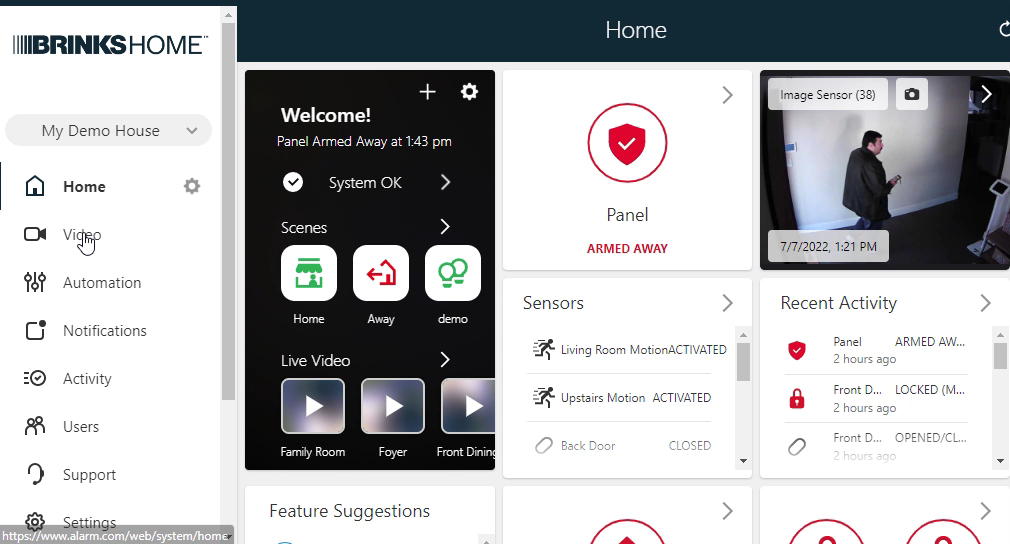
- Log in to the Brinks Home™ App on a desktop browser and select Video.
- Click the Settings gear in the top-right corner of the Video screen.
- Scroll down and select Add video device.
- When the camera appears, enter a name and click Install.
- Wait several minutes for configuration to complete.
- Click Live View to verify your camera feed.
Add Camera Using the Brinks Home™ Mobile App
Note: The camera must be on your network (Ethernet or Wi-Fi) before adding.
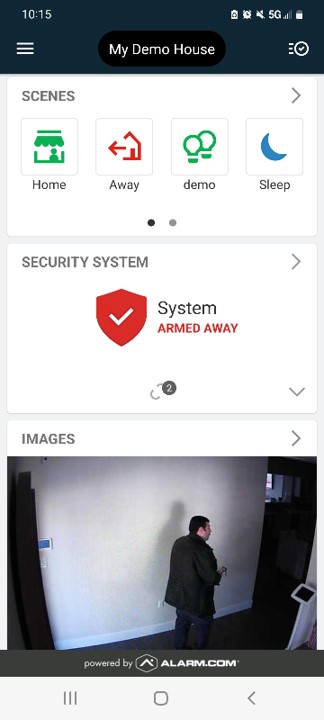
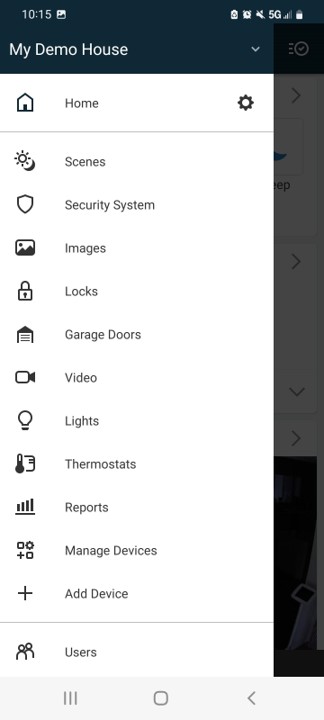
- Log in to the Brinks Home™ Mobile App and tap the Video icon.
- Tap the Gear icon in the upper-right corner to open Settings.
- Select Add video device, then choose ADC-V720W.
- When detected, enter a name and tap Next.
- Wait several minutes for configuration; verify the LED turns solid green.
- Tap Live View to confirm the camera feed.
Troubleshooting
- Power Cycle: Unplug and replug the power adapter; wait 30 seconds before restoring power.
- Check Network: Verify Ethernet or Wi-Fi connection and signal strength (see Signal Strength Guidance).
- Factory Reset: Reset to default (see Factory Default section) and reconfigure.
- Alternate Setup: If WPS fails, configure Wi-Fi manually through the Brinks Home™ App.
- Contact Support: If issues persist, reach out for assistance.
LED Status Reference
| LED Pattern | Status | Action |
|---|---|---|
| All Off | No Power / Standby |
|
| Green ON | Connected to Internet and Brinks Home |
|
| Green Flash | Local network only |
|
| Green Rapid Flash | WPS Enrollment Active |
|
| Red ON | No local or Internet connection |
|
| Red Green Flash | Factory reset or firmware upgrade |
|
Further Assistance
For additional support, please contact us at 469-513-8685.