ADC-V520IR Indoor Camera Guide
Summary: The ADC-V520IR indoor camera, though discontinued, can still be added to and viewed on Alarm.com accounts. This guide provides specifications, installation steps, troubleshooting tips, and an LED reference guide for optimal functionality.
Specifications
- 1920 x 1080p video resolution
- 112° horizontal, 100° vertical field of view
- 20' night vision range
- 2-way audio
- Wi-Fi 802.11 b/g/n
- Ethernet connection
- Operating temperature: 32°F to 104°F

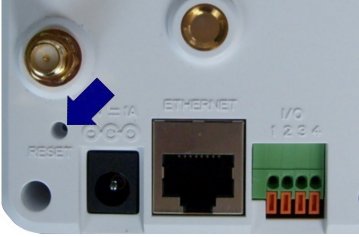
Factory Default
Warning: Resetting the camera erases all settings. The camera must be re-added to your account.
- Hold the button on the back of the camera for 15 seconds.
- After 1 minute, the camera will click, and the LED will flash red, indicating a successful reset.
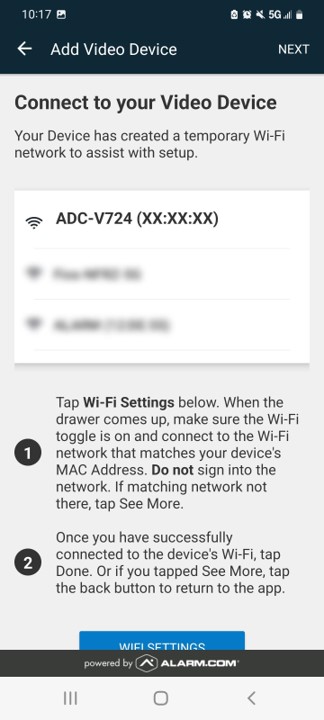
Wi-Fi Setup by WPS Enrollment
- Press and hold the WPS button on the camera for 5 seconds until the LED flashes blue.
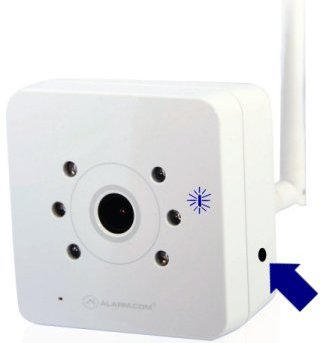
- Press the WPS button on your router or enable WPS mode in the router's programming.

- The camera's LED will turn solid green if the connection is successful.


Hardwire Connection to Router
Connect the camera to your router using an Ethernet cable. Plug one end into the back of the camera and the other into an unused port on your router.

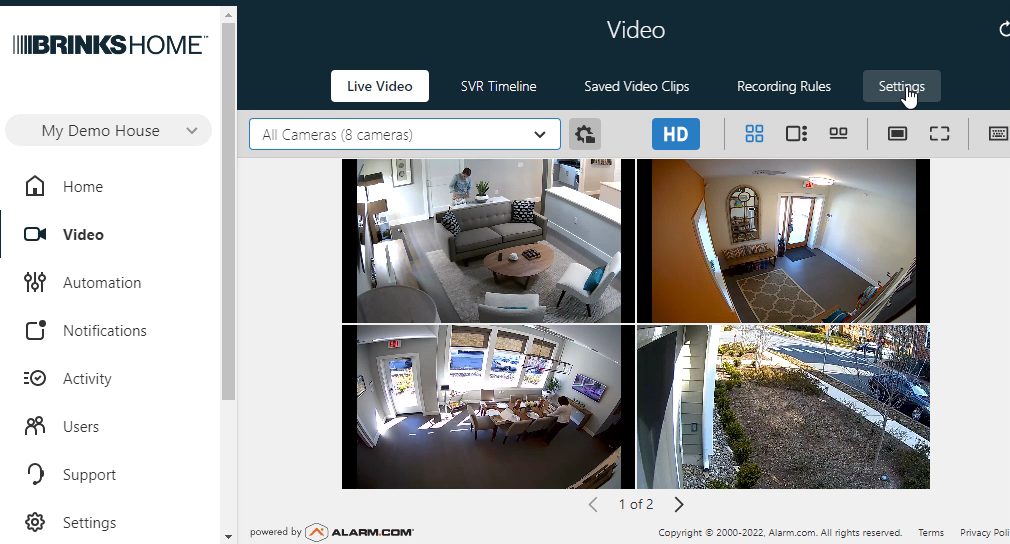
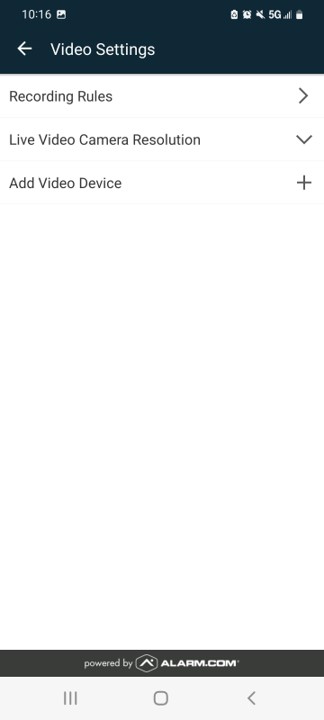
Add Camera Using the Brinks Home™ App Website
- Log in to the Brinks Home App on a desktop browser and click Video.
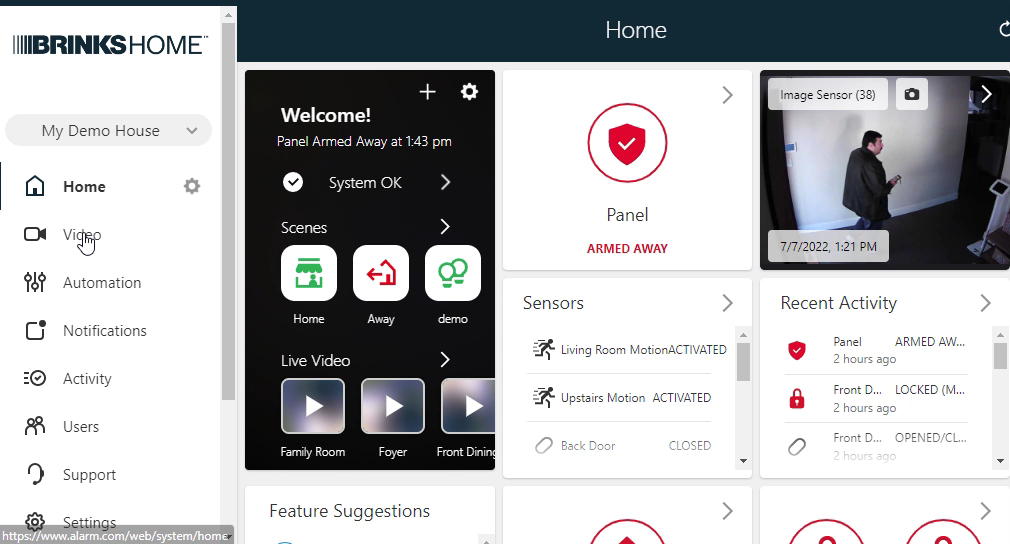
- Select Settings.
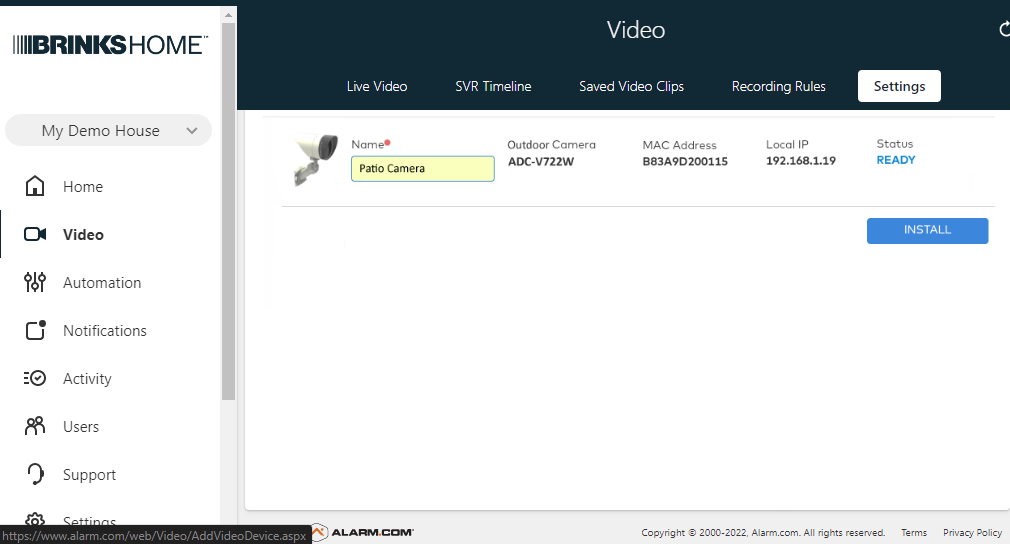
- Scroll down and click Add Video Device.

- The camera will be detected. Enter a name for the camera and click Install.
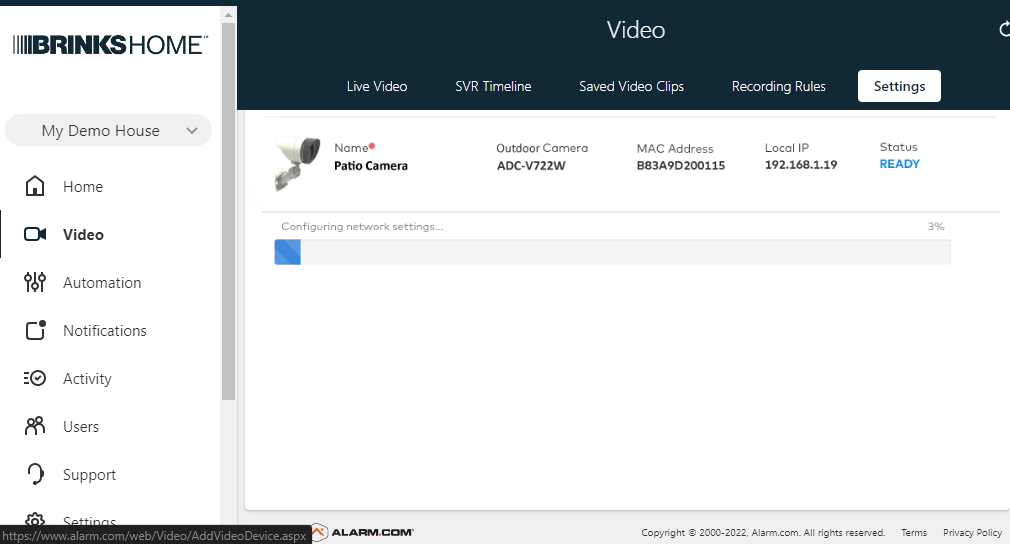
- Wait for the camera to configure.
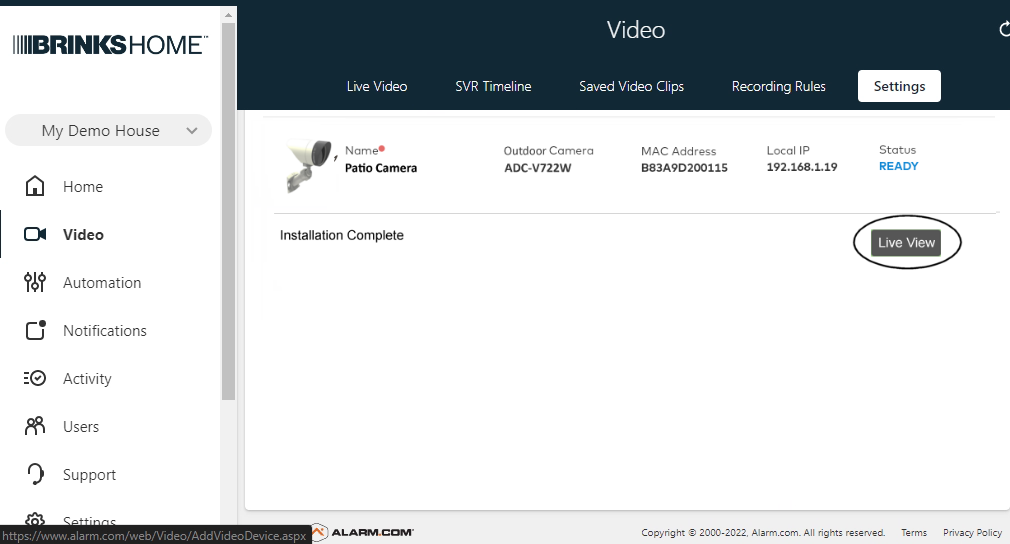
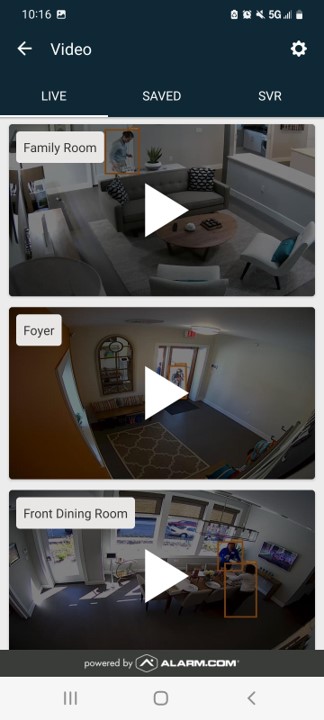
- Select Live View to confirm the camera feed.


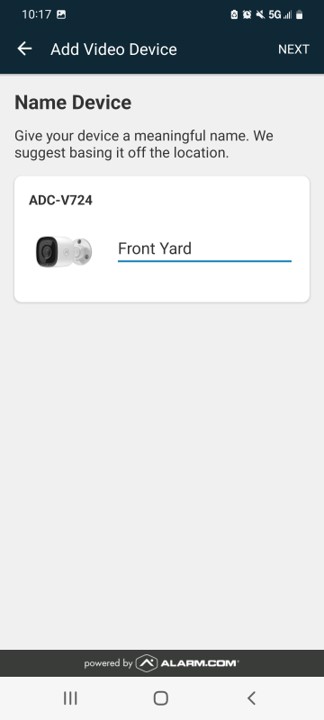
Add Camera Using the Brinks Home™ Mobile App
- Log in to the Brinks Home Mobile App and tap Video.
- Select Settings by pressing the gear icon.

- Select Add Video Device, then choose your device type.
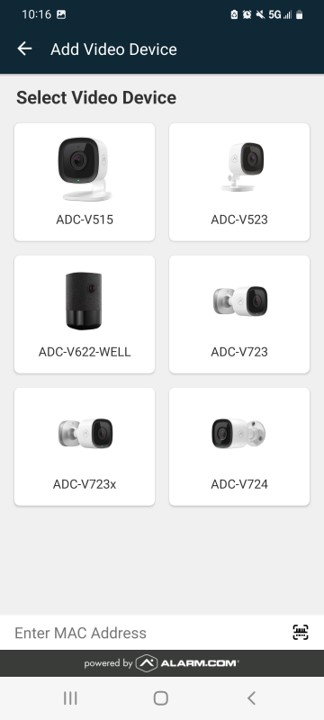
- The camera will be detected. Enter a name for the camera and tap Next.
- Wait for the camera to configure.

- Select Live View to confirm the camera feed.


Troubleshooting
- Power cycle the camera by unplugging and plugging in the power adapter.
- Move the camera closer to the Wi-Fi router.
- If issues persist, try resetting the camera to factory defaults.
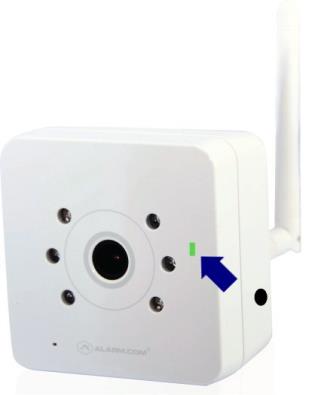
LED Reference Guide
- Solid Green: Local network and Internet connection OK
- Flashing Green: Local network connection OK, Internet connection bad
- Solid Red: No local network or Internet connection
- Flashing Red: Camera booting
- Flashing Blue: Camera in WPS Wi-Fi learn mode
- Flashing White: Camera in Wi-Fi AP learn mode
- Flashing Yellow: Camera in Bluetooth pairing mode