How to Program the 2GIG-PIR1E-345 to the GC2 Panel
Video Instructions:
Step-by-Step Instructions:
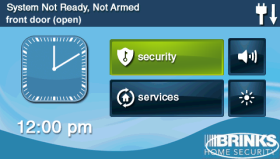
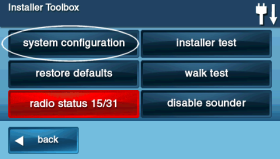
1. Press the Brinks Home logo in the bottom right of the panel, enter the default installer code 1561, then press System Configuration to go to Q1 Wireless Sensor Programming.

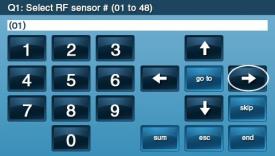
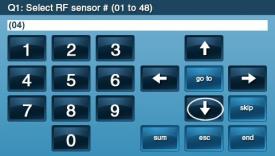
2. Press the right arrow to choose your new sensor number, choosing an open zone as indicated by a white space and number only, then press the down arrow to continue.
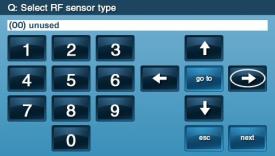
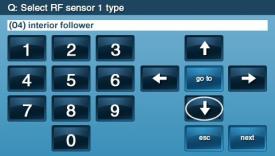
3. Press the right arrow to select Sensor Type (03) Perimeter, then press the down arrow to continue.
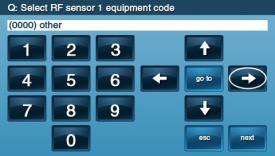
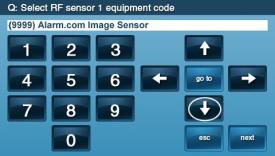
4. Press the right arrow to select your equipment code, then the down arrow to continue.
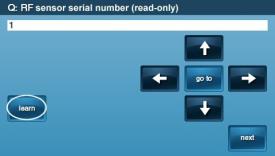
5. Press Shift, then Learn, then insert batteries or press the tamper button several times on the motion detector. Wait 20-30 seconds and once the sensor is found press Ok, then the down arrow to continue.
*Alternatively, this step can be completed by manually entering the serial number on the back of the sensor.


6. Enter (0) new for the equipment age, then press the down arrow to continue.

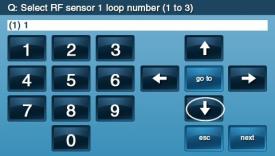
7. Loop number will be (1) 1, then press the down arrow to continue.
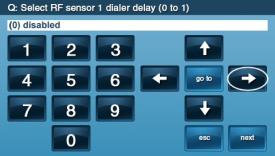
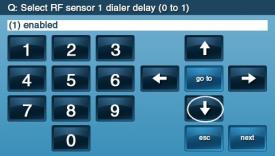
8. Leave the dialer delay set to the default of (1) enabled, then press the down arrow to continue.
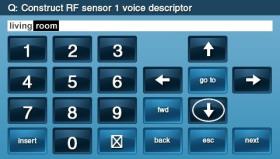
9. Press Insert, then the right arrow to select your desired voice descriptor. For additional words, press Insert again and repeat the steps.
*Alternatively: you may use a 3-digit code to jump to the word of your choice. Code #147 represents Motion Detector.

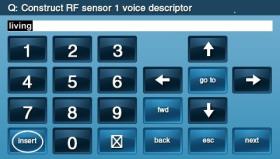
Enter up to 6 words, then press the down arrow to continue.
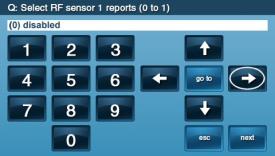
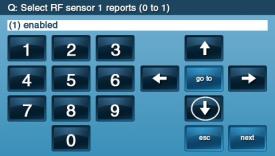
10. Press the right arrow to set Sensor Reports to (1) enabled, then press the down arrow to continue.
11. Press the right arrow to set supervised to (1) enabled, and press the down arrow to continue.

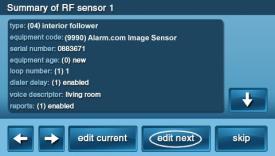
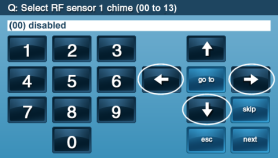
12. Chime is typically left at (00) disabled for motion sensor chime. Press down to continue to the summary.
13. Press edit next to program another sensor, or press skip, end, and exit to complete the process.