How to Program a Door/Window Sensor to the Simon XT
Follow the steps below to connect a door/window sensor to the Simon XT panel.
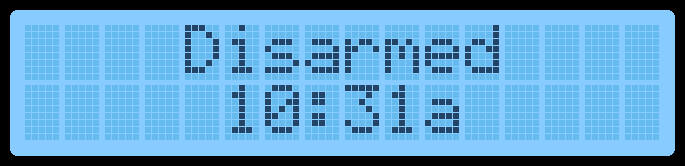
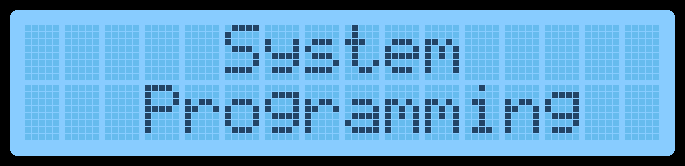
1. Start with your system in a disarmed state. Press the up or down arrows until you get to System Programming, then press Ok.
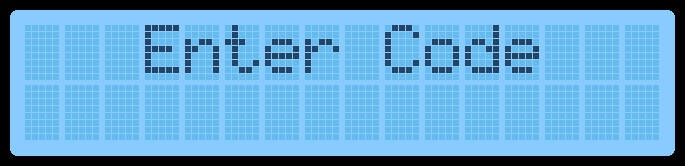
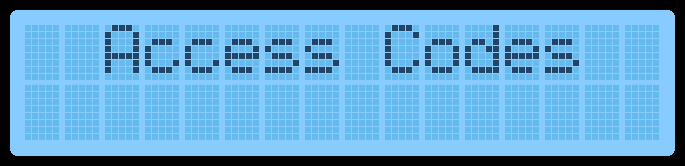
2. Enter the default installer code 4321, then press Ok to enter the system programming menu, which first displays Access Codes.
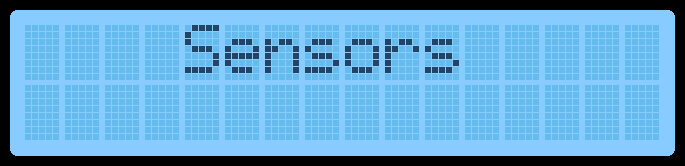
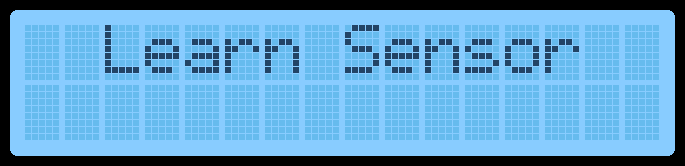
3. Press the up or down arrows until you get to Sensors, then press Ok. The system will display Learn Sensor.
4. Press Ok, then you will be prompted to trip or tamper the sensor you want to learn.
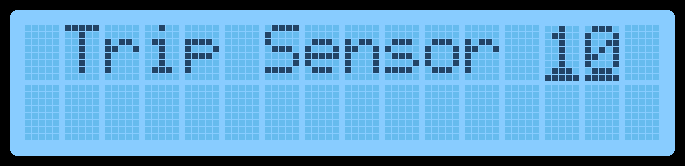
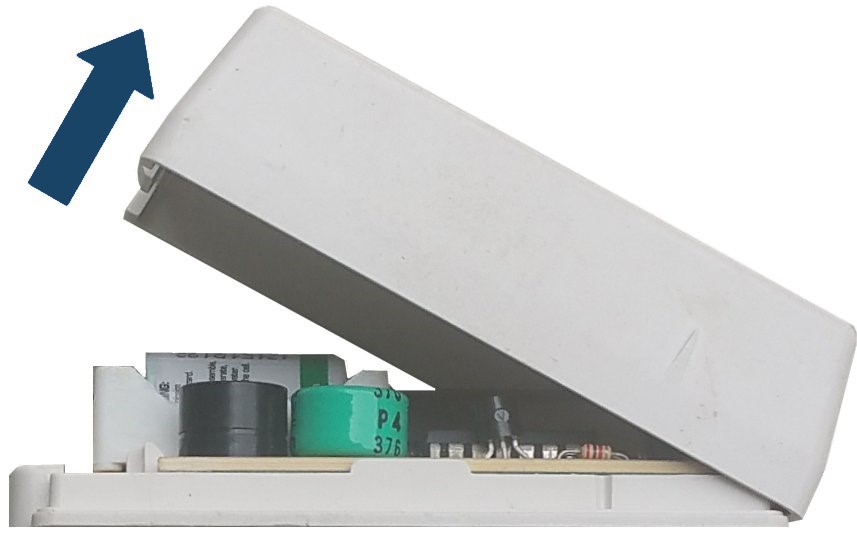
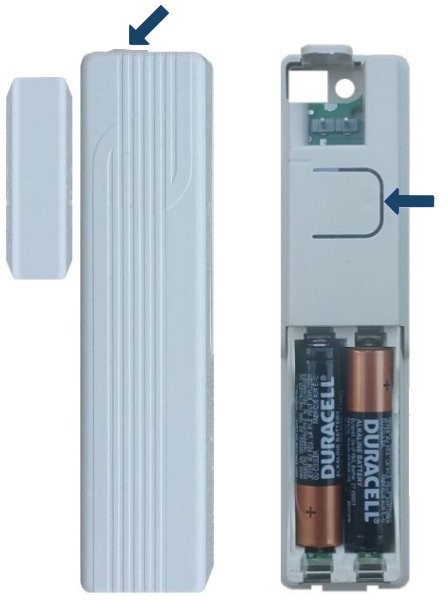
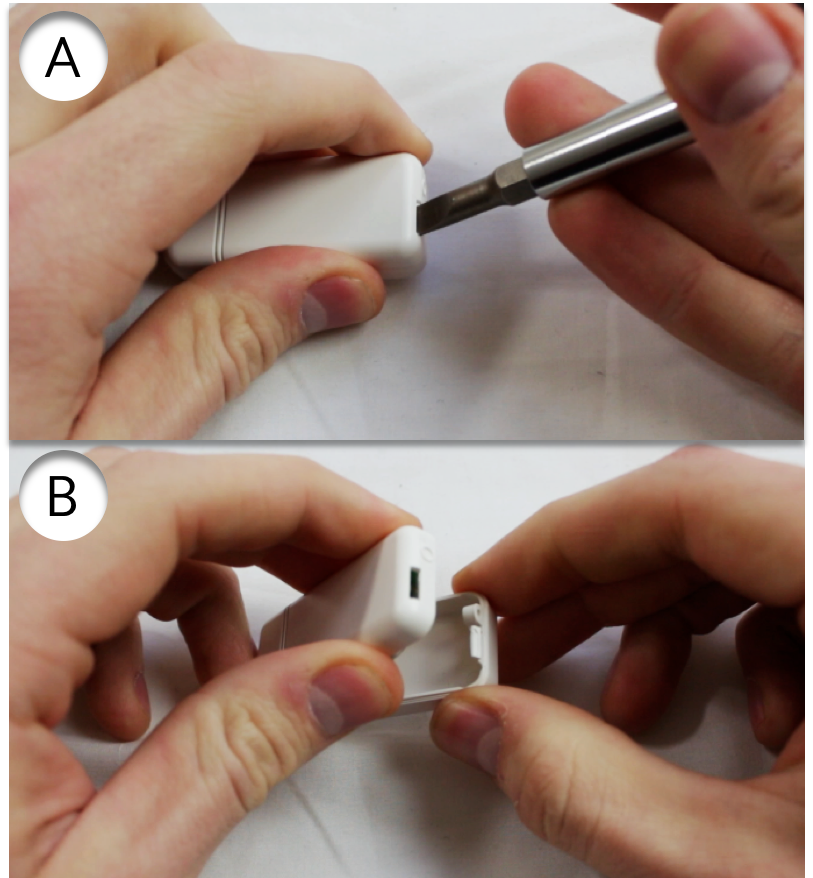
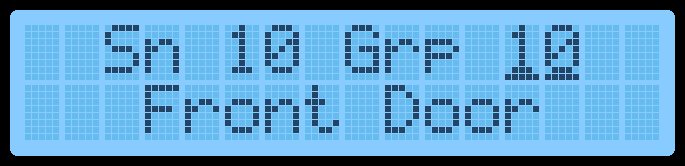
5. Remove sensor cover or press button to learn. The Simon XT will beep and display Sn 1 Grp 10 Front Door by default.
6. Grp flashes. Enter 10 for delay, such as for a front door which is delayed after arming, or 13 for instant arming, then press Ok.
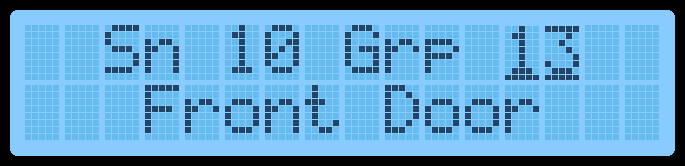
7. Sensor name flashes, press up or down arrows to scroll through names, then press Ok to select.

8. Press up or down arrows to scroll to the next word, then press Ok (up to 16 words).


9. Press Ok to save.