Simon XTi—Hardwire Siren Installation
Follow the instructions below for connecting hardwired sirens to the Simon XTi.
Step-by-Step Instructions:
1. Connect the black and red wires to the Simon XTi terminals.
2. Remove the screw on top of the panel, push the 2 white tabs on top of panel, then pull the panel toward you to open it.

3. Terminals are located on bottom left-hand corner of the panel. Connect to the terminals described below:
- • Black wire: connect to HW1 I/0
- • Red wire: connect to HW1&2 DC Output

4. To connect 4.7K resistor and wires together, follow the instructions below:
- A. Twist the black wires together and the red wires together.
- B. Place B-Connector on end of twisted wires and have resistor inserted in B-Connectors.
- C. Squeeze B-Connectors with pliers to crimp wires and resistor in place.
- D. This is what it looks like when completed.

5. Change one siren option in the Simon XTi programming as follows:
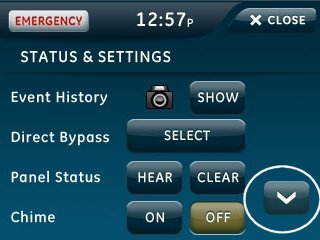
- A. Press the settings gear icon, then press the down arrow several times.
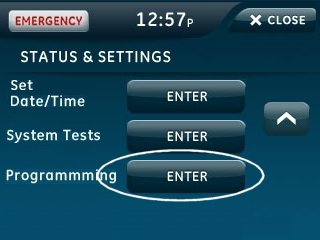
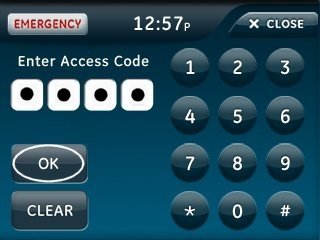
- B. Press Enter by Programming, enter the default installer code 4321 then press Ok.
- C. Press Siren Options, check the box for HW Siren Supervision, then press Close.
- D. Press System Options then press HW 1 Function.


E. Press Exterior Siren, press Save, then press Close several times to exit programming.


The Simon XTi allows 2 low current hard wired siren. These can be wired parallel to each other
Note: the alarm control panel will support a maximum of 250 mA.
