2GIG Edge - Programming a Door/Window Sensor
Please follow the steps below to program new door/window sensors into the 2GIG Edge panel:
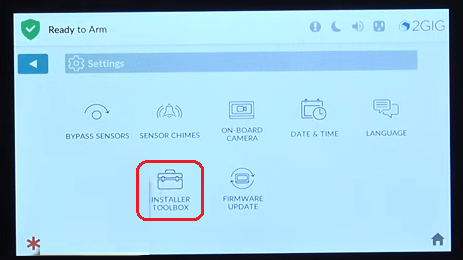
1. Tap the setting cog icon and enter the default installer code 1561.
2. Scroll to the bottom of the screen to access the Installer Toolbox.
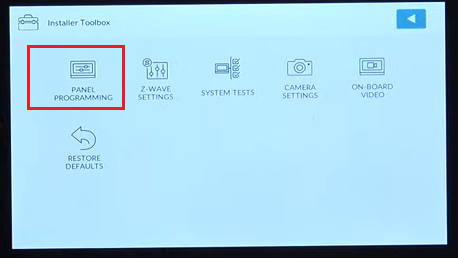
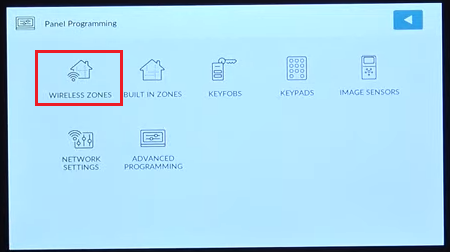
3. Select Panel Programming, then Wireless Zones.
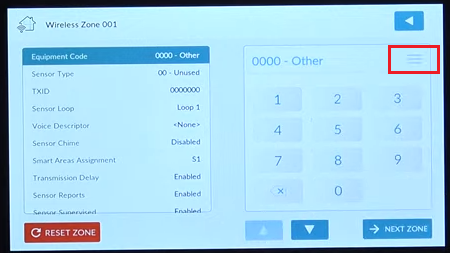
4. Tap the zone number you would like to assign the wireless sensor, then tap Edit Zone in the lower right corner of the screen.
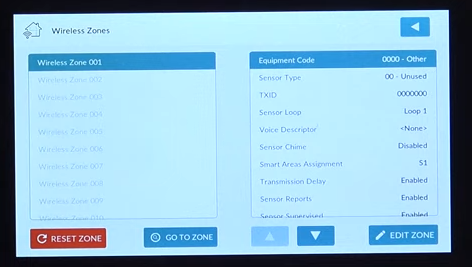
5. Select the appropriate equipment code for this sensor by tapping the menu icon, then choose from the dropdown list.
Referenced below are the door and window contacts most common to this system:
| 2GIG eSeries Thin Door/Window Contact
|
2862
|
| 2GIG eSeries Recessed Door Contact
|
2863
|
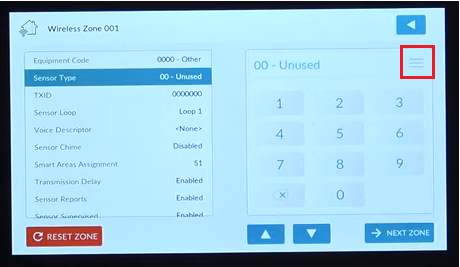
6. Press the down arrow to continue, then select the sensor type by tapping the menu icon again. Choose the sensor type from the dropdown menu.
7. Press the down arrow to continue, then input the TXID number (located on the sensor sticker) using the keypad

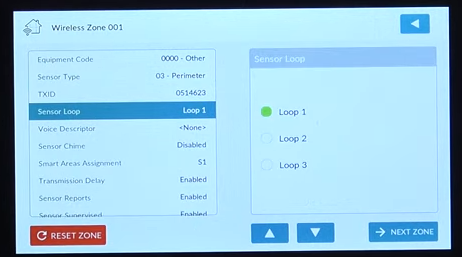
8. Press the down arrow to continue, then select Loop 1 for door/window sensors.
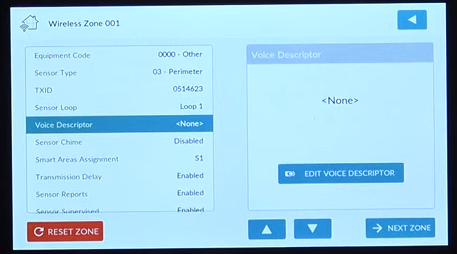
9. Press the down arrow to continue, then tap Add Voice Descriptor. Type the first few letters of the descriptor and select from the list that populates.
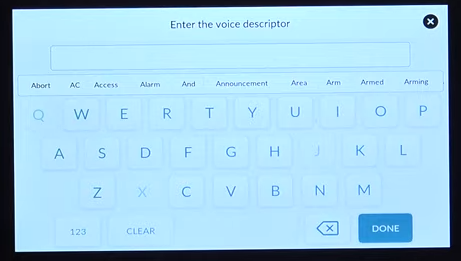
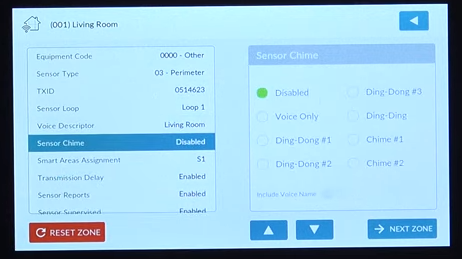
10. Tap Done, then press the down arrow to continue and select the desired chime for the sensor.
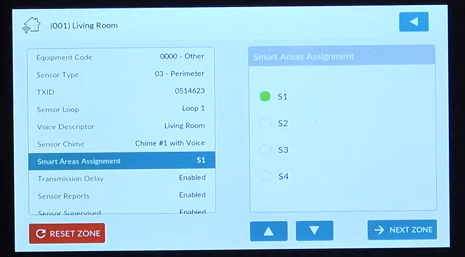
11. Press the down arrow to continue, and select the assigned smart area from the list.
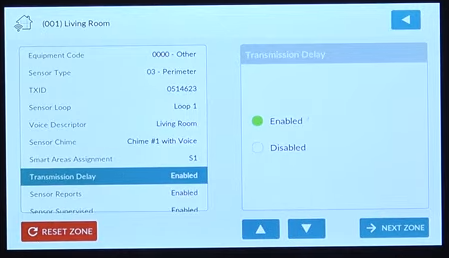
12. Press the down arrow to continue, and choose whether to enable or disable delayed transmission.
13. Press the down arrow to continue, and choose whether to enable or disable sensor reports.

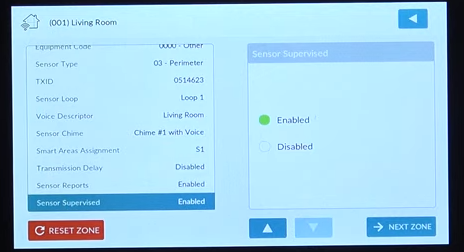
14. Press the down arrow to continue, and choose whether to enable to disable sensor supervised monitoring.
15. Press the down arrow to continue, and tap the back button until you return to the home screen to save all changes.